When I first jumped into figure photography, I improvised a lot when it comes to proper lighting and figure setup. I used empty external HDD boxes and tracing paper for my soft box and purchased desk lamps with specific light bulb wattage for my lighting. I also used toothpicks and Styrofoams to assemble my “mini studio” and also used colored papers for my backdrop.
I was deeply inspired by Ignite Images photography so I took an initiative to be a photographer. To be frank I really don’t know anything about professional photography, I just always ask my photographer friends on what’s the best way to get an specific effect or shot, or google a thing or two on the effect I’m trying to achieve.
Below is my very first improvised “studio” for my figures.
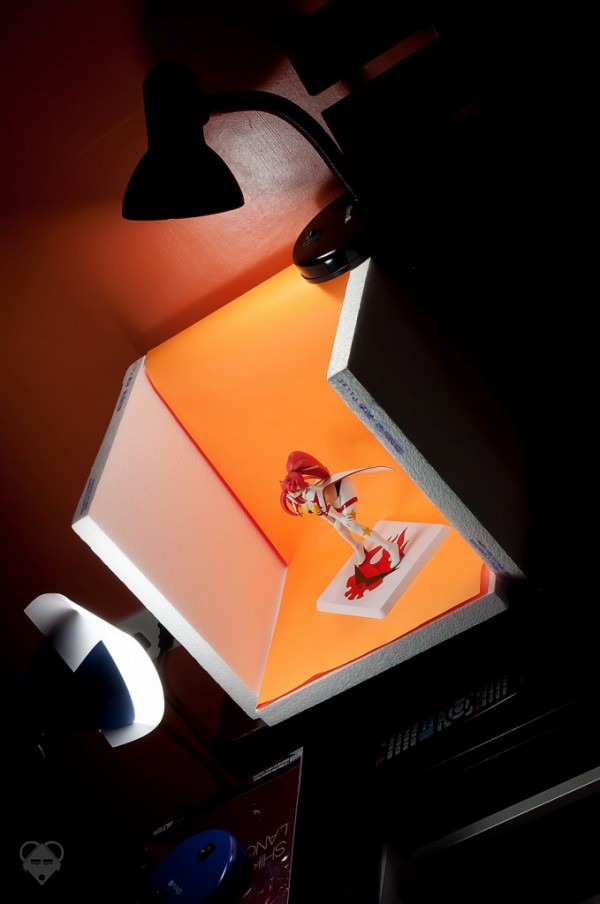
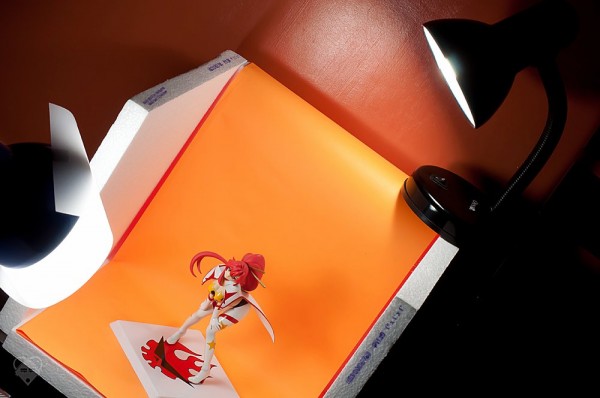
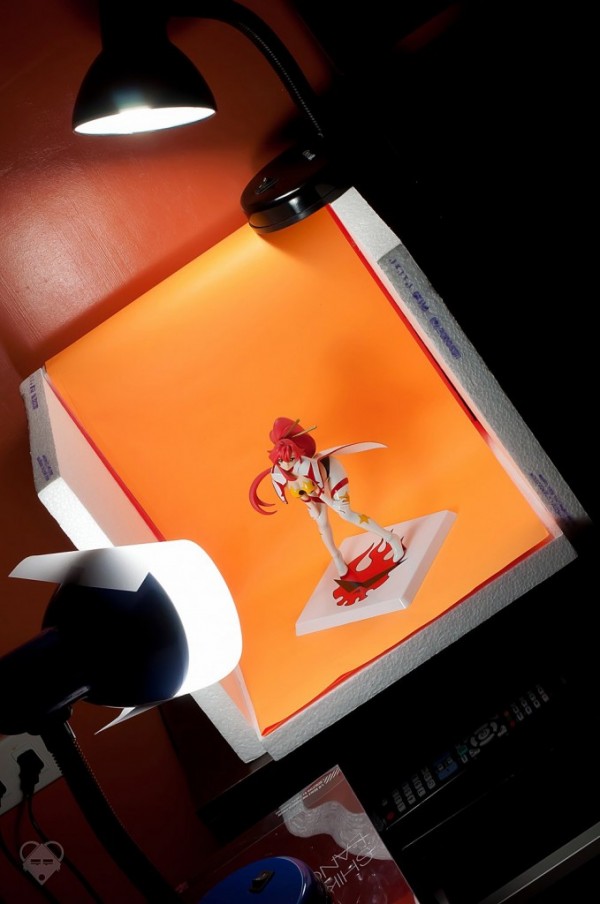
I used the above setup in most of my figure reviews in the past and it kinda works though, but not as perfect and beautiful when using the right equipment, camera, and lens.
Today, a good friend of mine who’s also an avid figure collector just sent me this very useful photography equipment. It was dubbed as “Little Studio” and comes with the actual studio, 2 sets of halogen lamps, 3 sets of cloth backdrops, and a very useful portable tripod. The left and right wall of the studio serves as the light diffuser and the whole set can be folded and transformed into a portable “bag” (kinda like a laptop bag).
I took some test shots of my upcoming figure review, Black Rock Strength. The results are great though I still need to experiment on the overall setup.
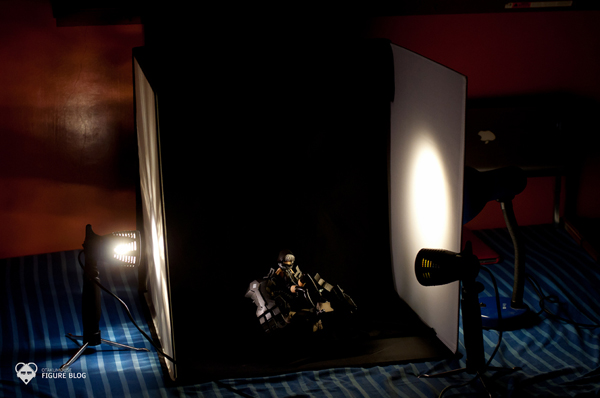
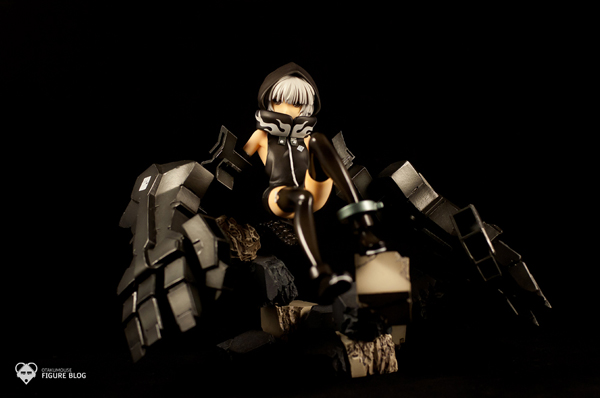
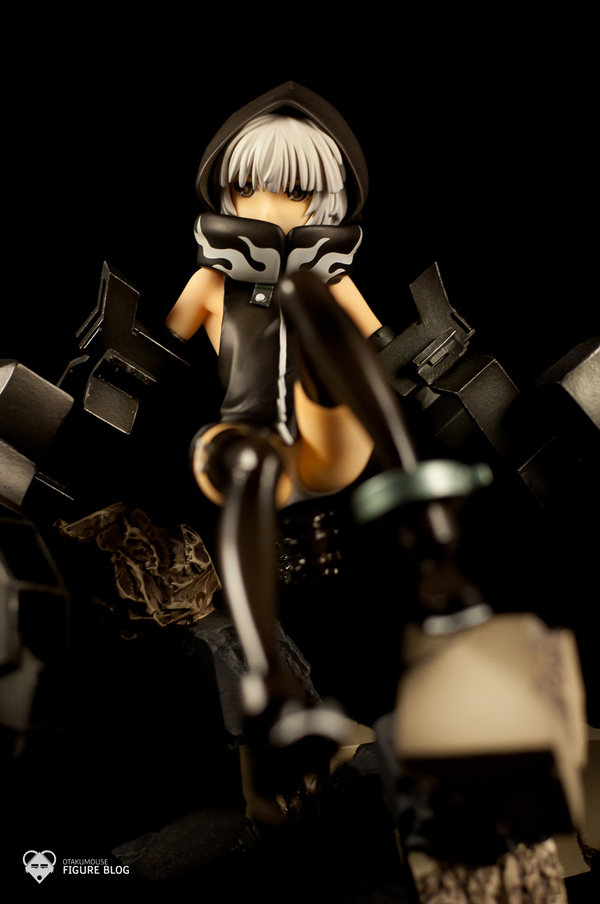
Review coming soon! Stay tuned. \m/
was the ‘little studio’ a purchased product or a hand packaged deal? I would love to get something like this and being able to get it all together would be might helpful haha
Hi Musha! long time no talk! Actually Its a purchased product :) Bought it around $100. It was like it was designed solely for figure photography because of its size and flexibility :) I love how I can basically transform it into a carrying bag and carry it wherever I go :P Are you interested in getting one? Maybe I can help though we might ship it there in your country hahahaha! Or maybe check your local photography stores there, maybe they have a similar one?
Indeed! I’ve had TONS going on haha, hopefully will be getting back to photographing now that my collection has grown (slightly). Shipping it to me would be awesome actually haha, shoot me an e-mail or on twitter (I think you know it? @Vanilla_Crown)!
Thanks!
Hahah nice! It would be great if you have a paypal account so that you could pay me back!!! LOLOLOLOLS!!! :))
Indeed I do! I would of course pay you! That would be so uncool to not -_- I probably wont be able to get it till around Friday or after, so I’ll let you know then??
Wow, I could definitely use something like this!
@Vanilla: Yeah that’s ok :) I’ll also ask the shop here if they have the stock.
i juz got mine today… thanks for sharing the info here.. once i read this, i’m start googling…. bought it at MYR99.00