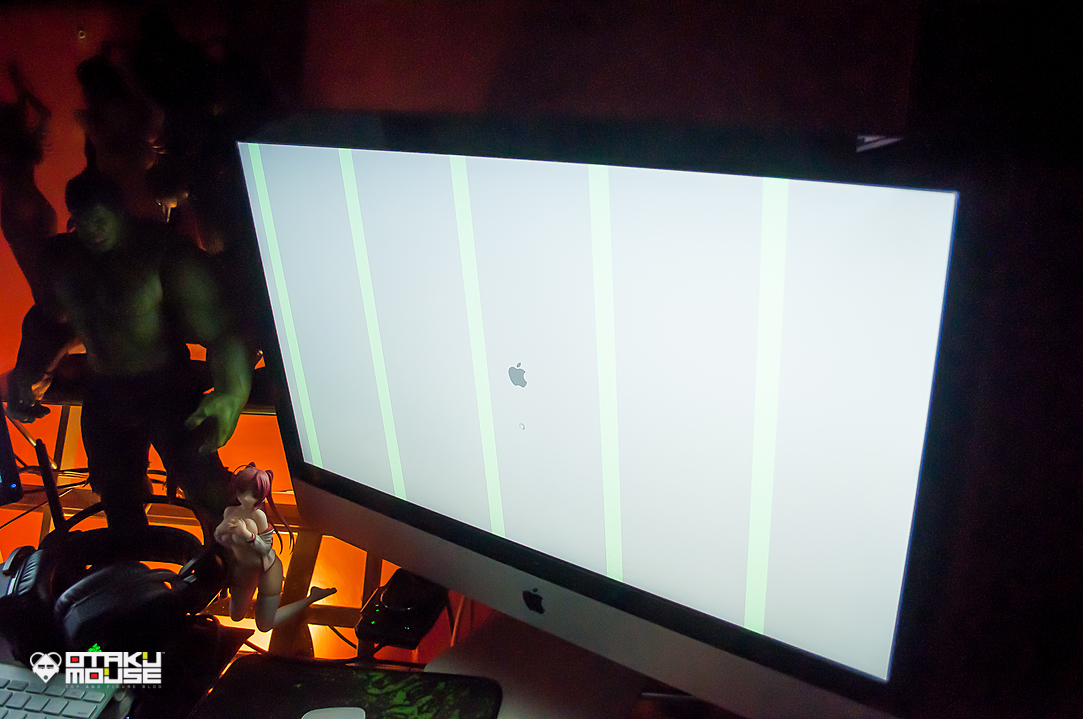
Last night, my 27” mid 2011 iMac which is my main production computer just died. I was just using it normally when my screen suddenly flickered repeatedly like it has some kind of a bad TV reception. Then the screen suddenly freezes showing this “green vertical lines” across the screen. Tried to restart it but it’s not booting up anymore and it’s just stuck with a white screen with those green vertical lines I mentioned above. The worst part is, even iMac’s “safe mode” is not working!
I do have 3 external backups of all my files compressed after I did my 7zip download, all of them are backed up using Apple’s time machine. The only problem is I wasn’t able to backup all of my latest “work” files I did that day > < I decided to get the outdated version of those files from my external backup HDD’s and hook them up into my Windows gaming machine. To my surprise, Windows isn’t recognizing the HDD’s either! And I just realized the filesystem type of those HDD’s were designed to only work with OSX > < I’m doomed!
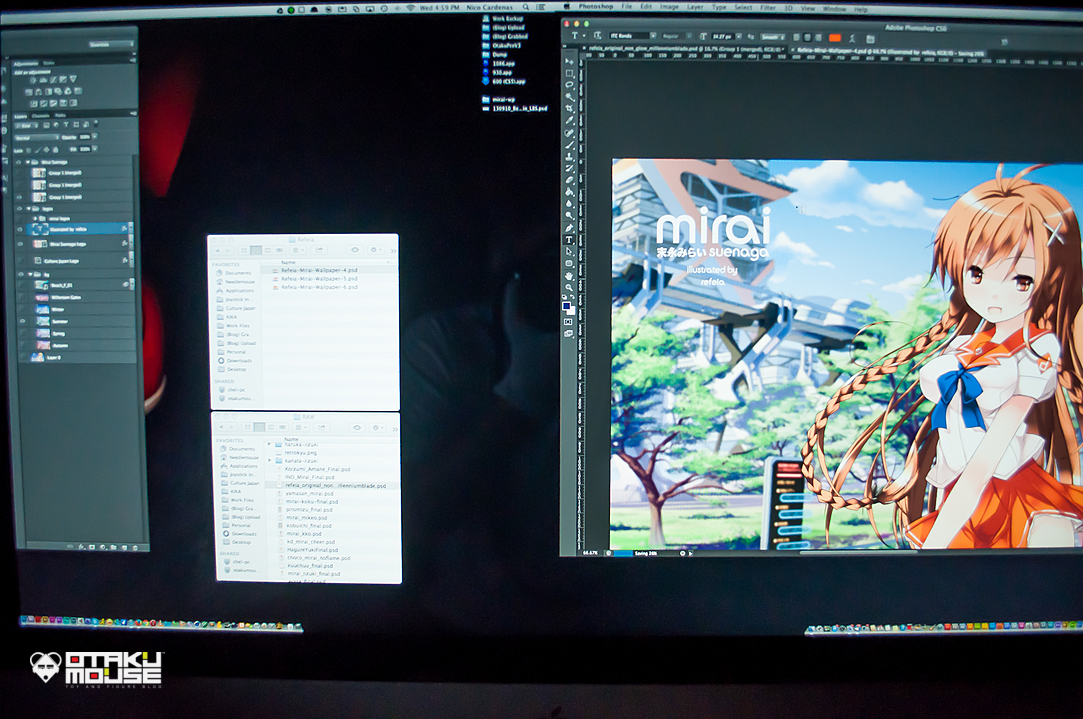
I did some research and used 3rd party programs like MacDrive and HFS+ for Windows so that I can read my mac formatted backup HDD’s. Alas! it was recognized! But when I started browsing the files, all of my folders are unclickable and all of them are 0 bytes in size. I then did some quick googling around of the problem and discovered that time machine is backing up the files in a very “special way” and only Mac computers can really browse those files > < I’m already out of options and I badly needed to backup my latest files before I send it in for repairs.
I was about to give up when I discovered that OSX has a UNIX based command line called “single-user mode” or “verbose mode”. Checked it on Apple’s official documentation and learned that I can access all of what’s inside my iMac by just using UNIX commands! There’s still hope! For those people who are unfamiliar and have zero knowledge on UNIX or don’t even know what UNIX is, just bear with me as I will not be super technical in explaining things. I’ll just list the steps in order and just “type” the commands that I used when you’re already inside single-user mode.
Let’s get started and save those files!
STEP 1: TURN OFF YOUR COMPUTER
A. Turn off your computer or hold the power button until it turns off.
STEP 2: ENTER SINGLE USER MODE
A. Turn on your computer and quickly press CMD (Apple Key) + S B. If you successfully entered the keys mentioned above, the screen will go black and you will start to see a bunch of white texts on the screen. C. It’ll load for a bit so just wait until you can start to type.
STEP 3: CHECK THE NAME OF YOUR MAIN BOOT DRIVE
A. Since you will be accessing your main hdd by just typing, you need to know its name. For others, I’m sure you already named your main hdd but for those who don’t, you can check the name of your main drive by typing ls /Volumes then hit return. B. You will then see a “list” of all your available hdd’s inside your computer and most likely you will only have one. In my case, I didn’t rename my main drive and it’s called “Macintosh HD”.
STEP 4: PLUGIN ANY EXTERNAL STORAGE (HDD or FLASH DRIVE)
A. Prepare your external storage and plug it in your mac’s USB port. B. When you enter single user mode, the default permissions of your HDD’s are set to READ-ONLY, meaning you’re not capable of copying any files and pasting it to any external drive. C. To set it to READ-WRITE, we first need to “mount” it. Type the command sbin/mount -uw/ and hit return. You will be notified for errors if you mistype the command so don’t worry ;) D. We then need to do a “file system check” which will scan our HDD’s for errors. Type the command sbin/fsck -fy then hit return. E. Just wait for the command to finish since it will scan our drives. Once it’s done, it will notify you if your drive has errors that needs fixing. If it has any errors, just run the sbin/fsck -fy command again until you receive a message stating that your drive is OK.
STEP 5: CREATE A “SHAREPOINT” FOR OUR DRIVE
A. In OSX, plugging in an external drive will automatically mount that drive giving you direct access to it. In single-user mode, we need to manually mount it. You can verify this by typing ls /Volumes and you will notice that your external drive is not listed on the results. B. So how can we access it then? We need to create some kind of a “hook” to our external drive. Think of it as some sort of a “gate” that we can use to access the contents of our drive. C. Creating a sharepoint is easy, it’s actually just creating a directory. Type the command mkdir Volumes/your-sharepoint-name and hit return. So it’s like saying, “make a directory” inside “Volumes” and name it “your-sharepoint-name”. ie: mkdir Volumes/MyBackup. D. Enter the command ls /Volumes and you will see that the sharepoint or directory you just created is already listed in the results! We will then use this to mount our drive in the next step.
STEP 6: IDENTIFY YOUR EXTERNAL DRIVE
A. Now that we already have a sharepoint or “hook” for our drive, we can then start to mount our drive. But before that, we first need to identify the name of our external drive. B. Type the command ls /dev/disk* and hit return. You will then start to see all the drives with names like /dev/disk0 /dev/disk1s1 /dev/disk2s1 and so on… The problem here is, in single-user mode, your external drive name will not be displayed making it very hard to identify – meaning, if your external drive is named “Nico’s Backup” by default, that name will not be displayed in single-user mode and will be displayed as “diskxxx” or something. C. Fortunately and most of the times, your external drive is always listed “last” on the list. So if the last item in the list for example is “disk2s1”, we will then use this name and mount it to the sharepoint or hook you created earlier. If you’re still unsure, proceed to optional step below.
OPTIONAL STEP: WHAT IF IT’S NOT THE DRIVE?
A. If you’re not sure if the last item on the list is really your external drive, you can do the following. B. With your external drive hooked in your mac’s USB port, type the command ls /dev/disk* and hit return. This will list all the available drives in your machine (including the external ones). C. List down all the drive names in the results (if you want). The drive names are usually named “diskxxx, disk0s1, etc…”. D. Unplug your external drive. Once unplugged, type the command ls /dev/disk* again and hit return. List down (if you want) all the drive names again using the results. E. Compare your list or use the logged results on the screen. The one missing on the list/results is your external drive name :)
STEP 7: MOUNT YOUR EXTERNAL DRIVE
A. Now that we know the name of our drive, we can now start to mount it! Type the command mount -t hfs /dev/your-external-drive-name /Volumes/your-sharepoint-name and hit return. You will notified for errors if ever you mistyped something in the command. B. Yes! your external drive is now mounted. To verify it, type the command ls Volumes/your-sharepoint-name and hit return. So if your sharepoint name is “MyBackup”, just type ls Volumes/MyBackup and all of your external drive contents will then be displayed right in front of you :)
STEP 8: START SAVING THOSE FILES!
A. To start copying your files / folders into your externa HDD, run the the following commands. B. For single files, type the command cp Volumes/your-main-drive-name/your-file-name Volumes/your-sharepoint-name and hit return. C. For directories, type the command cp -r Volumes/your-main-drive-name/your-directory Volumes/your-sharepoint-name and hit return. Notice the “-r” which means “recursive” copying. D. Note that you will be notified with an error if you happen to mistype the commands above. If you’re doing it right, nothing will happen and you’ll just have to wait for the copying process to finish ;)
Now that your files are all backed up. It’s now safe to turn your mac computer in for repairs :)
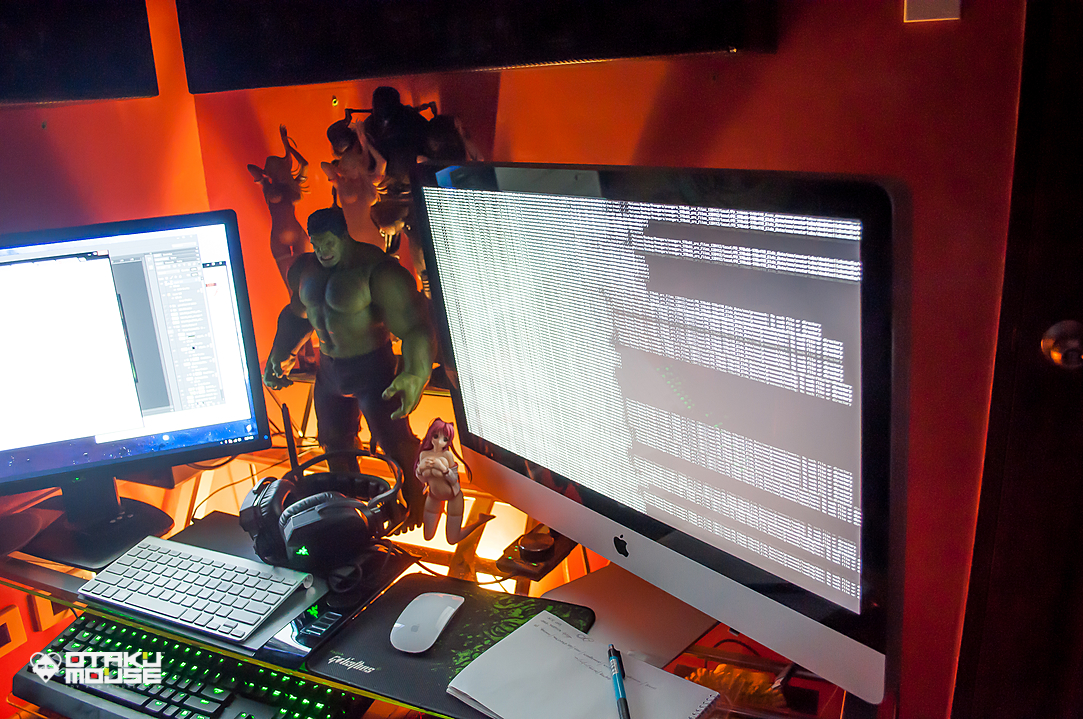
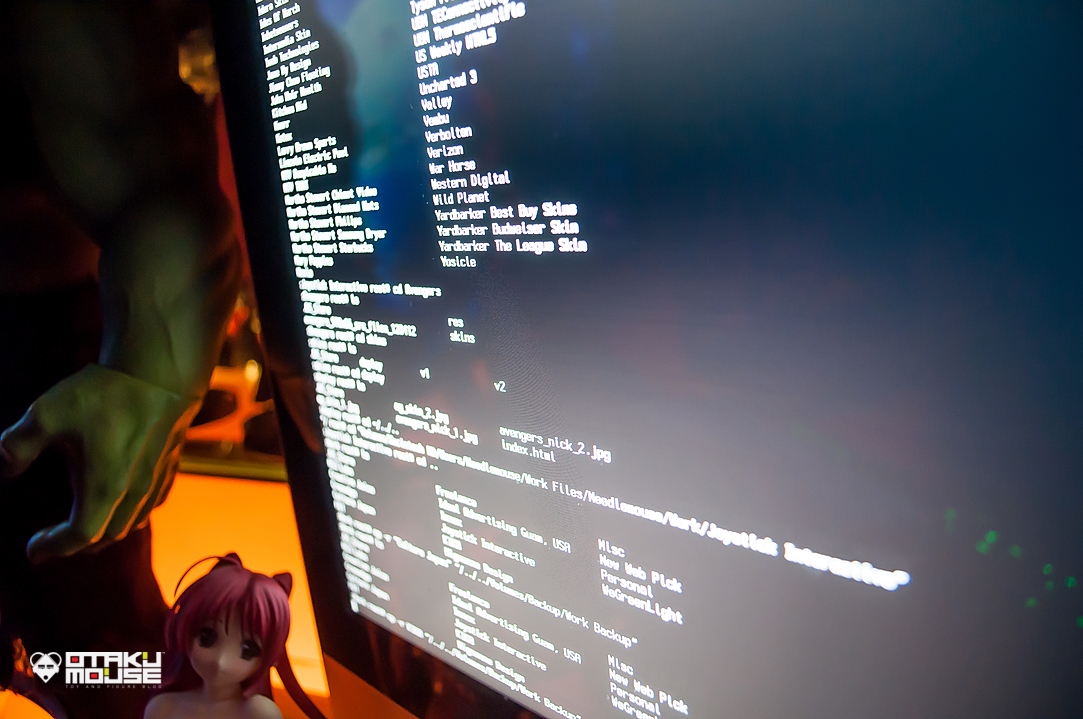
So here’s what my desk looks like after I sent my 27” iMac for repairs. Had to re-decorate my desk to keep me motivated at work :) Apple store told me that the repairs could take up to 3 weeks > < Good thing I already transformed my gaming PC as my temporary development environment.




hey,
what if my hdd doesnt even appear after typing ls /Volumes?? mine should be “Macintosh HD” too but i dont see it. thanks
so the “macintosh HD” appears now but when i typed mount-uw to mount to external hard drive, it says illegal option. and i dont see any new directory after attempted to created a direactory in Volumes. please help!
Thank you for you single user backup tutorial. You just saved my life with a machine that won’t boot into any other mode. Much appreciated:) Steve K