If you have been collecting Hot Toys figures for the past 10 years, then you have likely encountered the dreaded Iron Man pink panty issue. Almost all of their original non-diecast Iron Man figures, particularly Mk III, IV, V, and VI, have encountered this paint fading problem. The fading only occurs on the rubber parts of the figure. This issue is frustrating because these figures are not cheap. It is also disheartening to look at because the faded parts are very noticeable. In this post, I will show you step by step how to restore the faded parts to their original paint job.
Disassembly
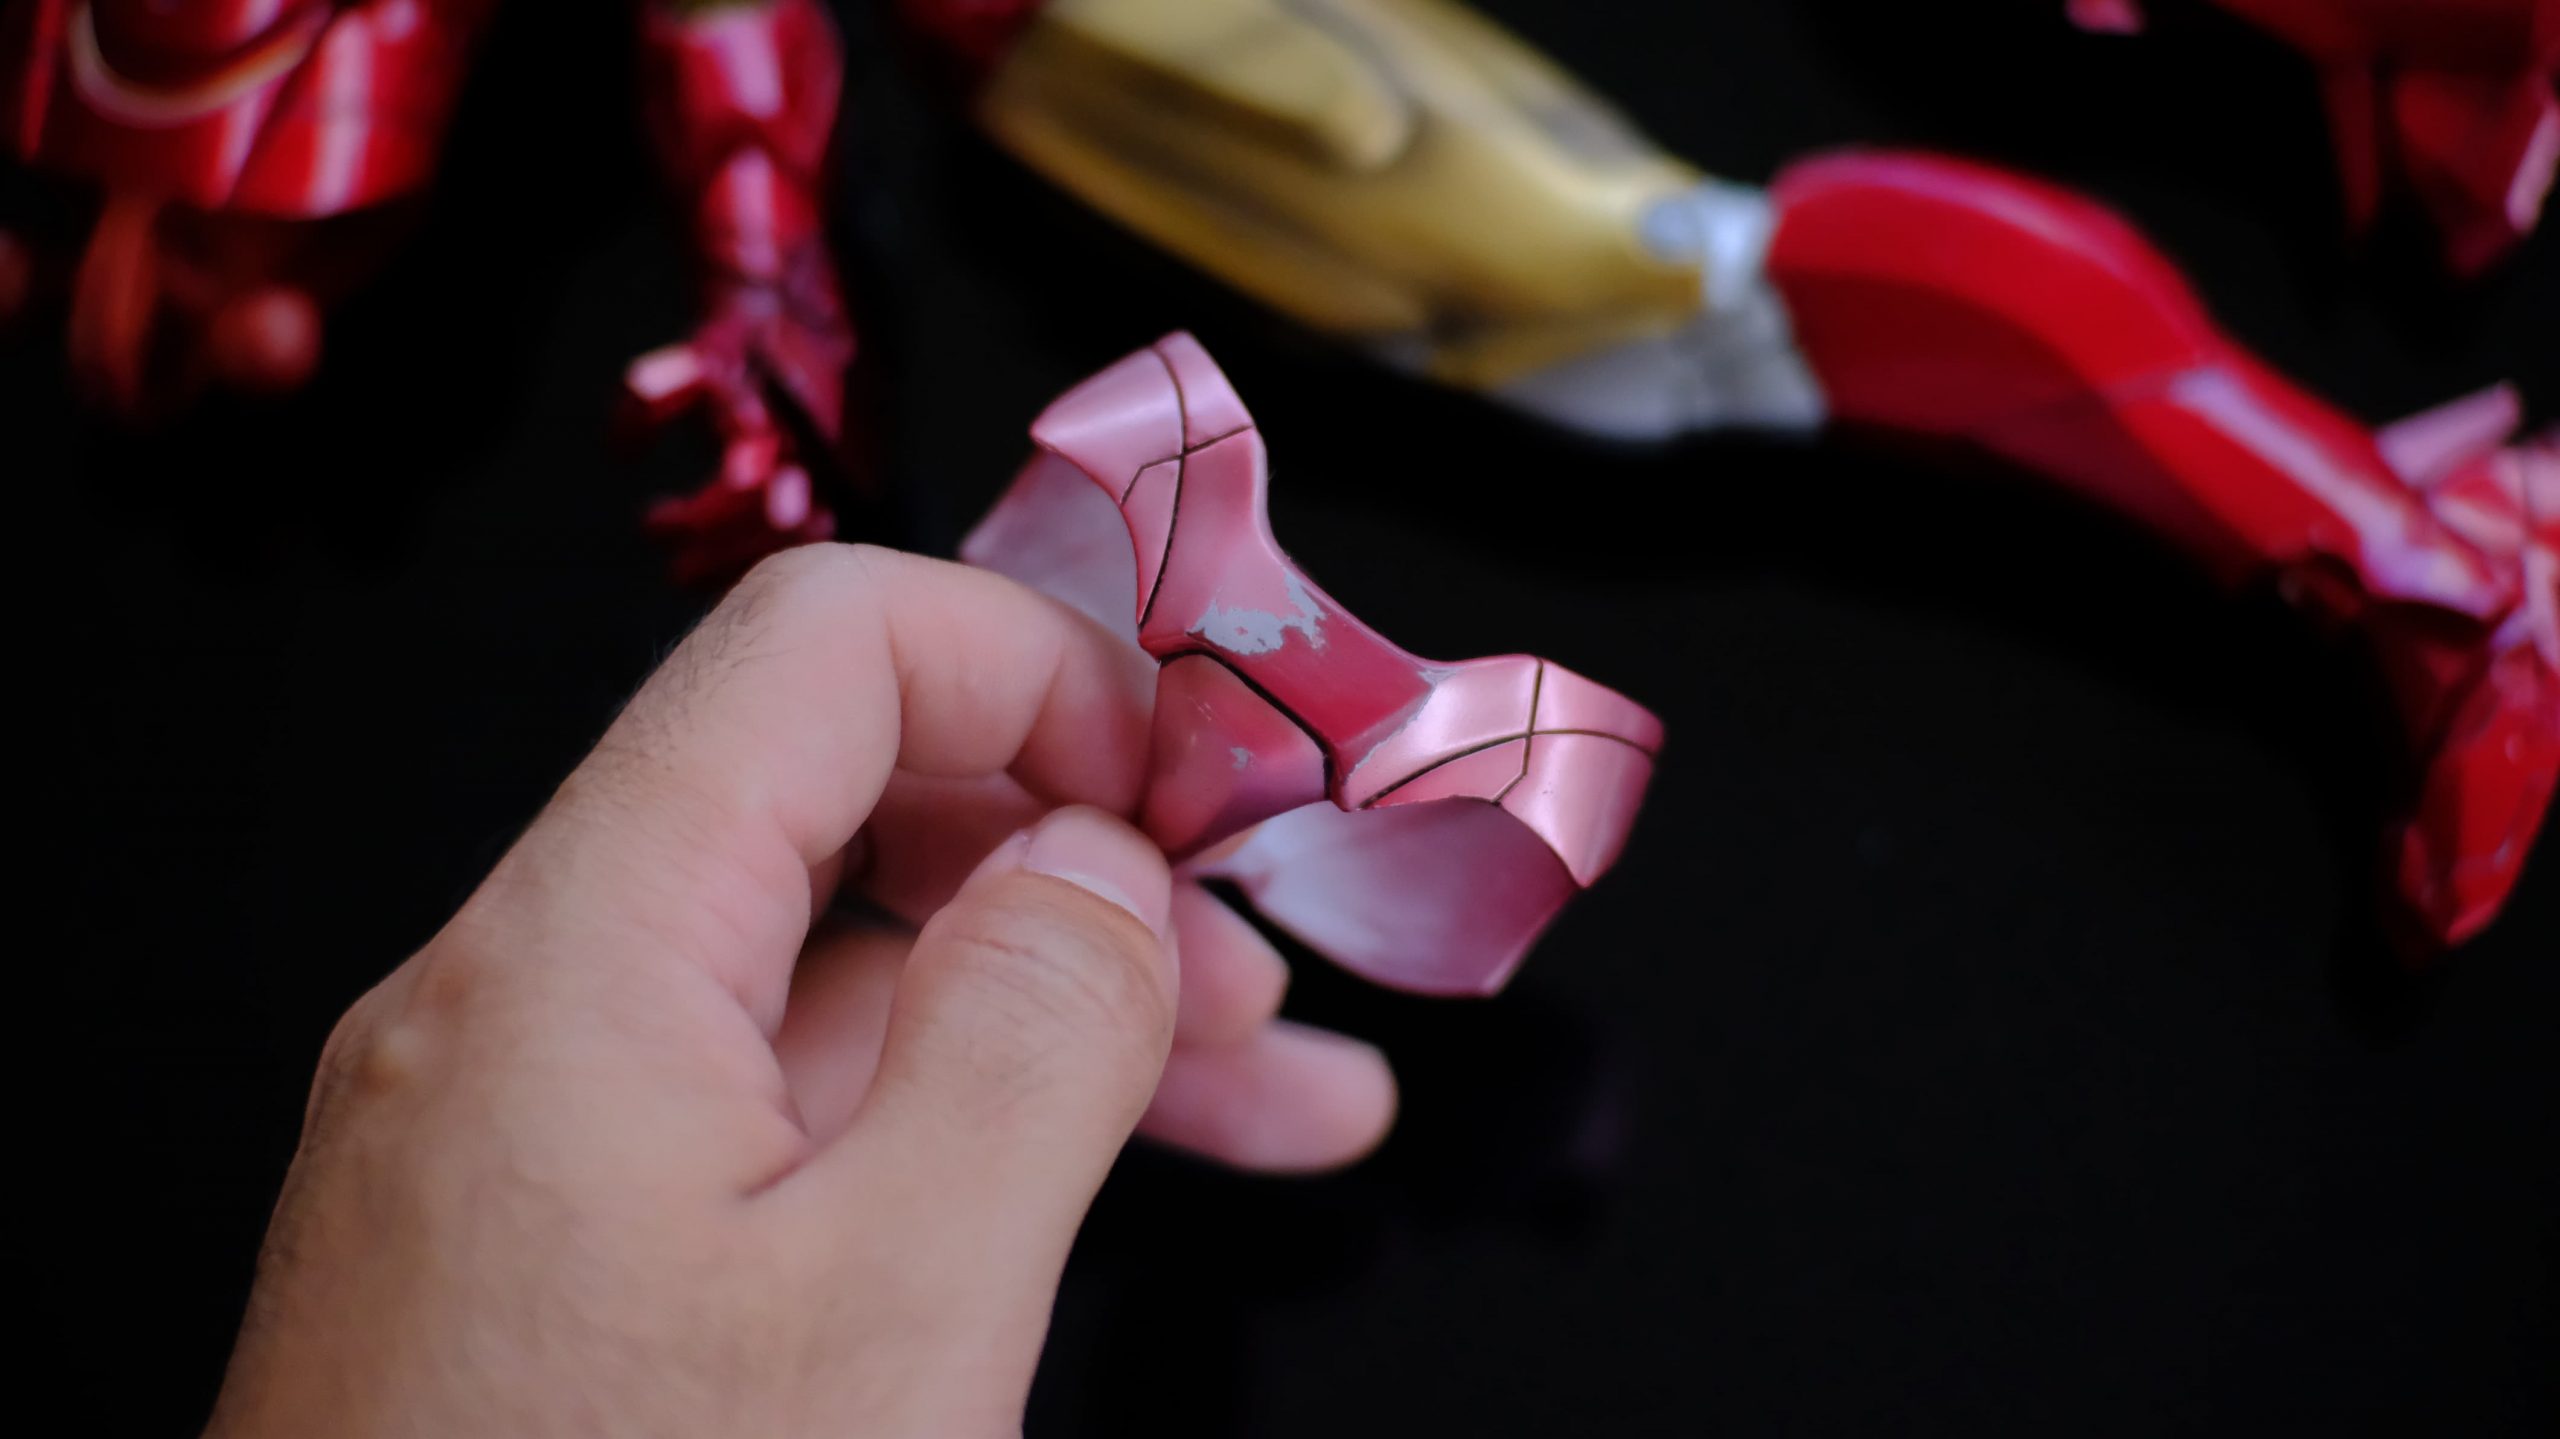
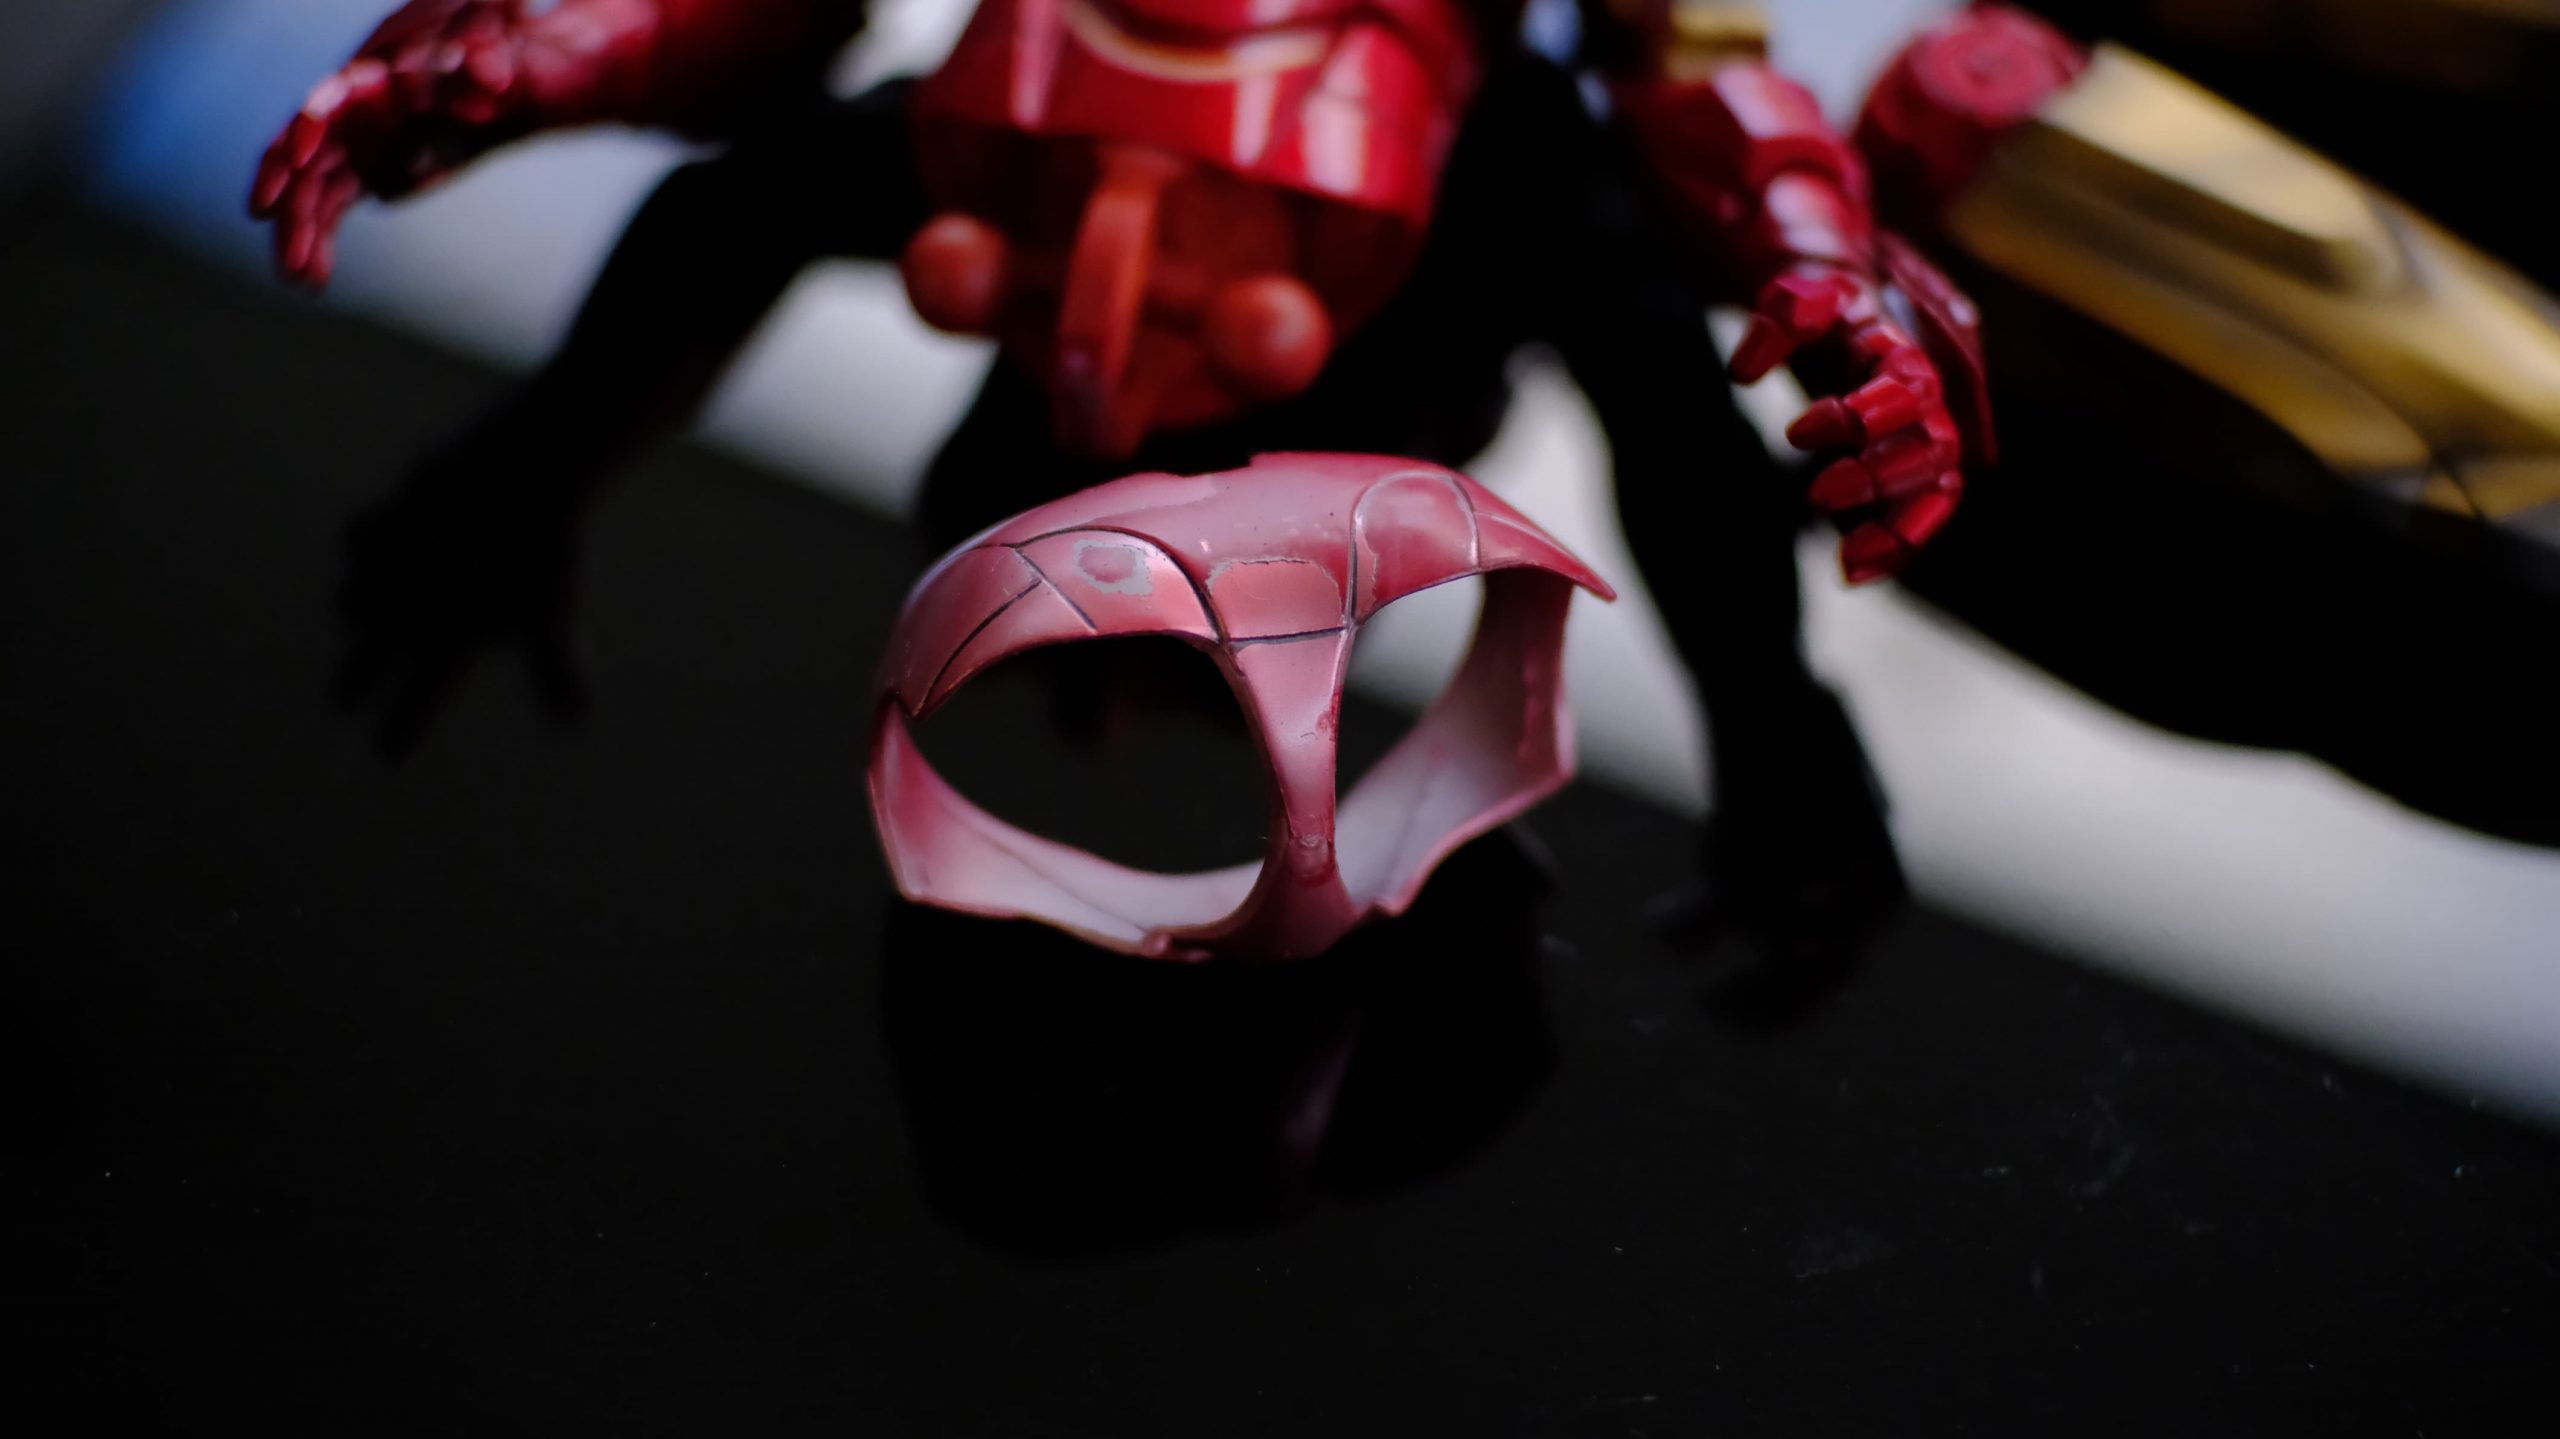
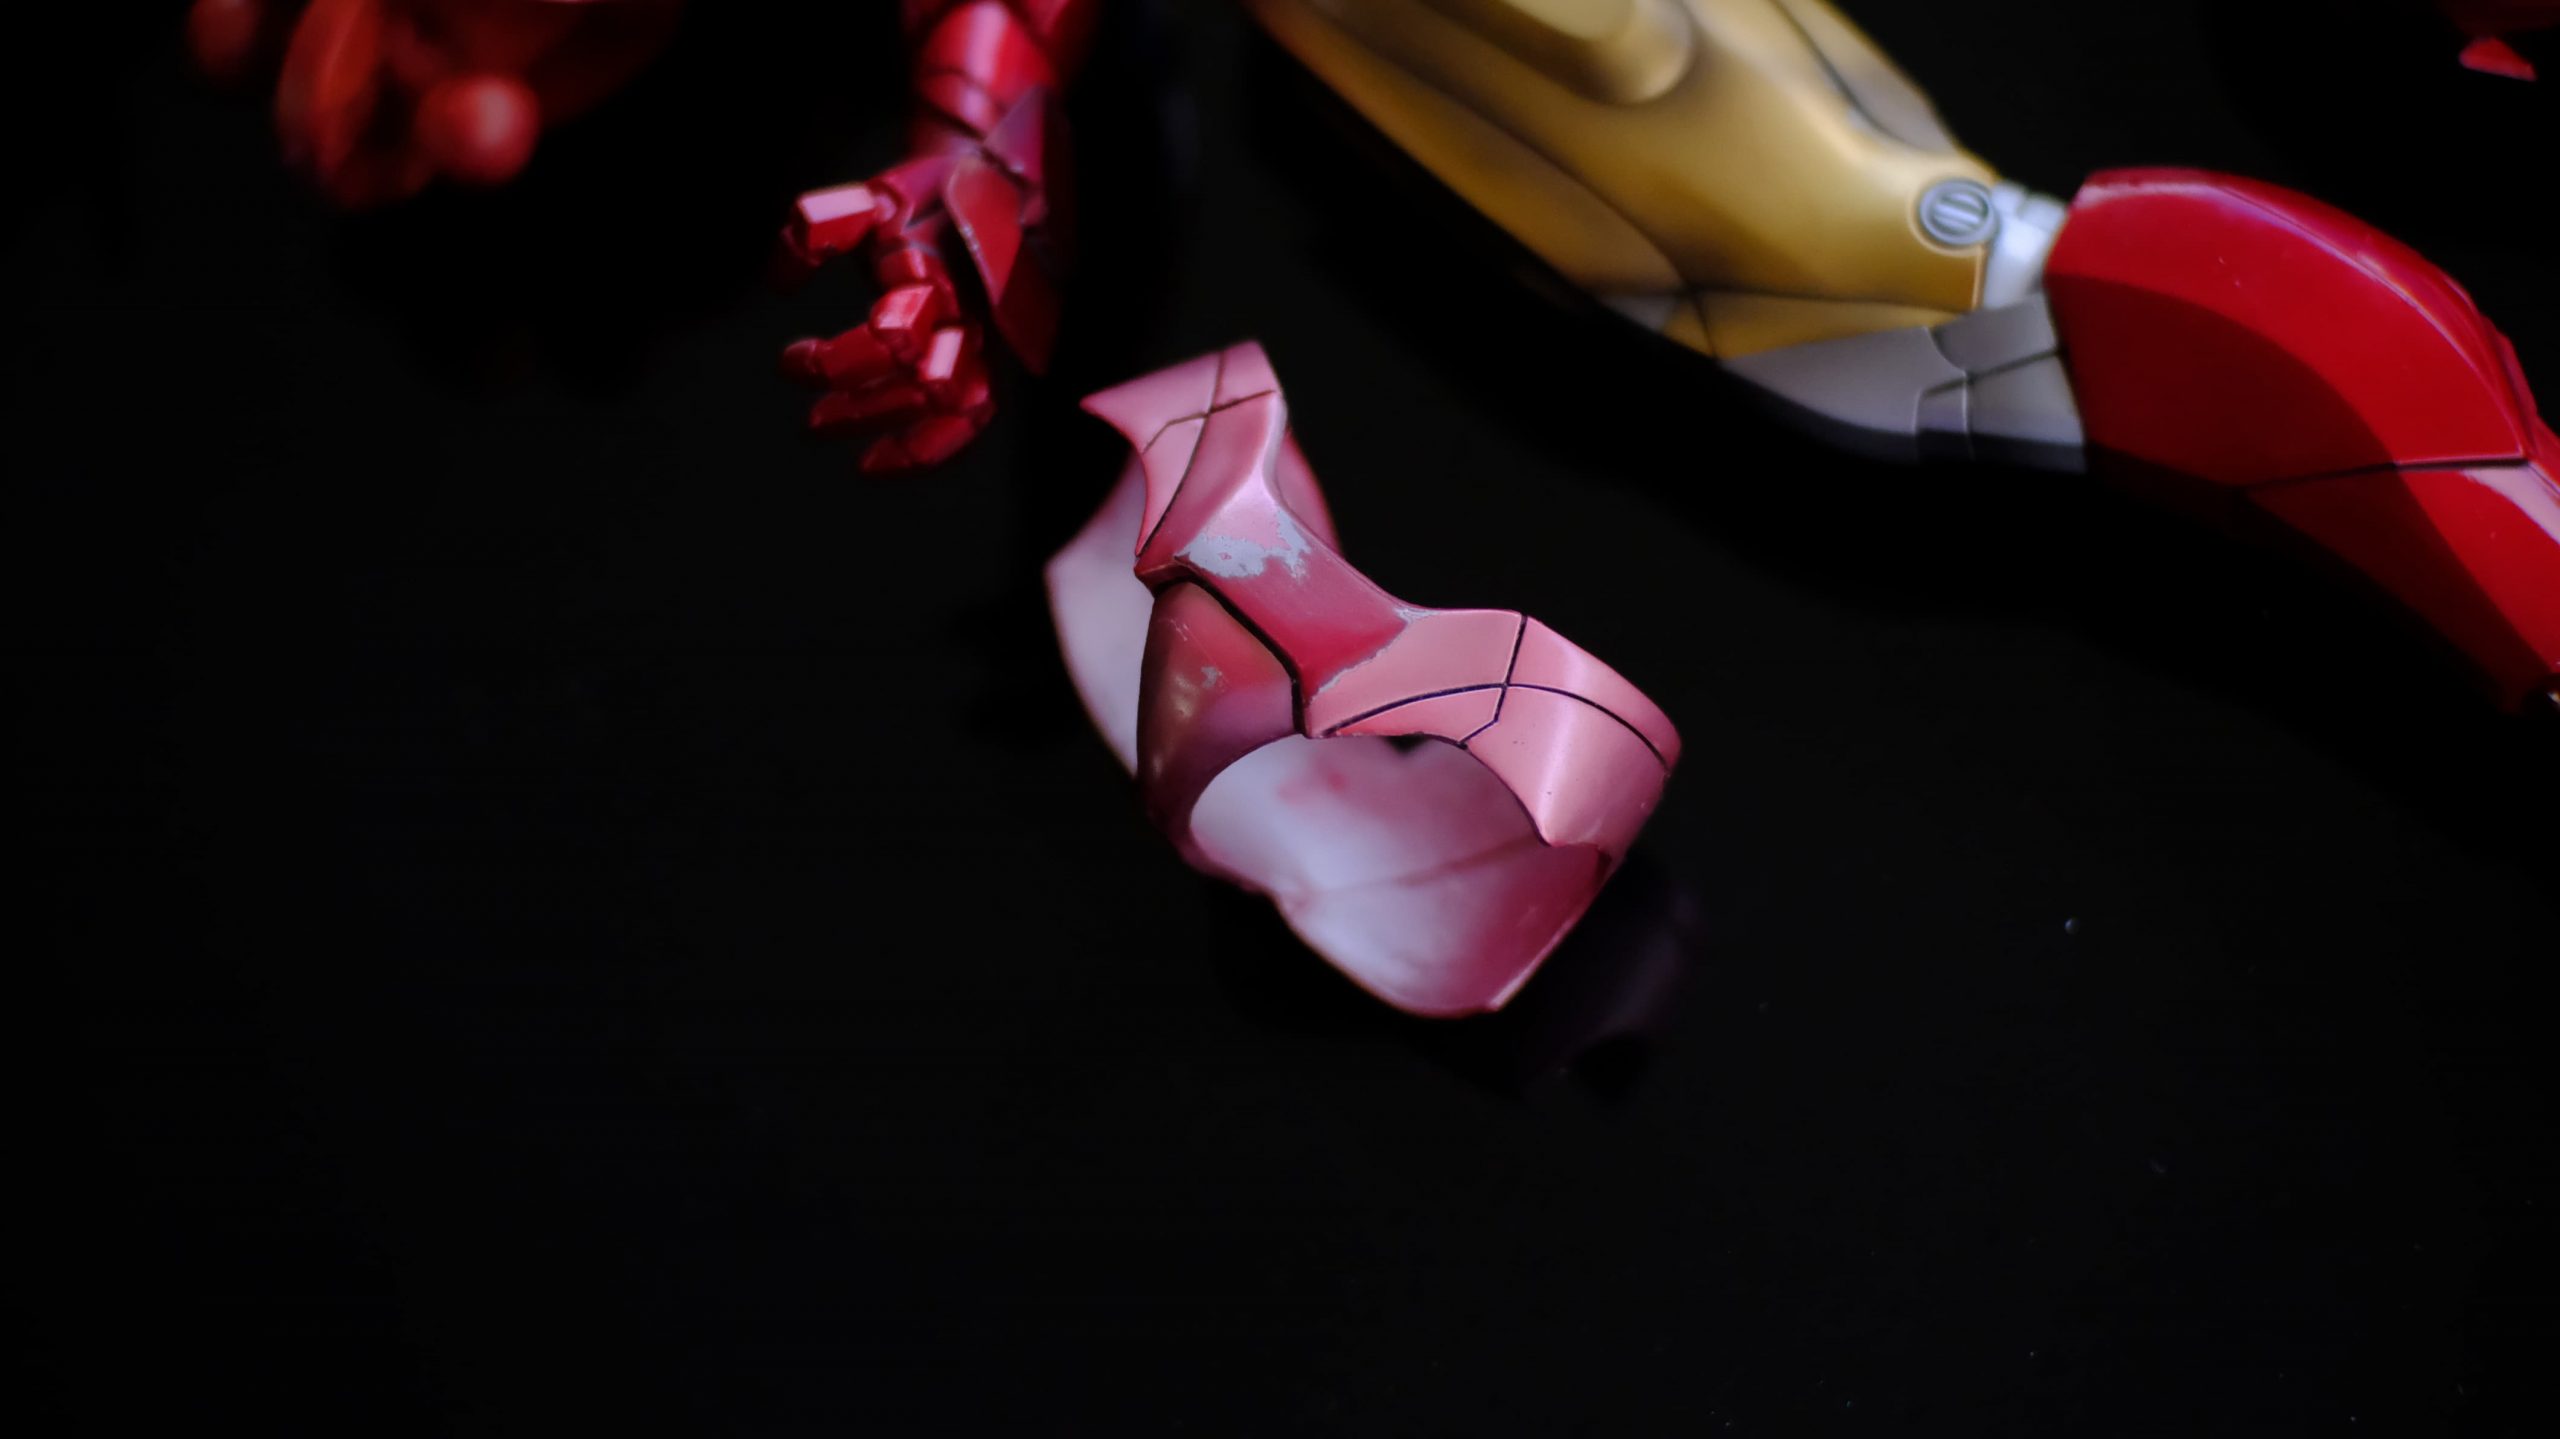
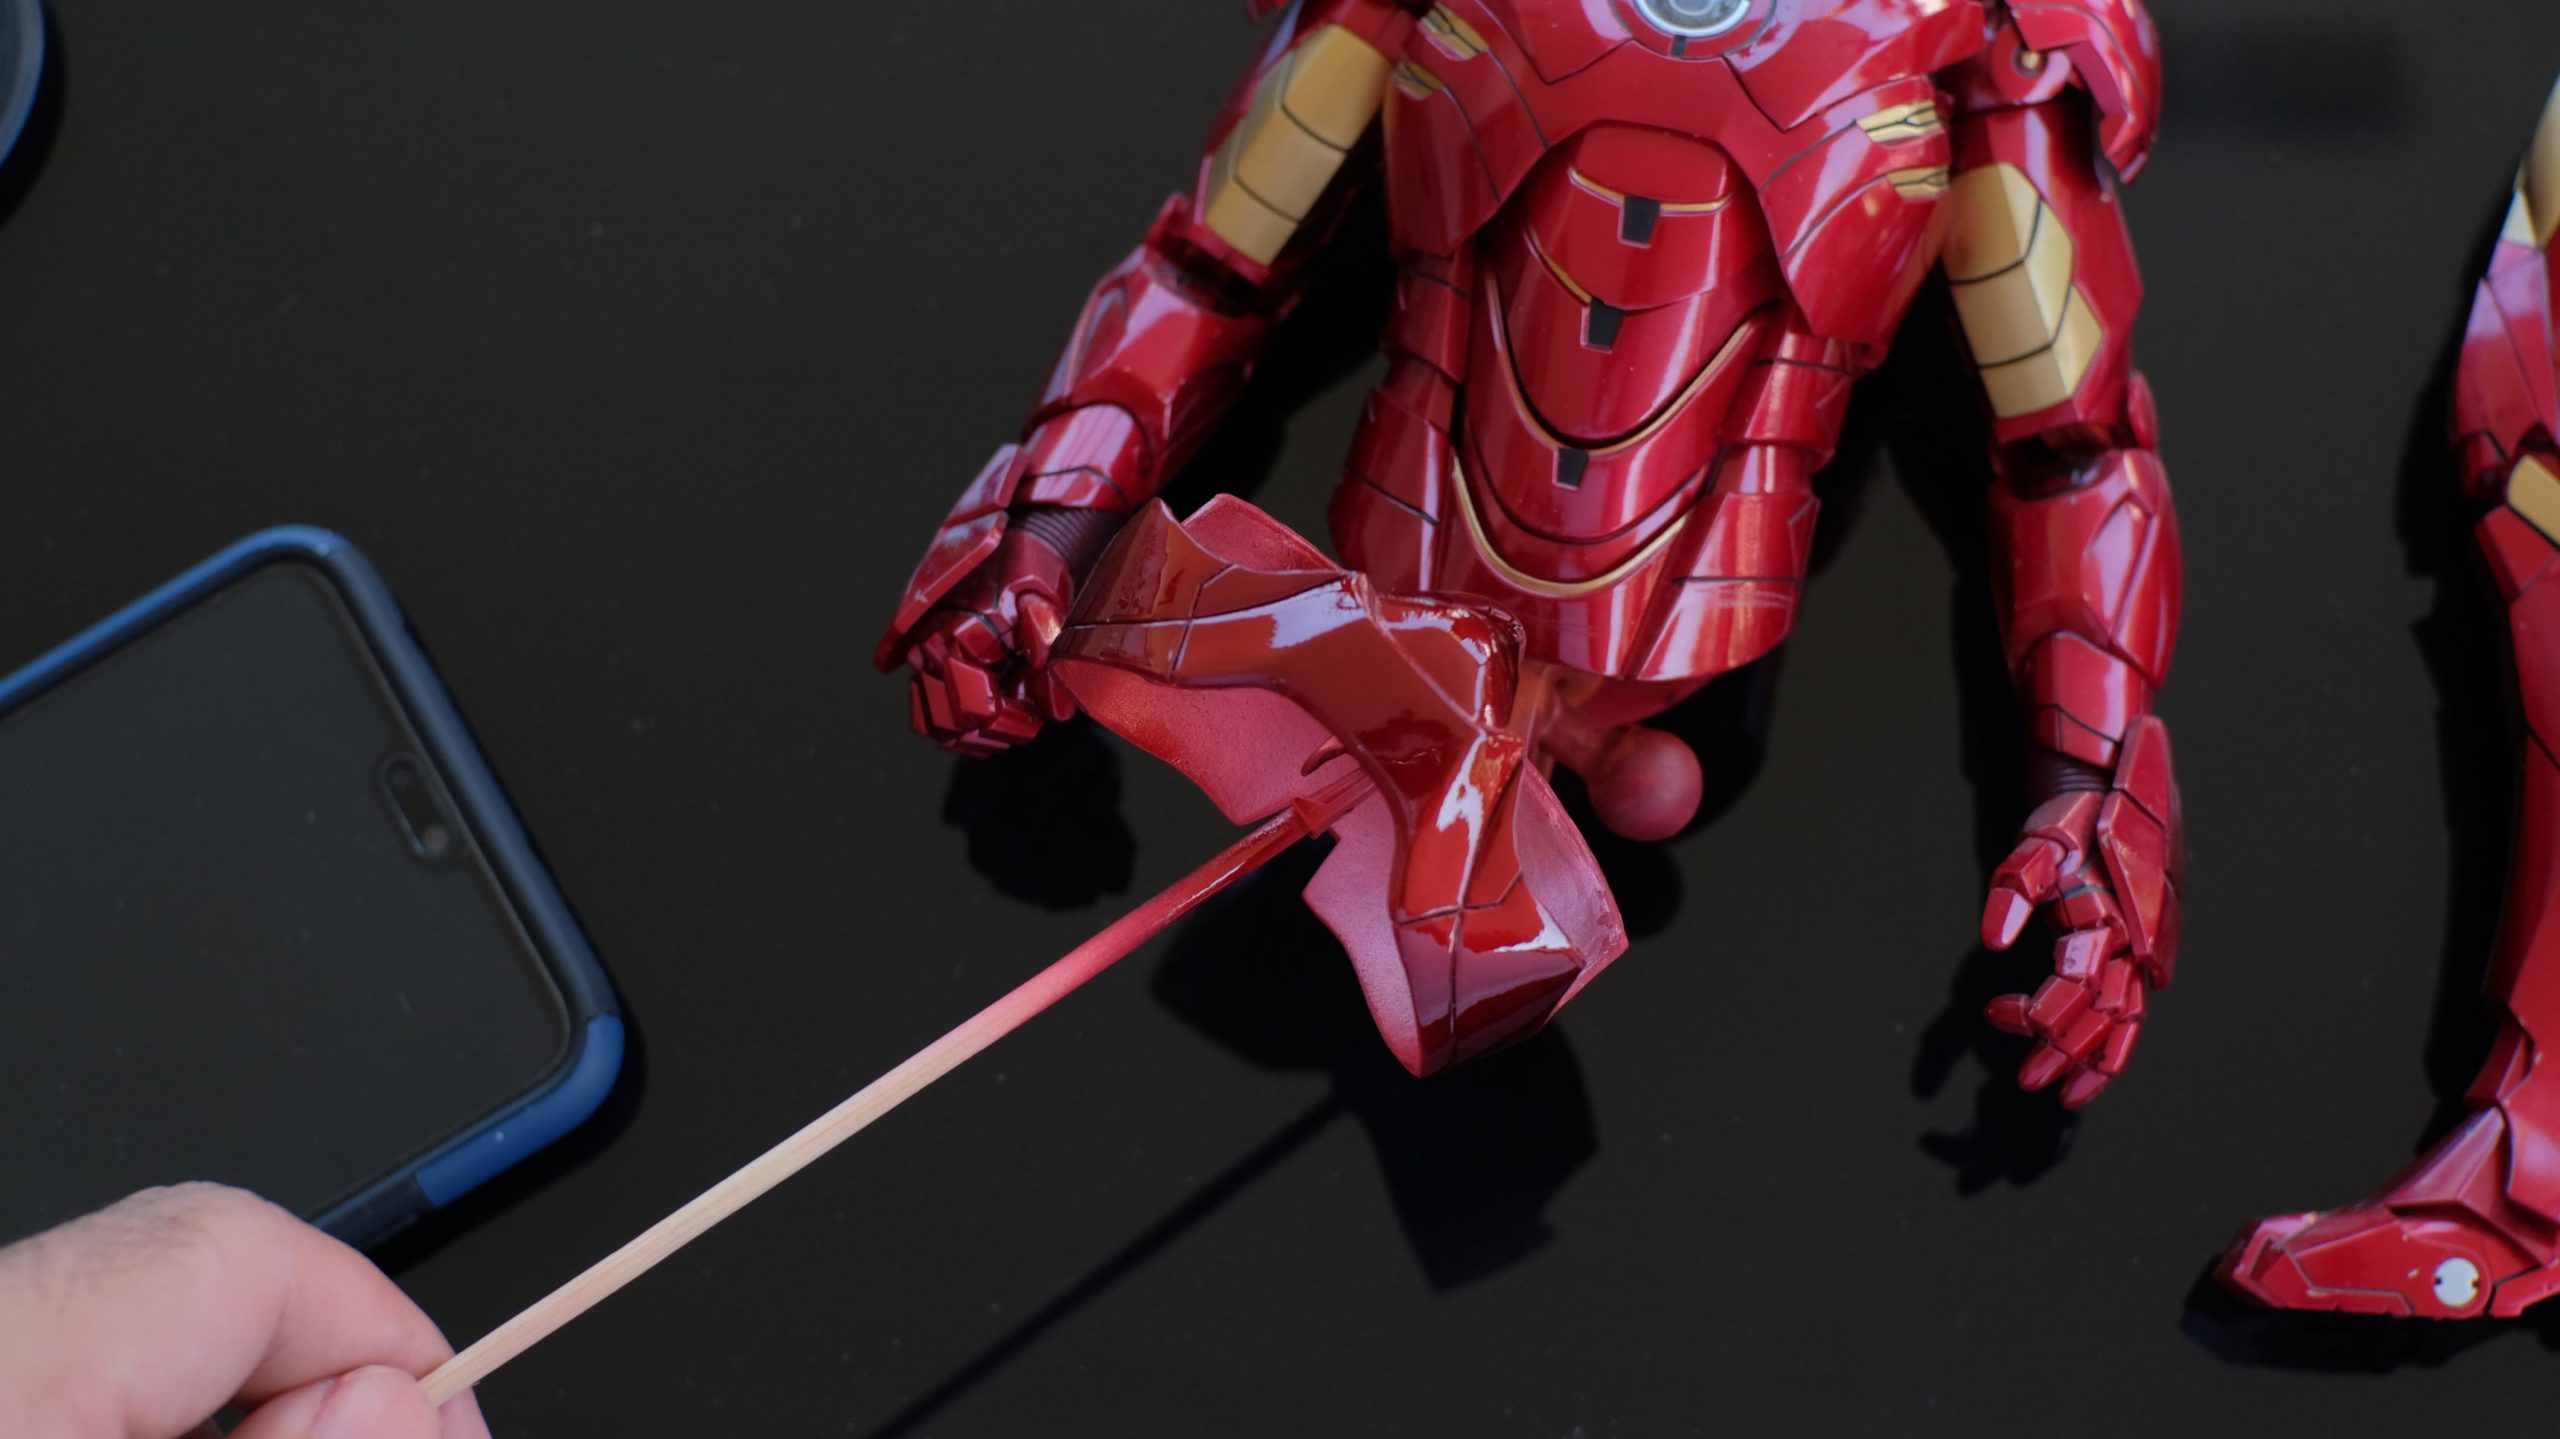
Removing both legs is pretty straightforward; just twist it back and forth until it comes off. Don’t be scared to do this, as the “peg” that connects both legs to the torso uses a thicker plastic, so it won’t break easily. You’ll notice in the image how faded the paint is. Take note that this particular figure was displayed away from direct sunlight and inside a glass cabinet in an air-conditioned room.
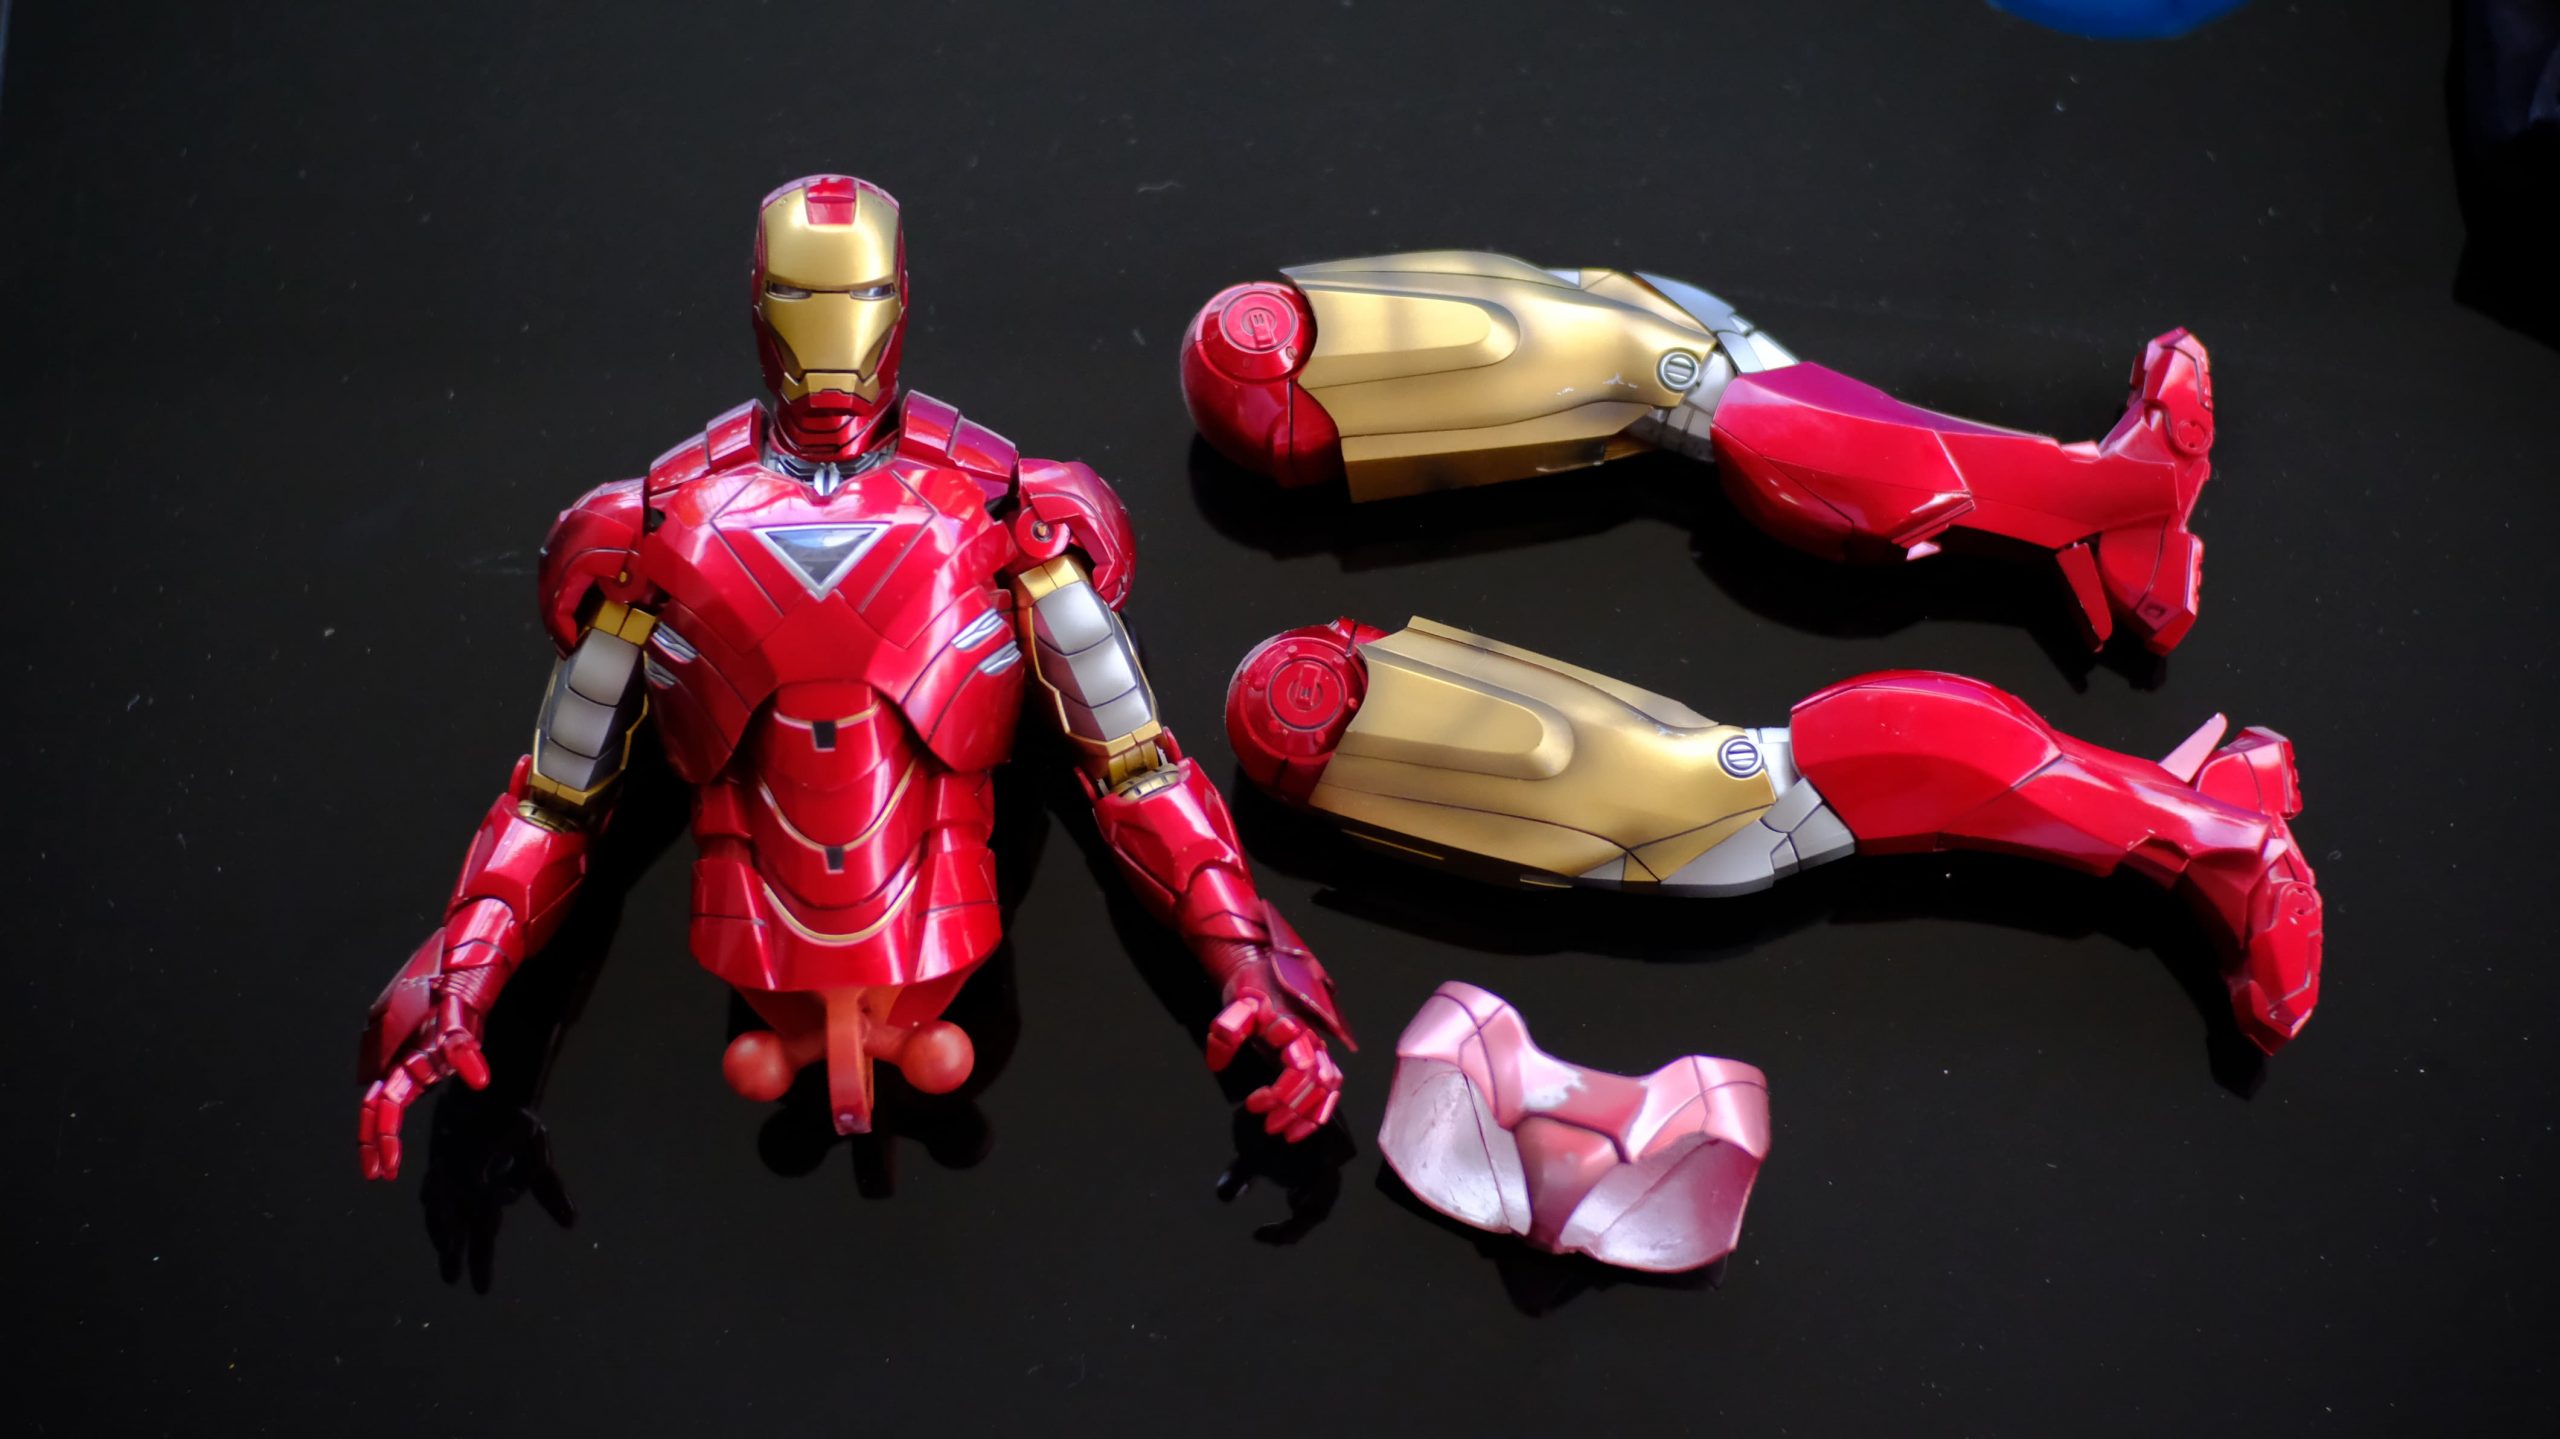
Once the legs are removed, the faded part won’t come off automatically as it is glued to the torso. Carefully remove it until it is completely separated from the body.
Stripping the Paint
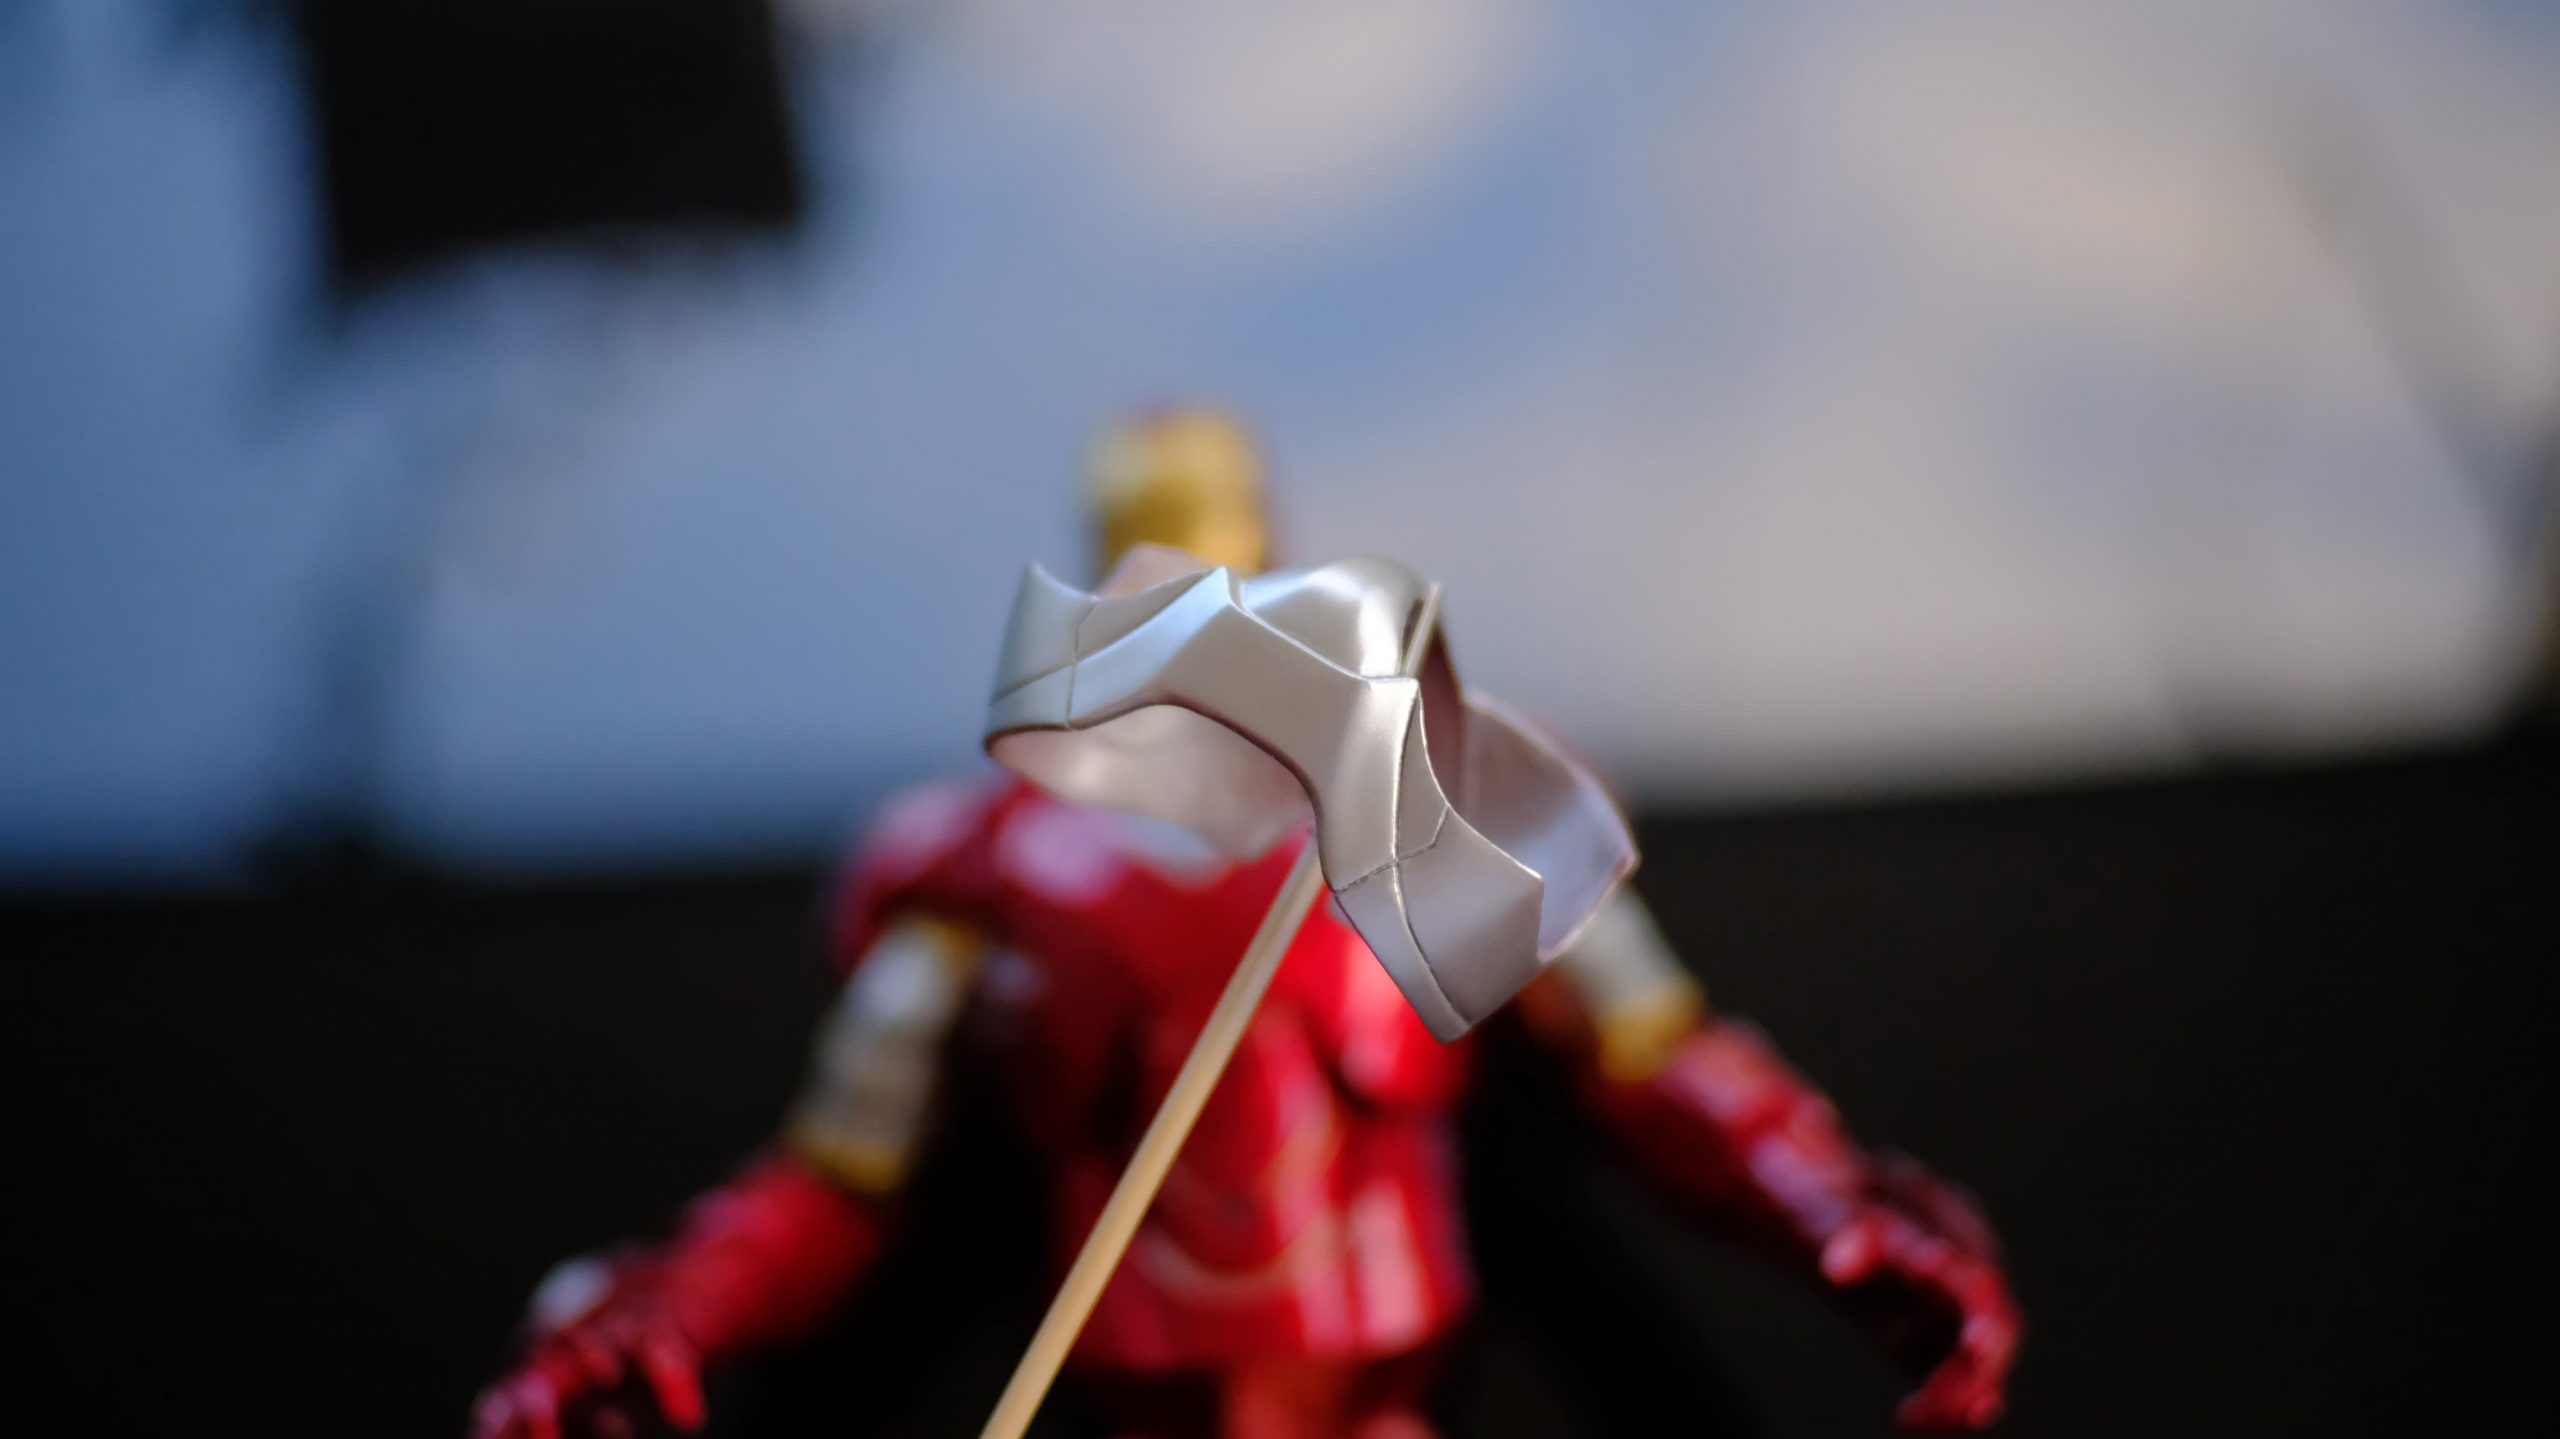
The next step is to remove the paint. I used my wife’s cuticle remover for this, but alcohol would work just as well. Just rub it with a cotton or rag until the paint starts to come off. As you do this, you’ll notice a silver layer of paint, which is important to get the metallic red look when we start painting. It’s also one of the reasons why the part looks pink when faded. Once you have stripped out all the paint, you’ll be surprised to see that the color of the material used is very close to the red color of the entire figure. It’s up to you if you want to stop here, but what we want is to replicate the original paint job, making it look like it’s brand new.
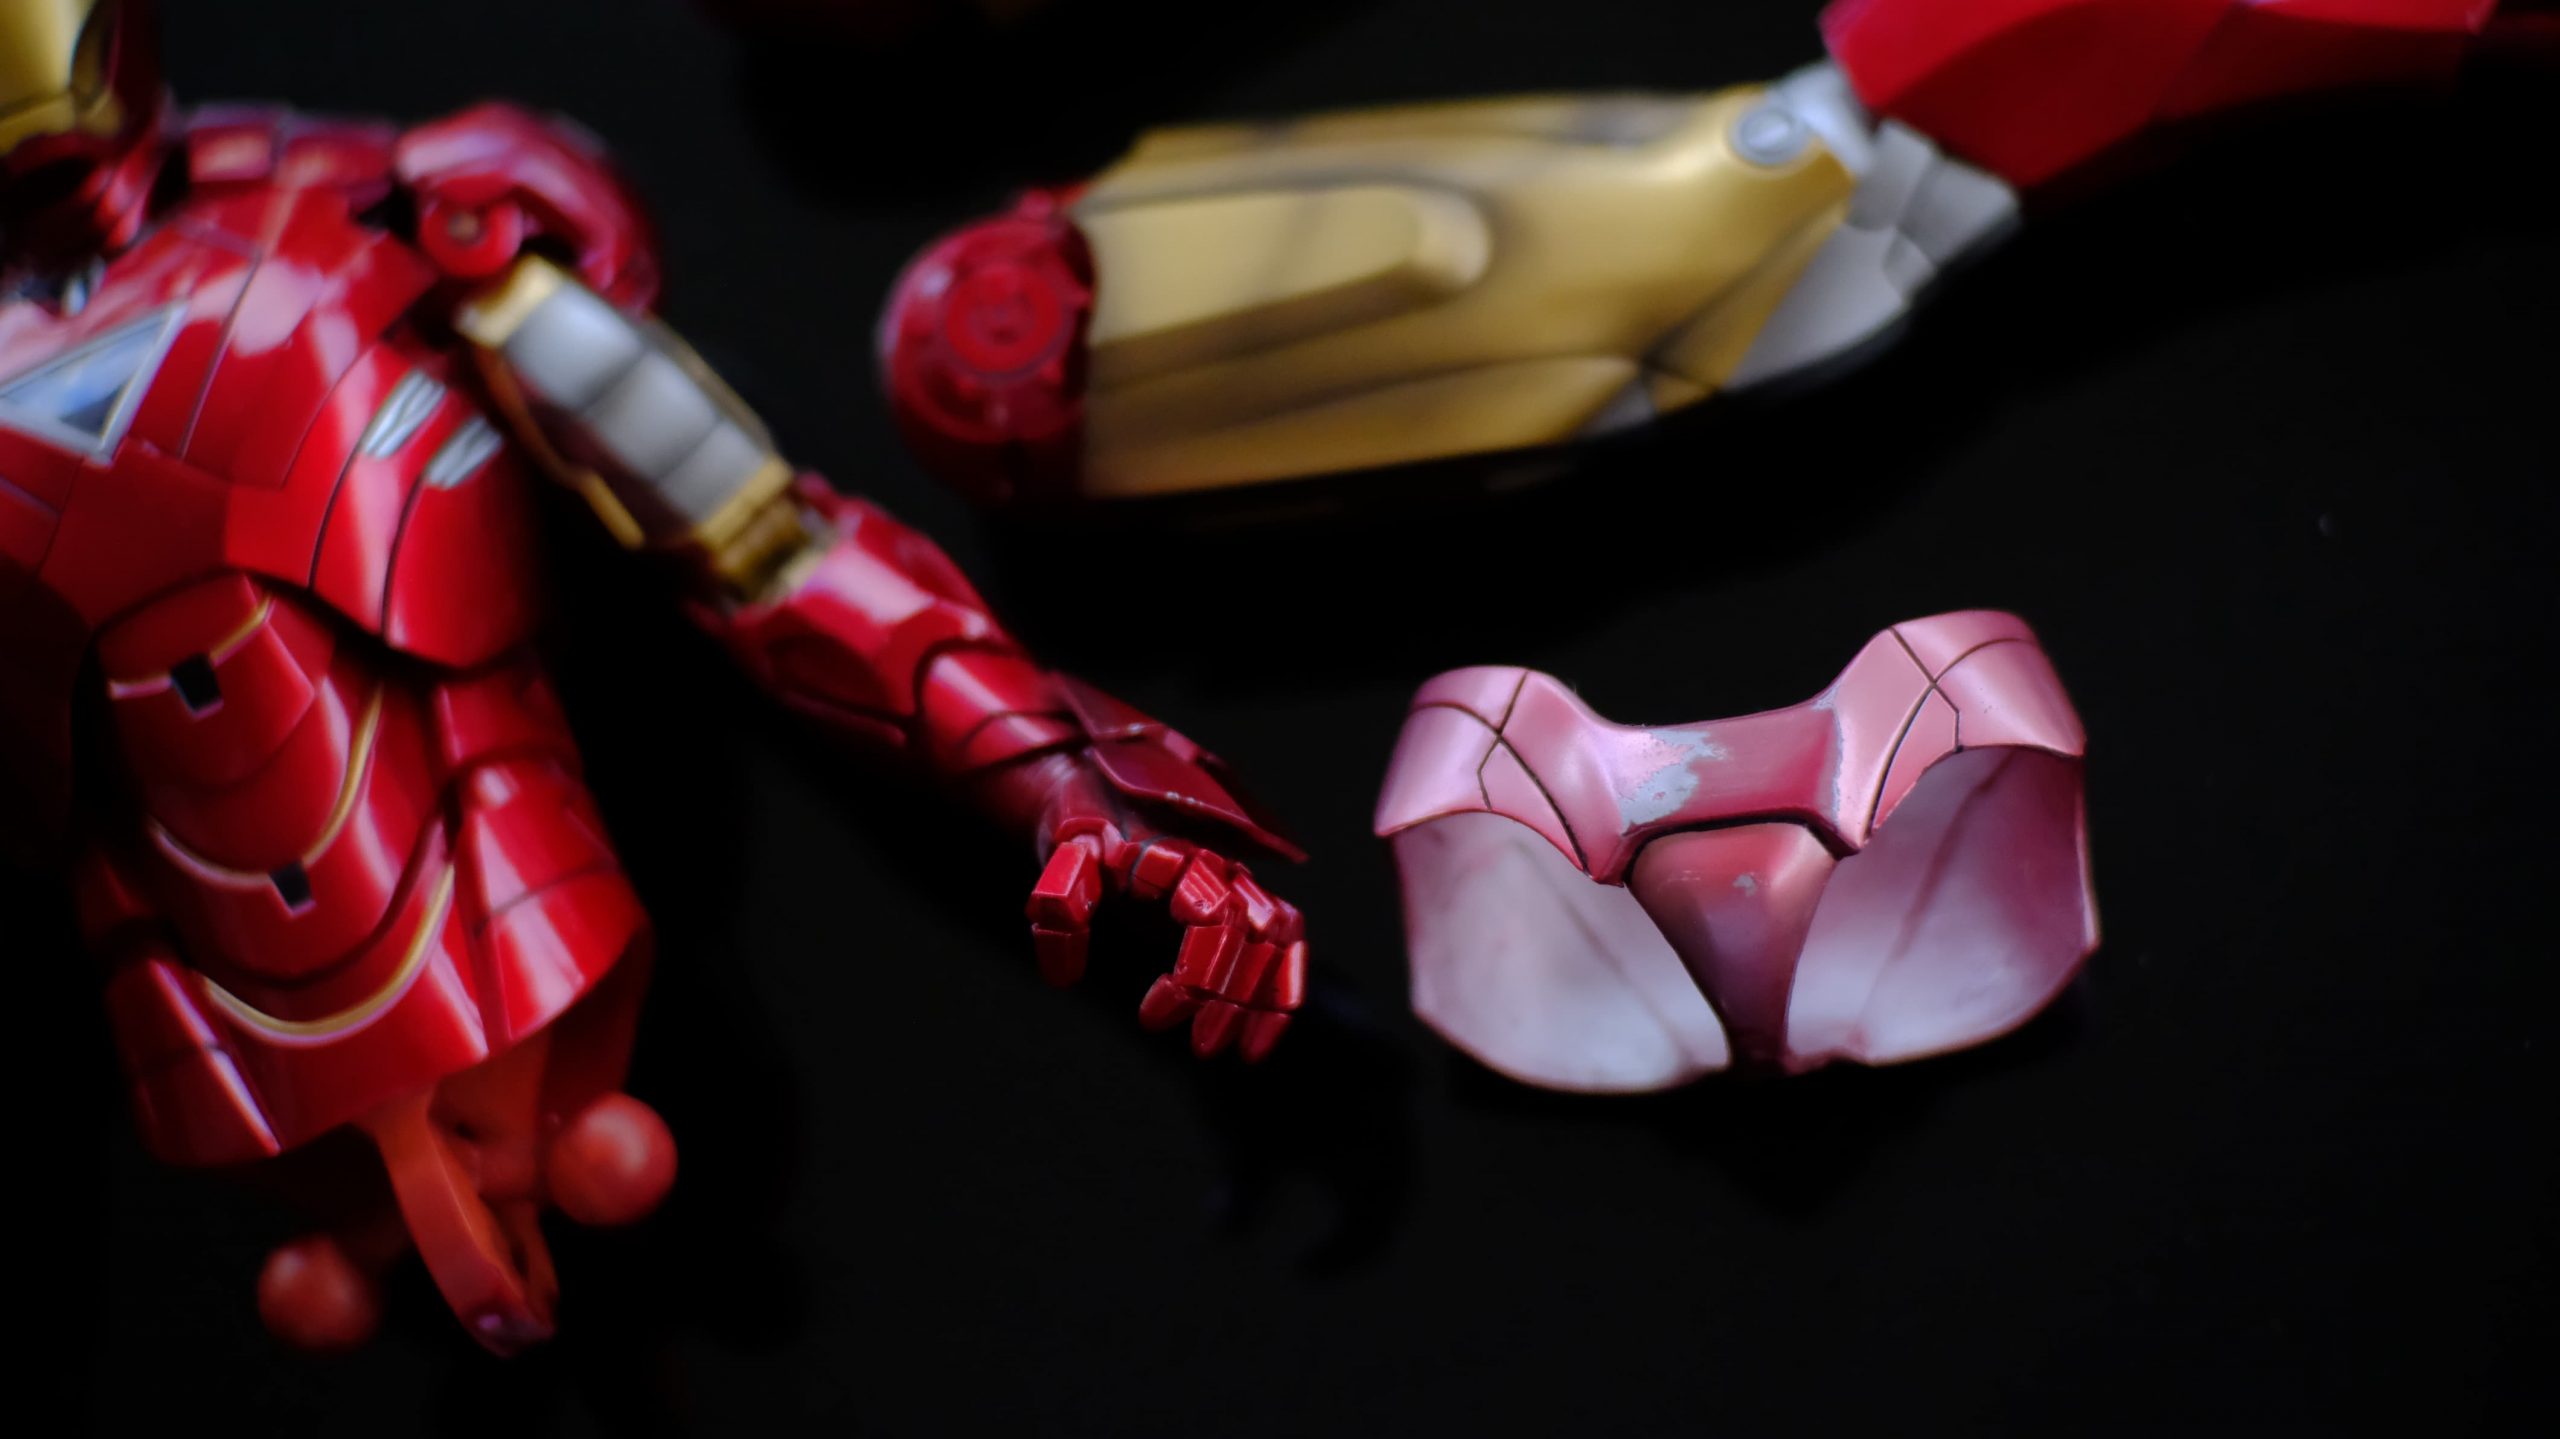
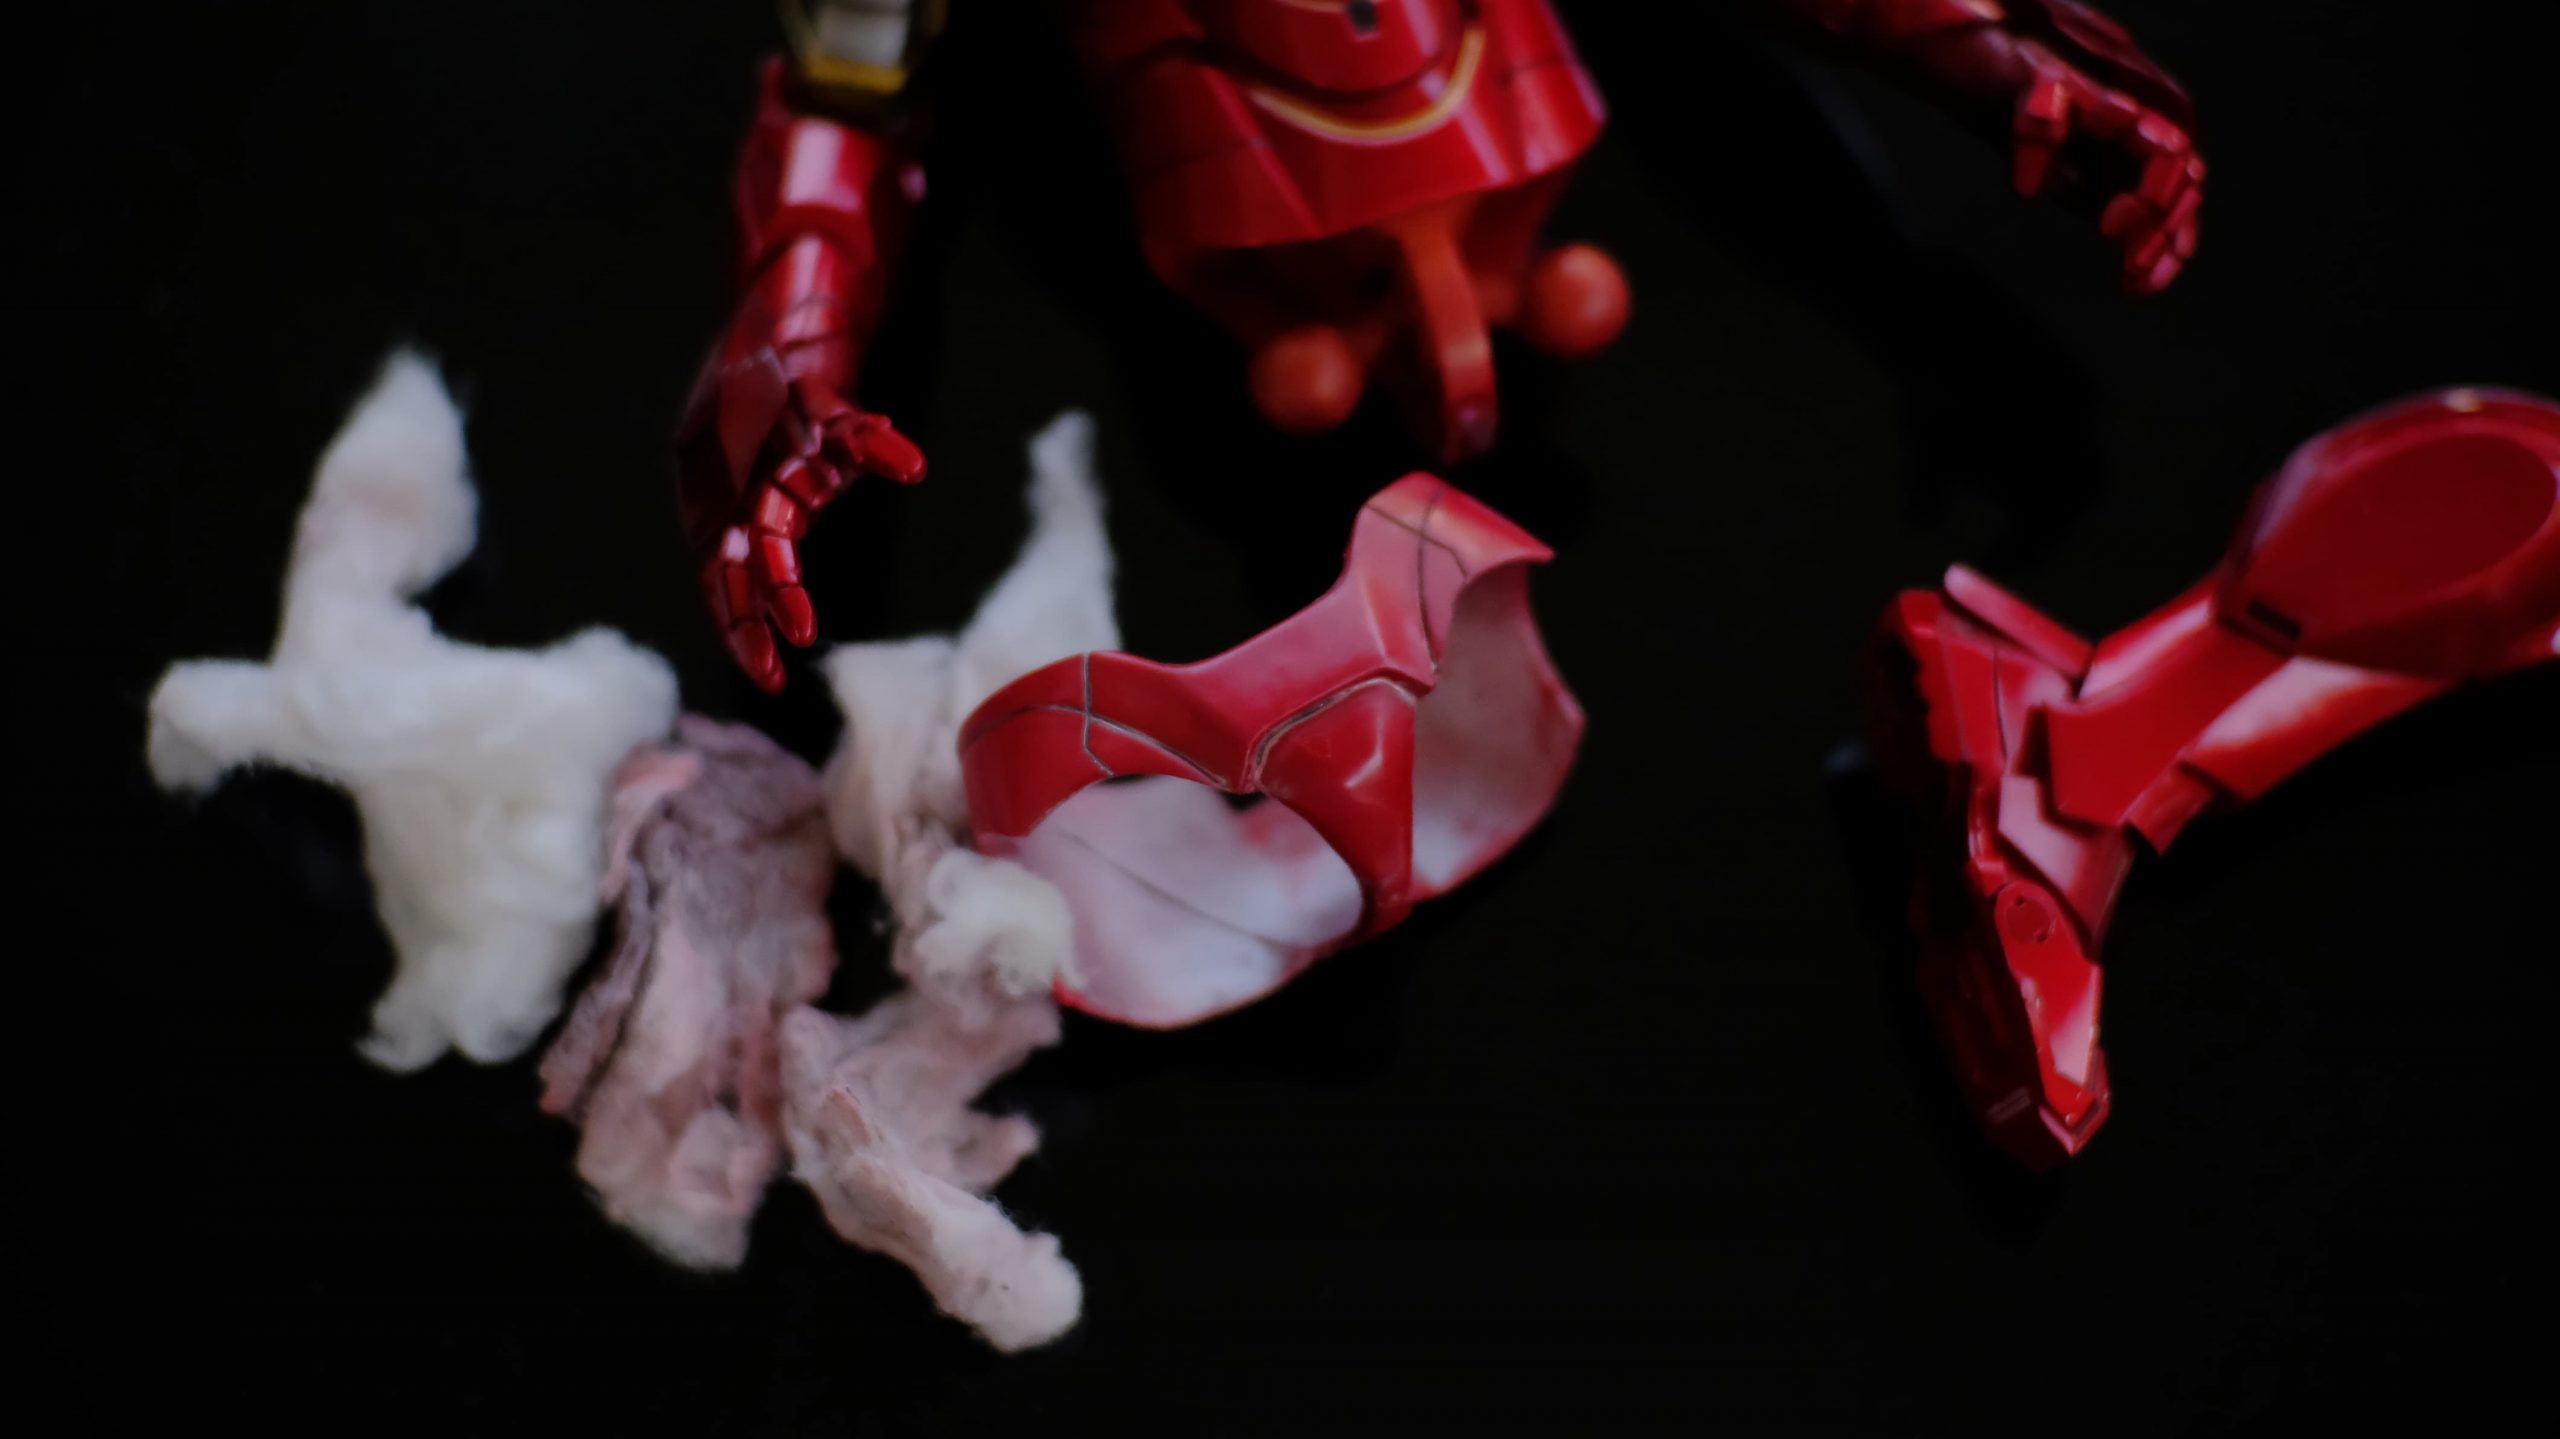
Clean the entire part thoroughly before we proceed to the next step – painting!
Prep for Painting
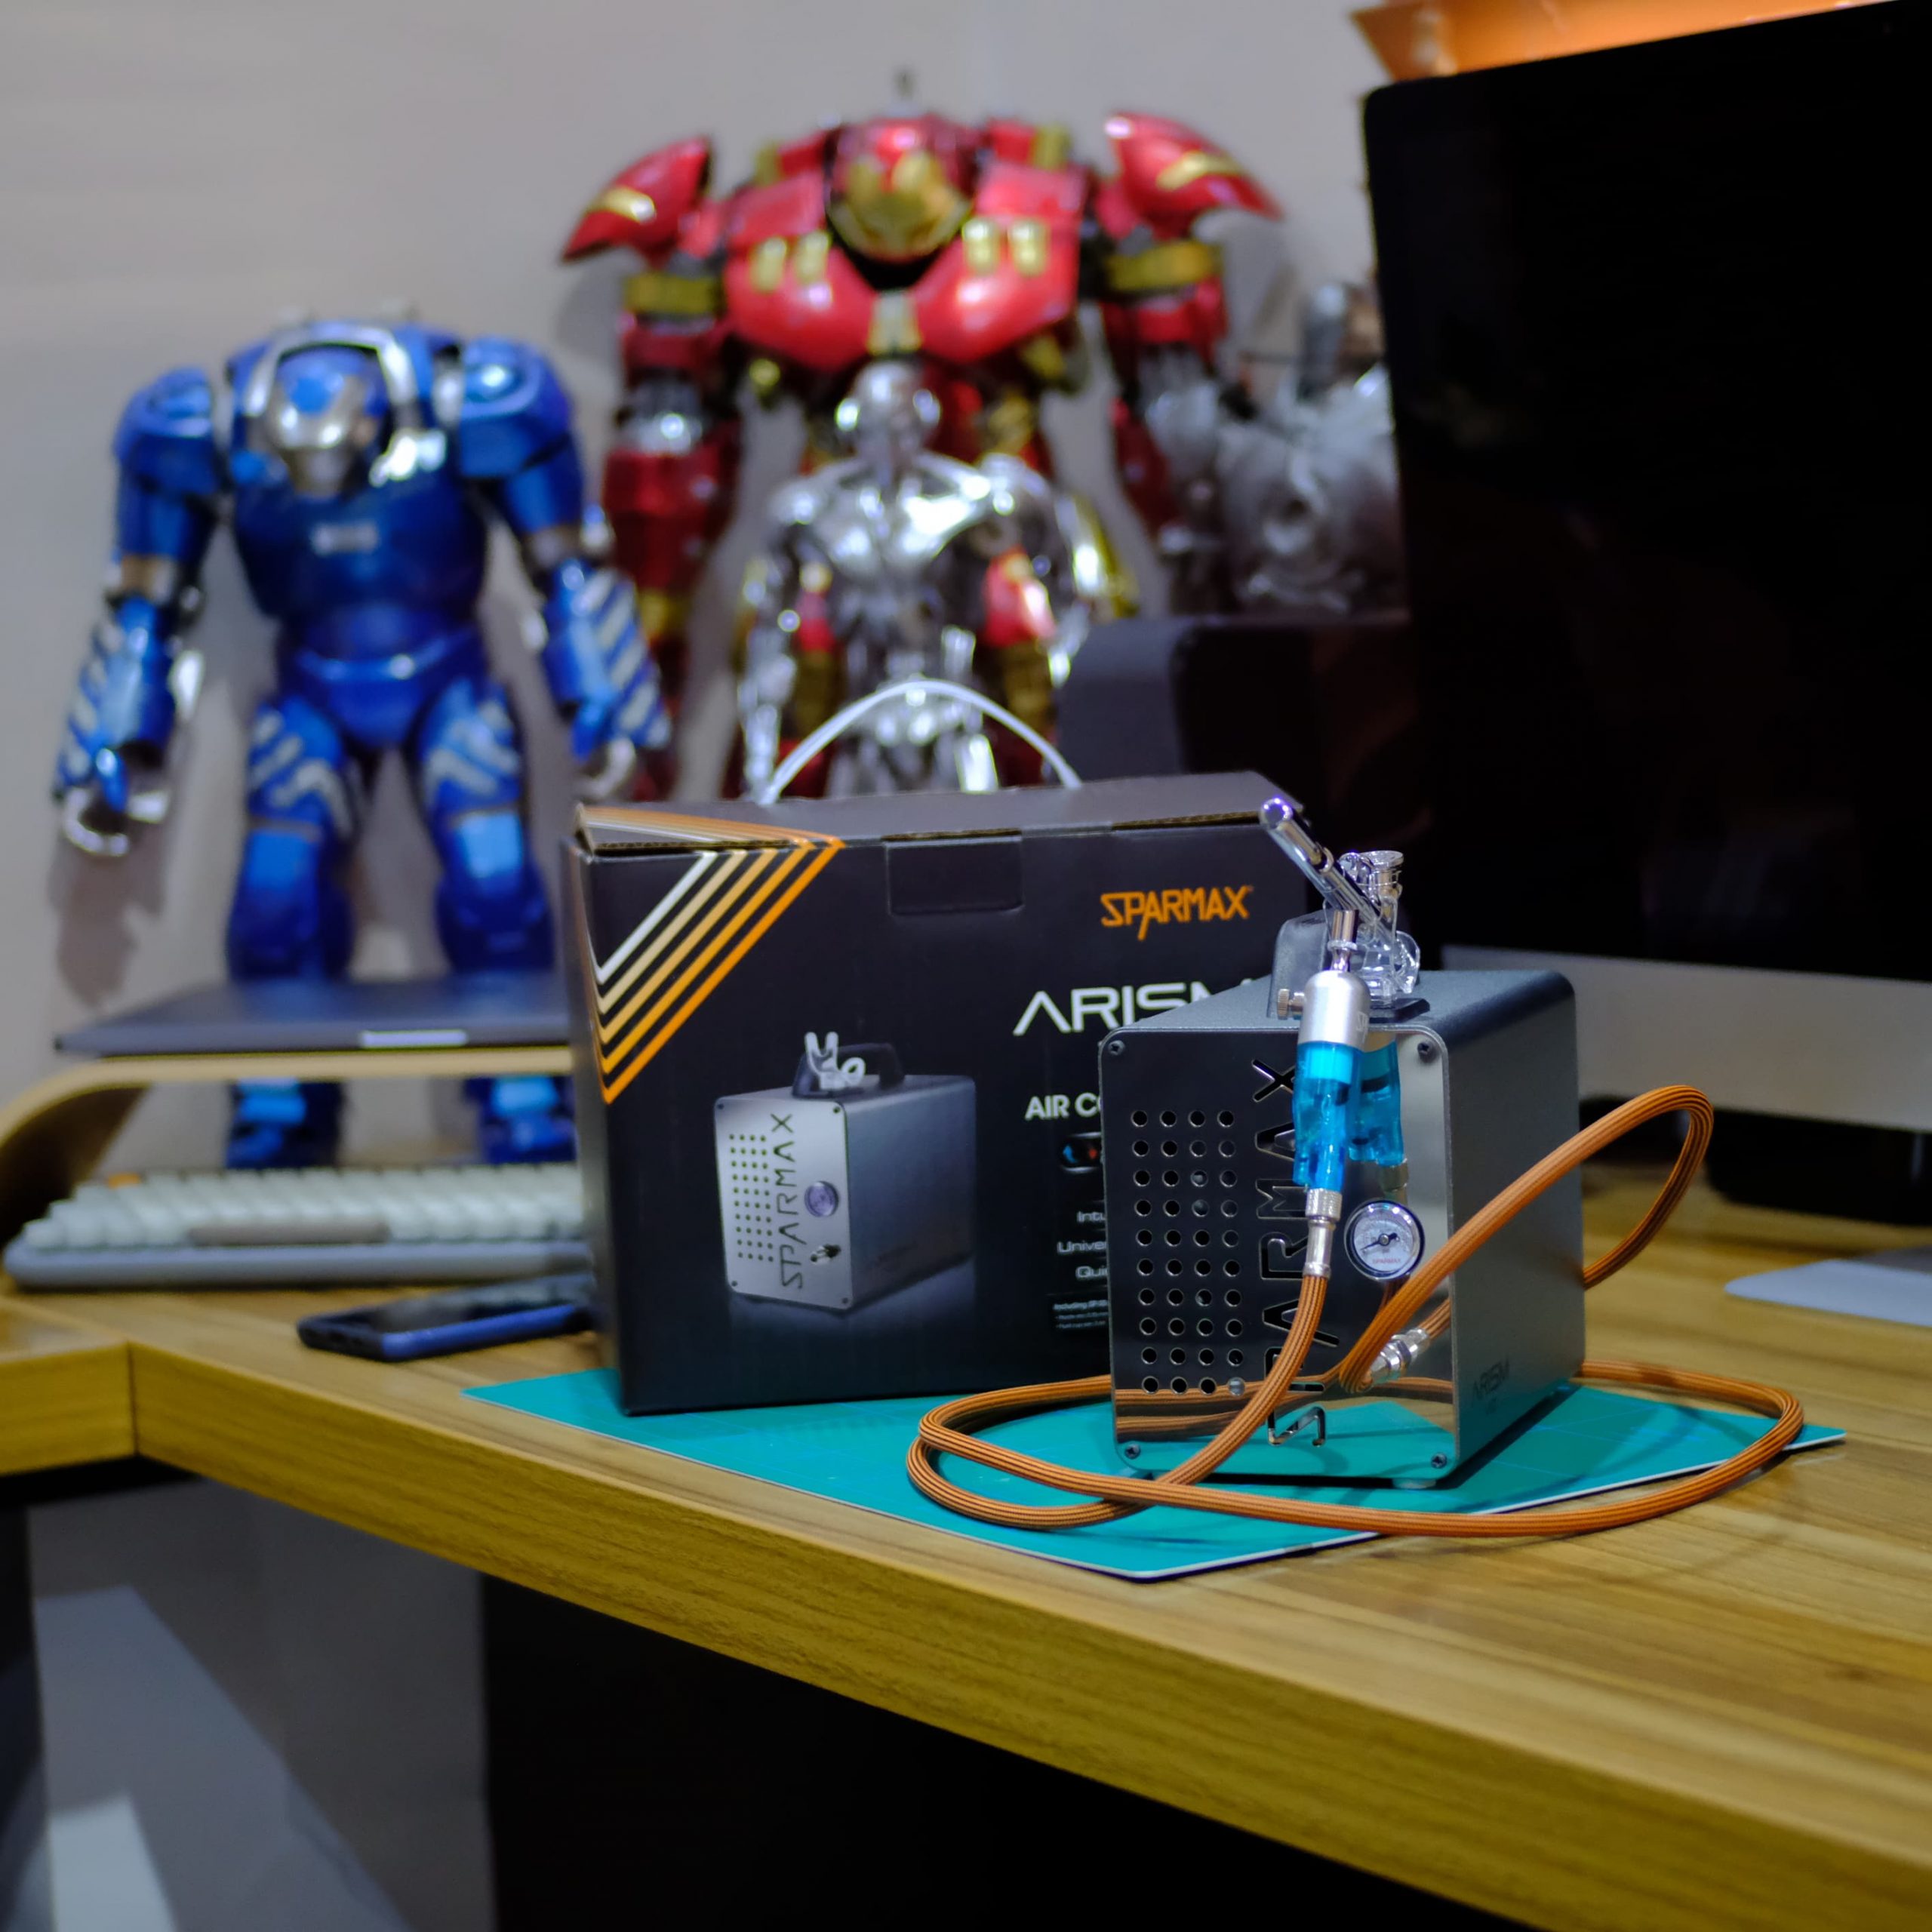
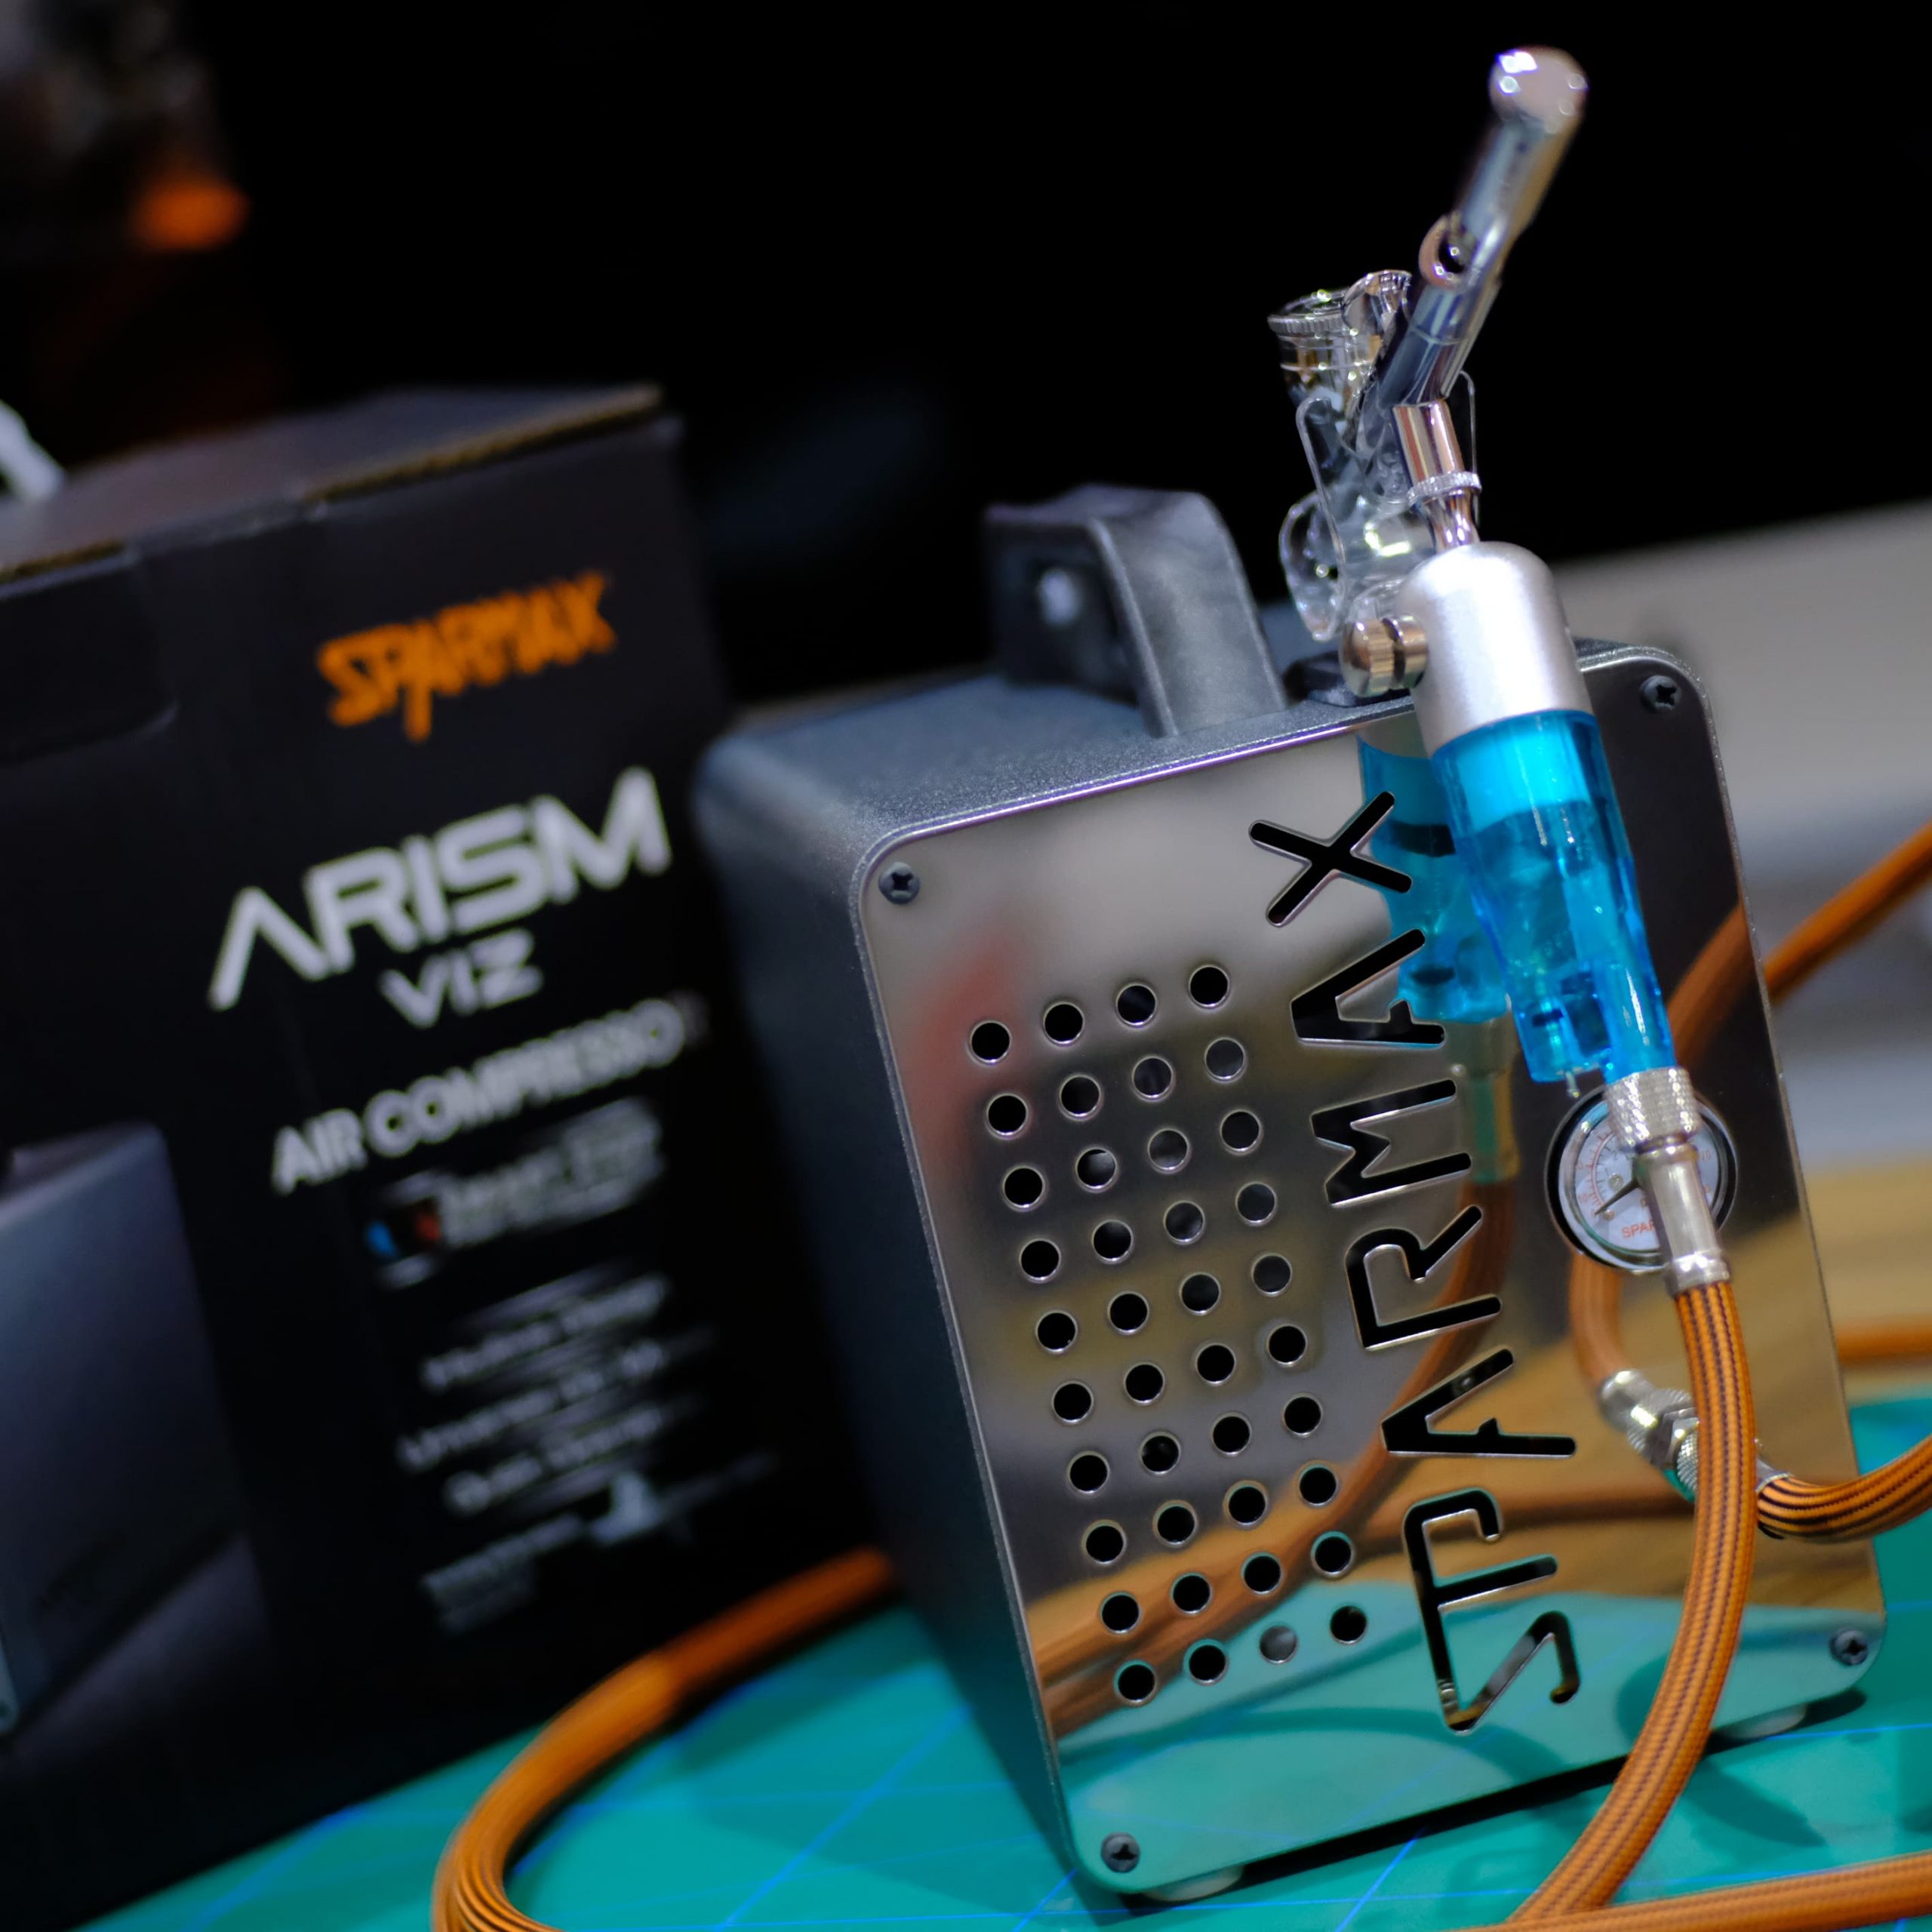
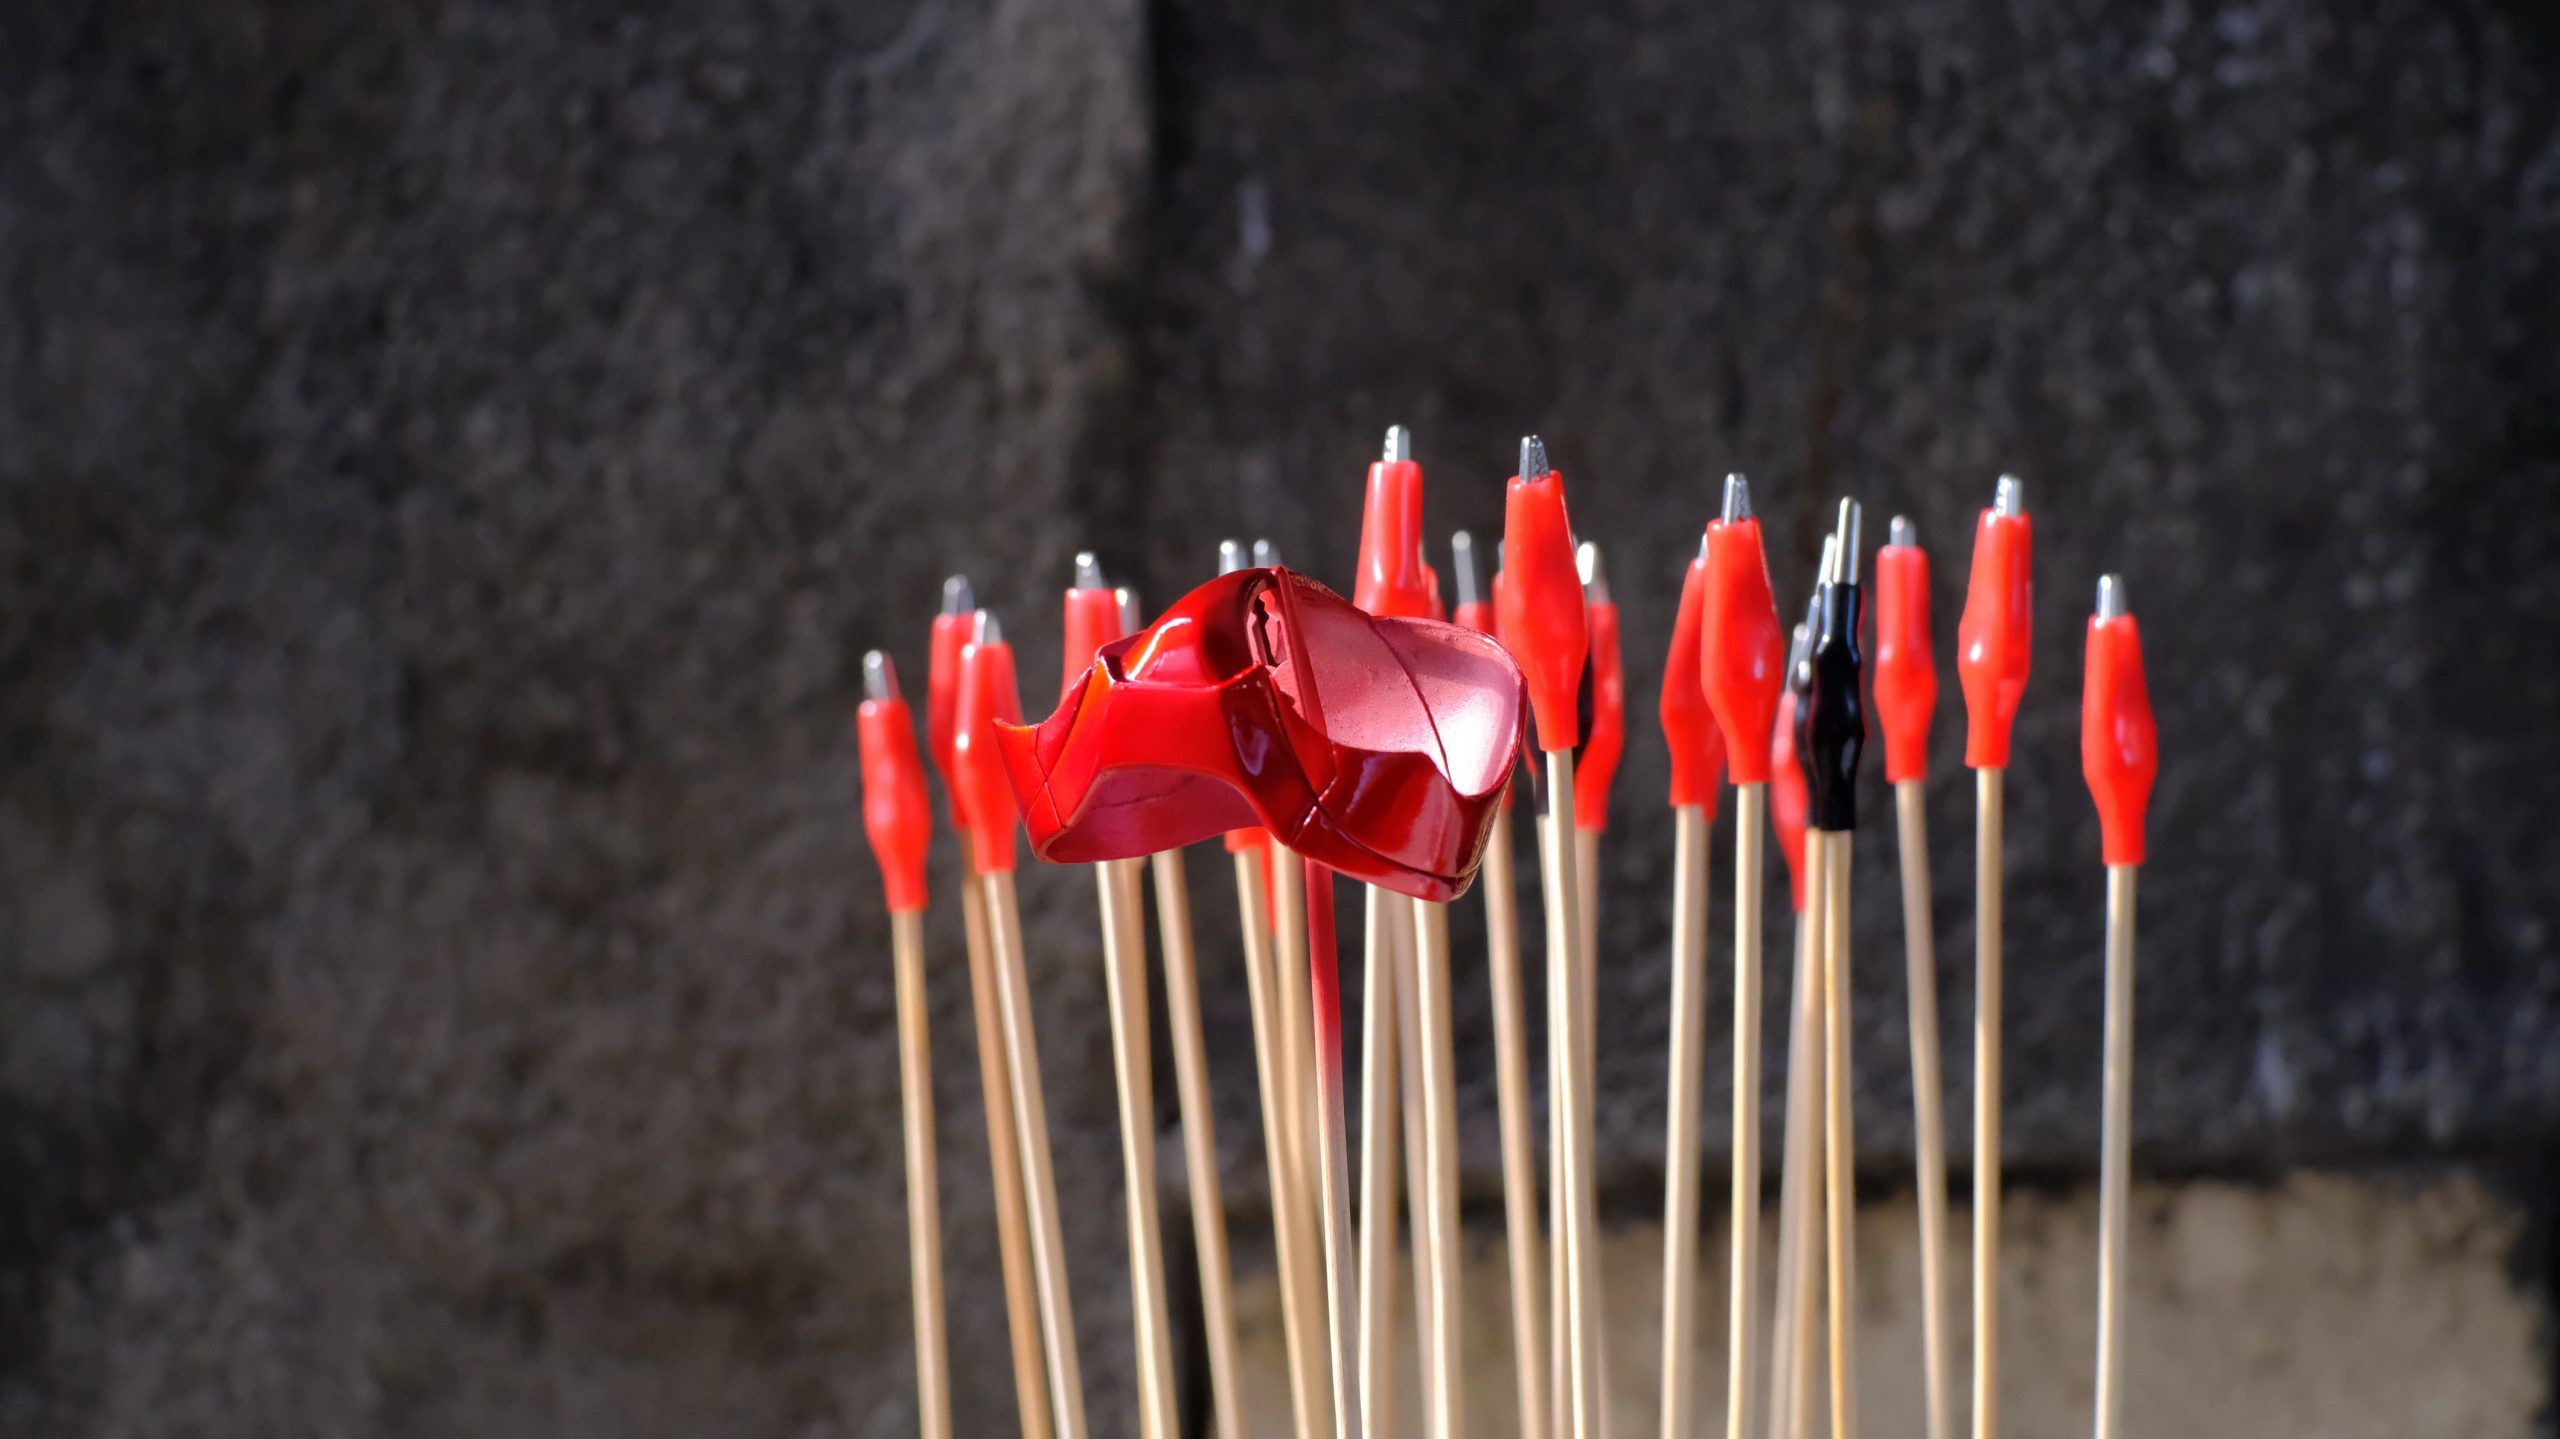
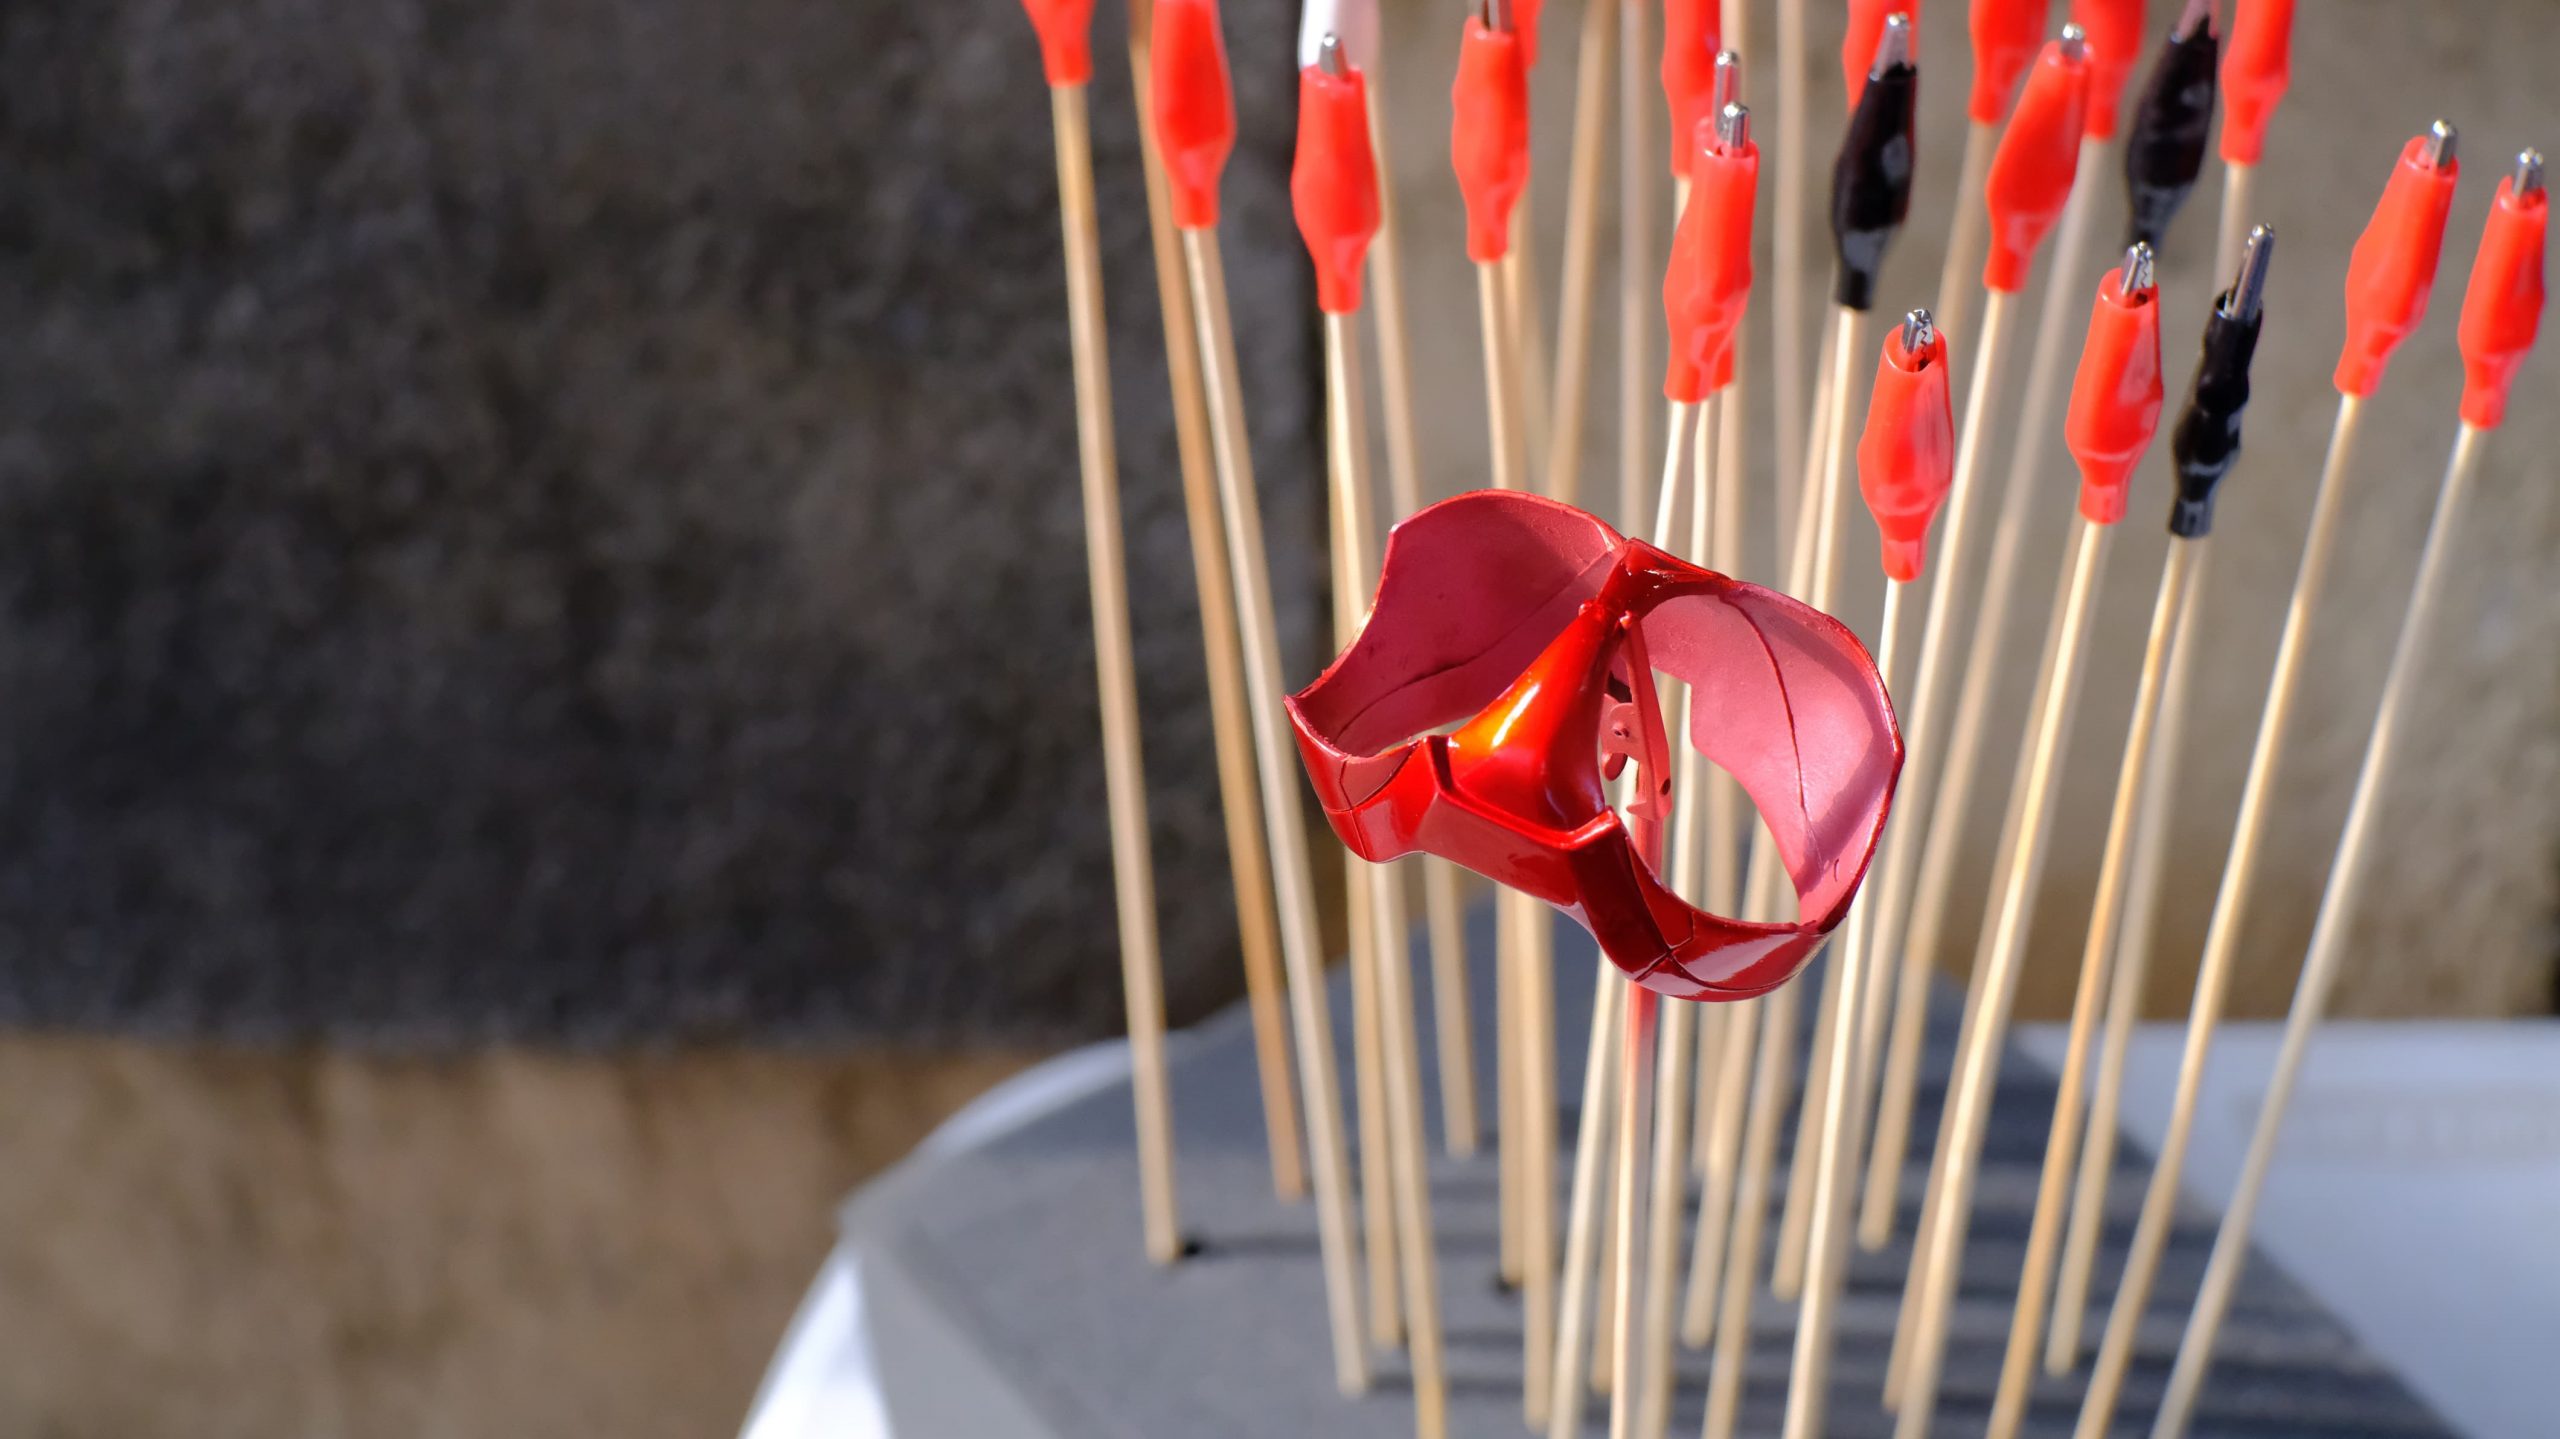
In order for us to do the restoration, we need the following tools and materials: an airbrush and compressor (which can be purchased for $60, including a mini compressor); acrylic-based silver (Tamiya X-11 or Gaianotes EX-07) and clear red (Tamiya X-27 or Gaianotes 041) paint; plastic spoons (for trials); acrylic paint thinner (Tamiya X-20A); alligator clips and BBQ sticks to assist with painting (Blu Tacks can be used as an alternative); and a Sparmax Arism Viz for painting (though any airbrush-compressor combo will also work).
Doing Paint Trials
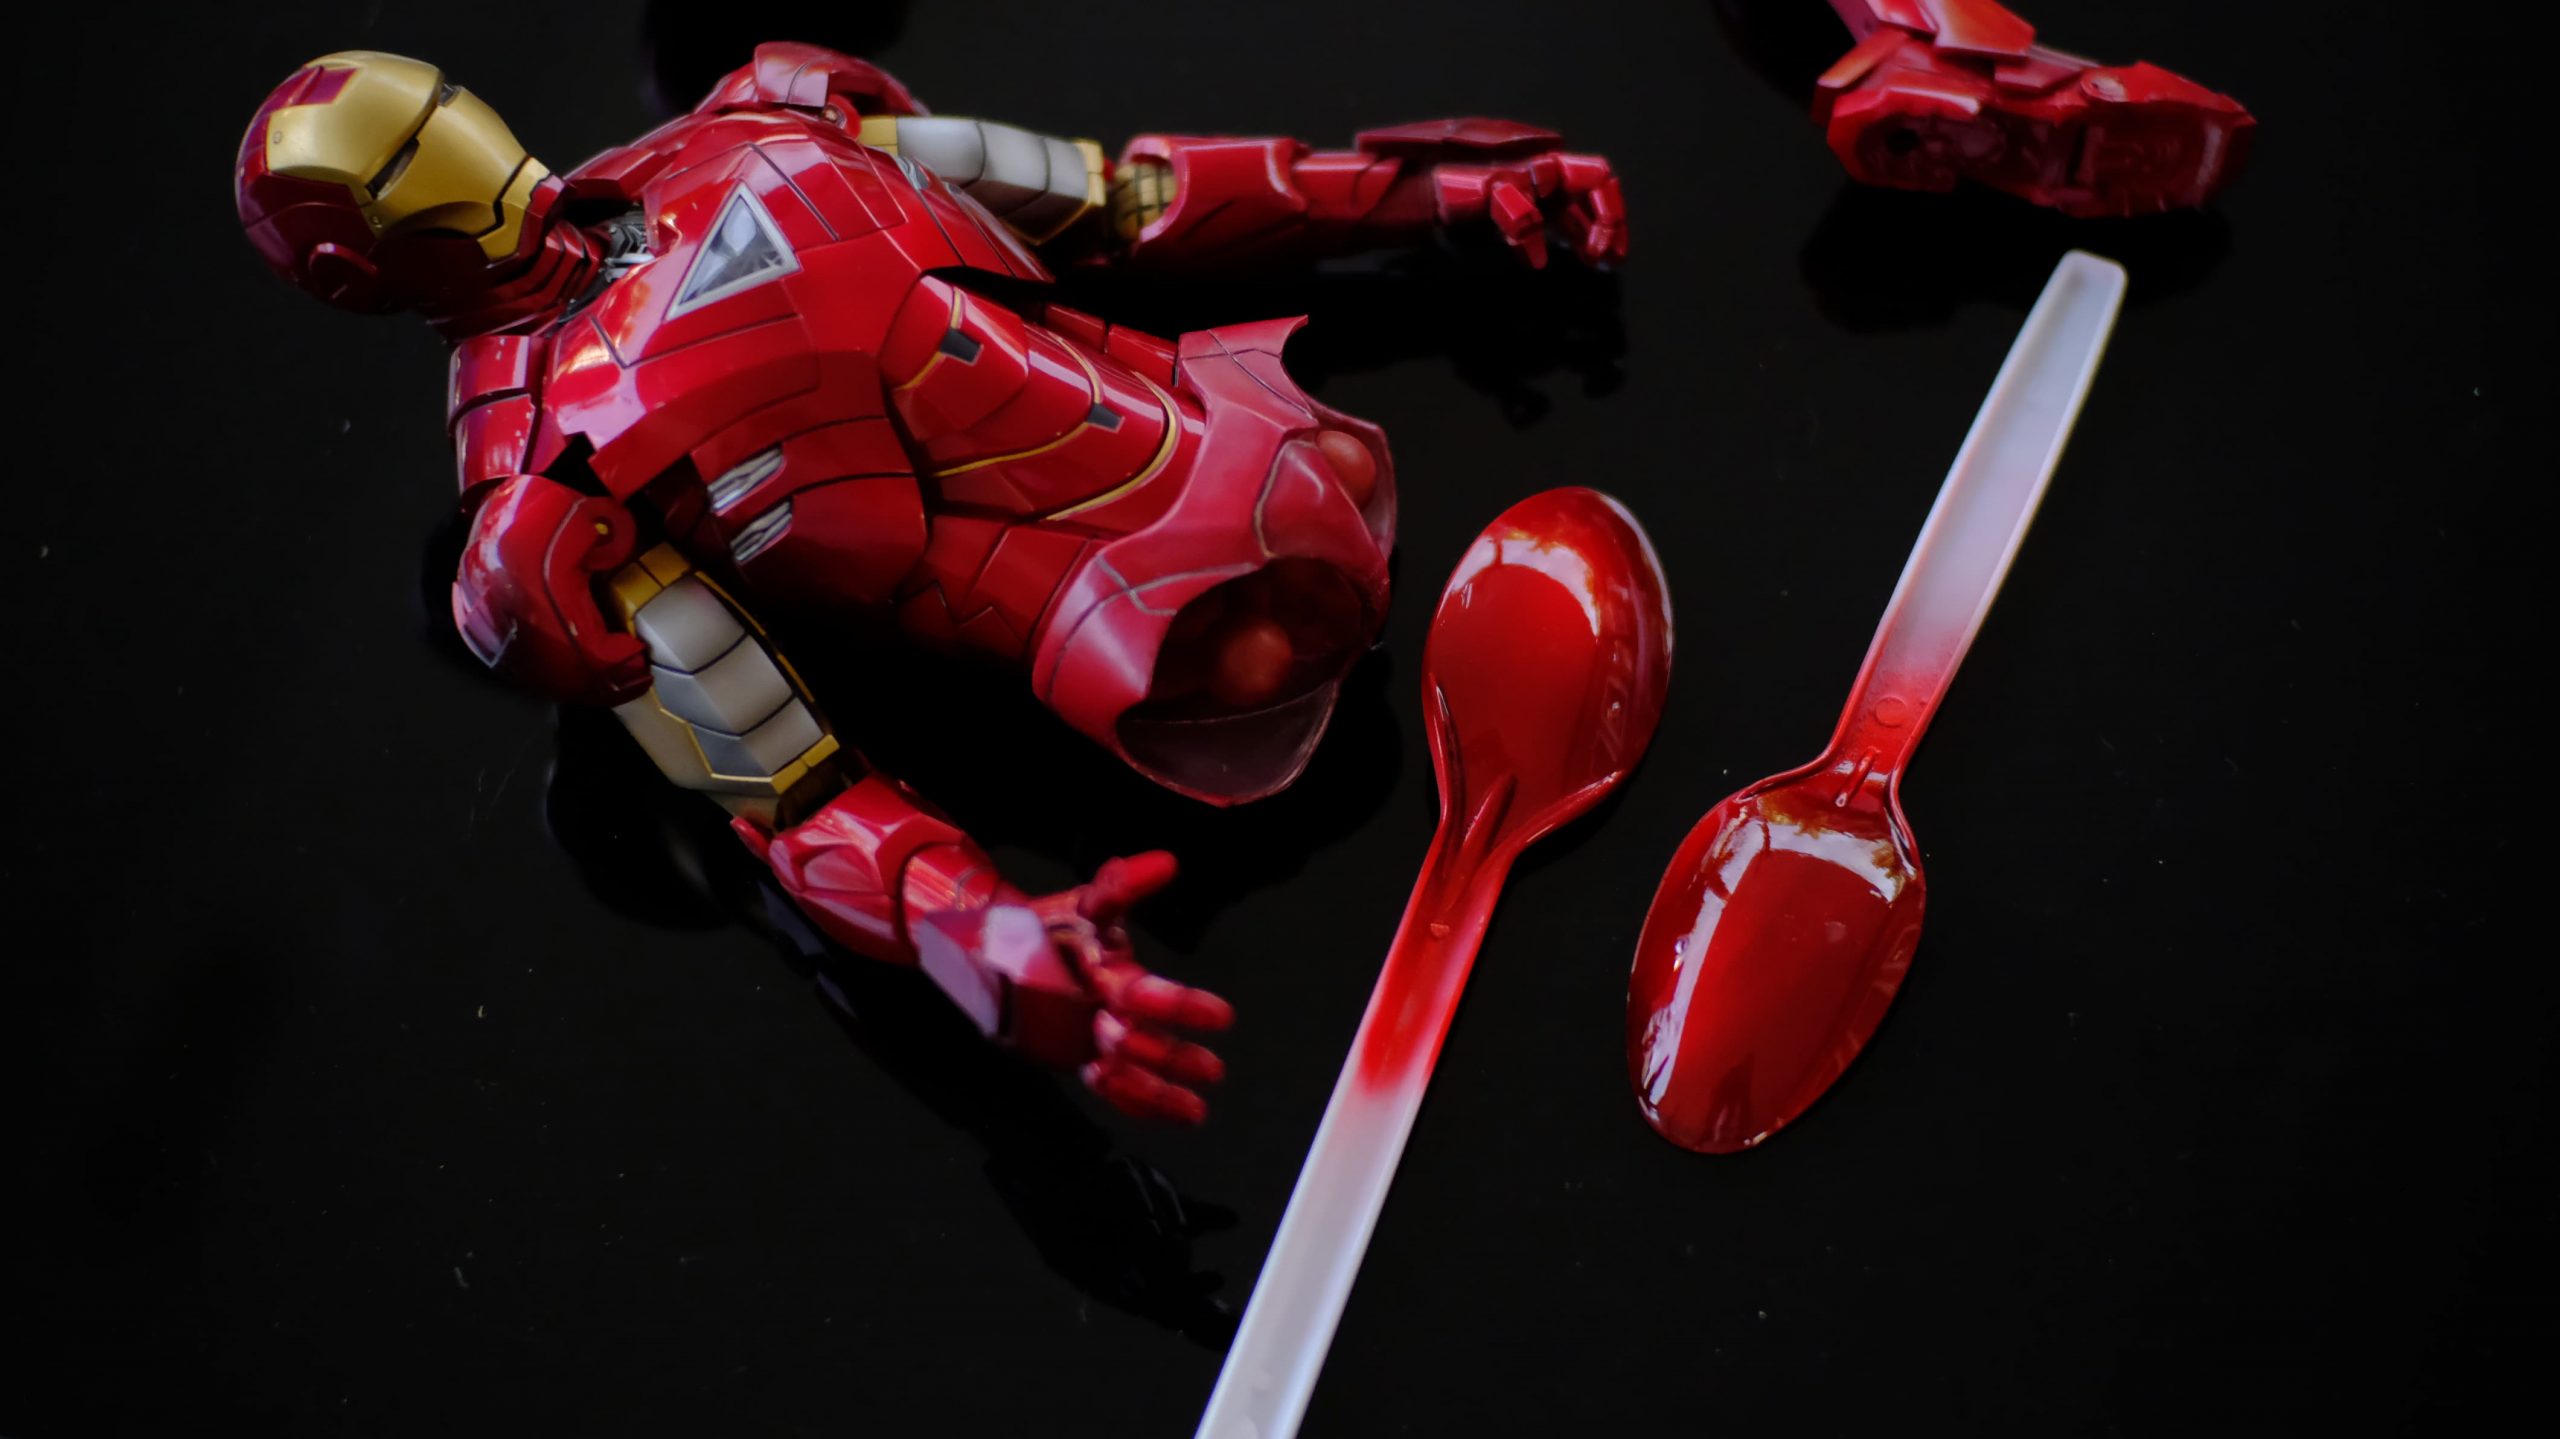
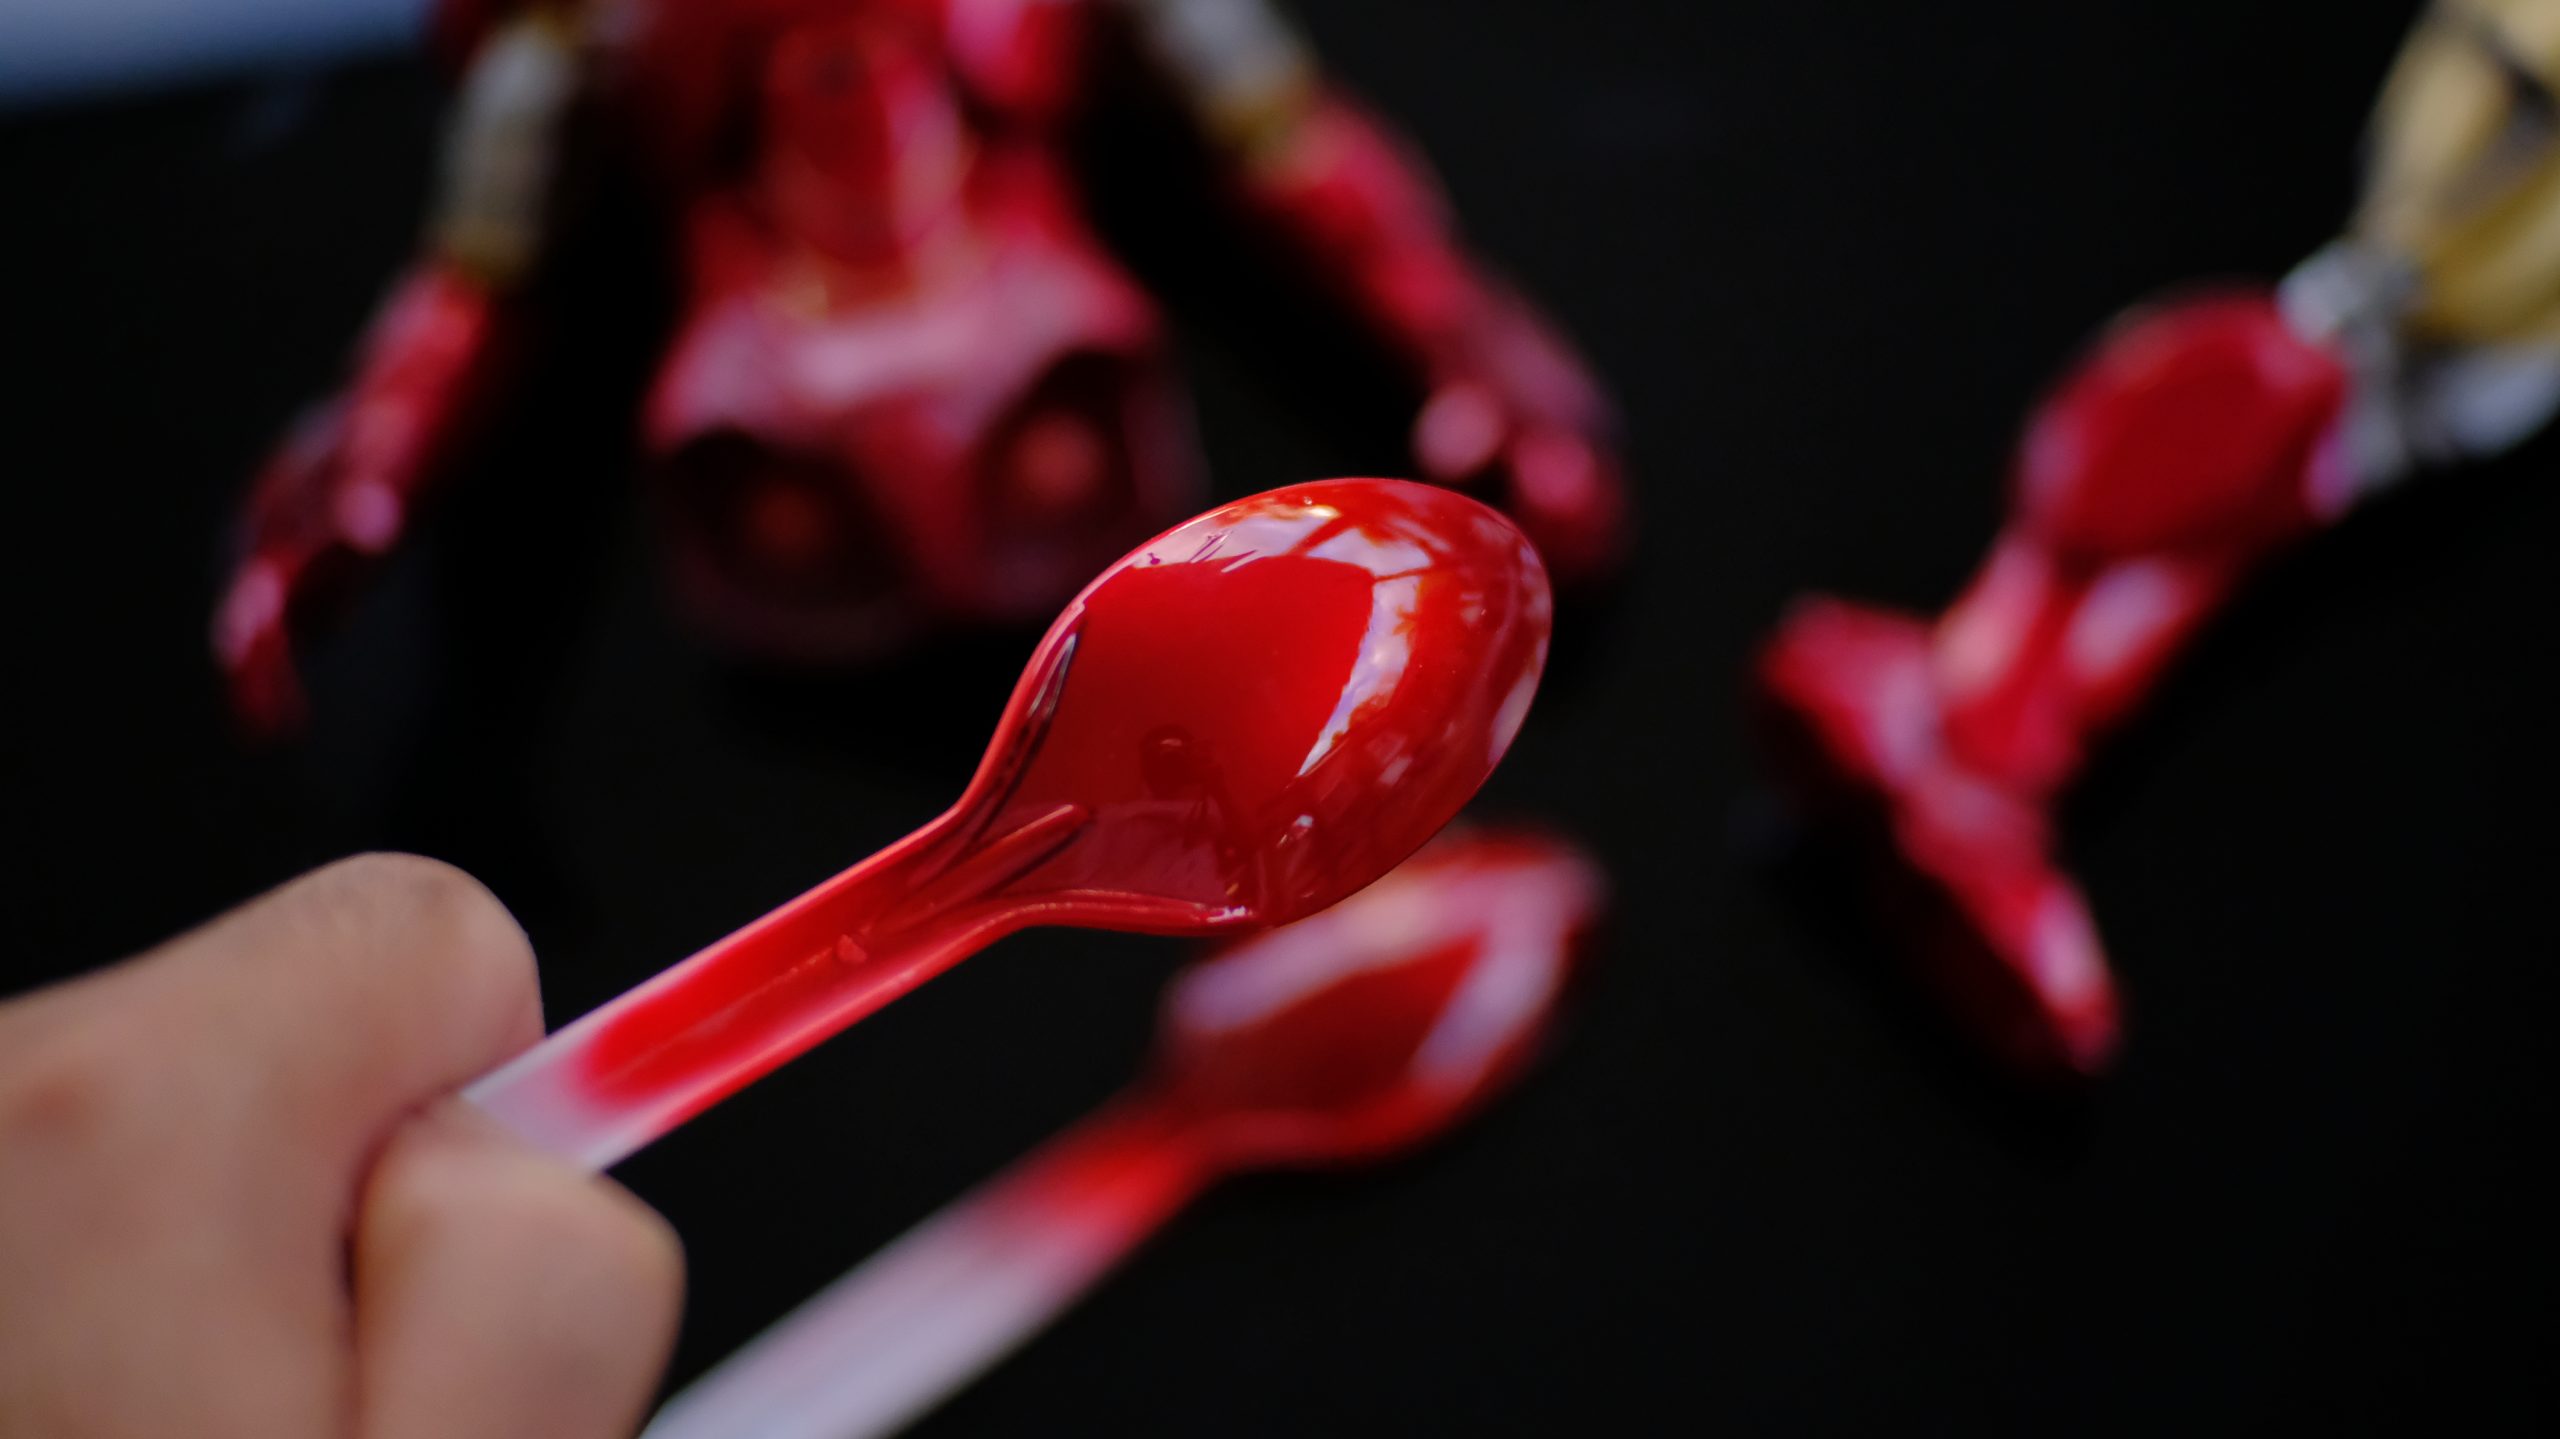
It is not advisable to directly paint on the part that needs restoration without first doing paint trials. Doing trials will help us identify the correct mixture and amount of paint needed to match the color of the entire figure. There is no one correct way of doing this, as there are many factors involved, such as the airbrush and the paint being used. It all comes down to trial and error and comparing the paint job of the figure until it is right. This is where plastic spoons come in!
Here’s the main gist of the entire process.
- Mist coat using Silver as your first layer.
- Let it dry.
- Mist coat using Clear Red as your second layer.
- Let it dry.
- Do multiple rounds of wet coat using Clear Red until it matches the figure’s paint job.
* Mist coat – Apply a thin layer of paint. (Airbrush is a bit far from your subject)* Wet coat – Apply a thick layer of paint. (Airbrush is close to your subject)
Actual Painting Process
Now that we have identified the amount and mixture of paint to use, it is time to apply the same process to the part we are restoring. As I mentioned earlier, there is no correct way of doing this. The number of coats I used here may not give you the same result; therefore, it is best to do multiple trials first on plastic spoons until you are satisfied with the result.
Silver Mist Coat
Similar to what we did to the spoons, we first need to apply a decent amount of Silver as the first layer of paint. The silver layer is the one that’s going to give us the metallic red look since it’s going to shine through the Clear Red paint we’re going to apply after. Think of Clear Red as a transparent red paint.
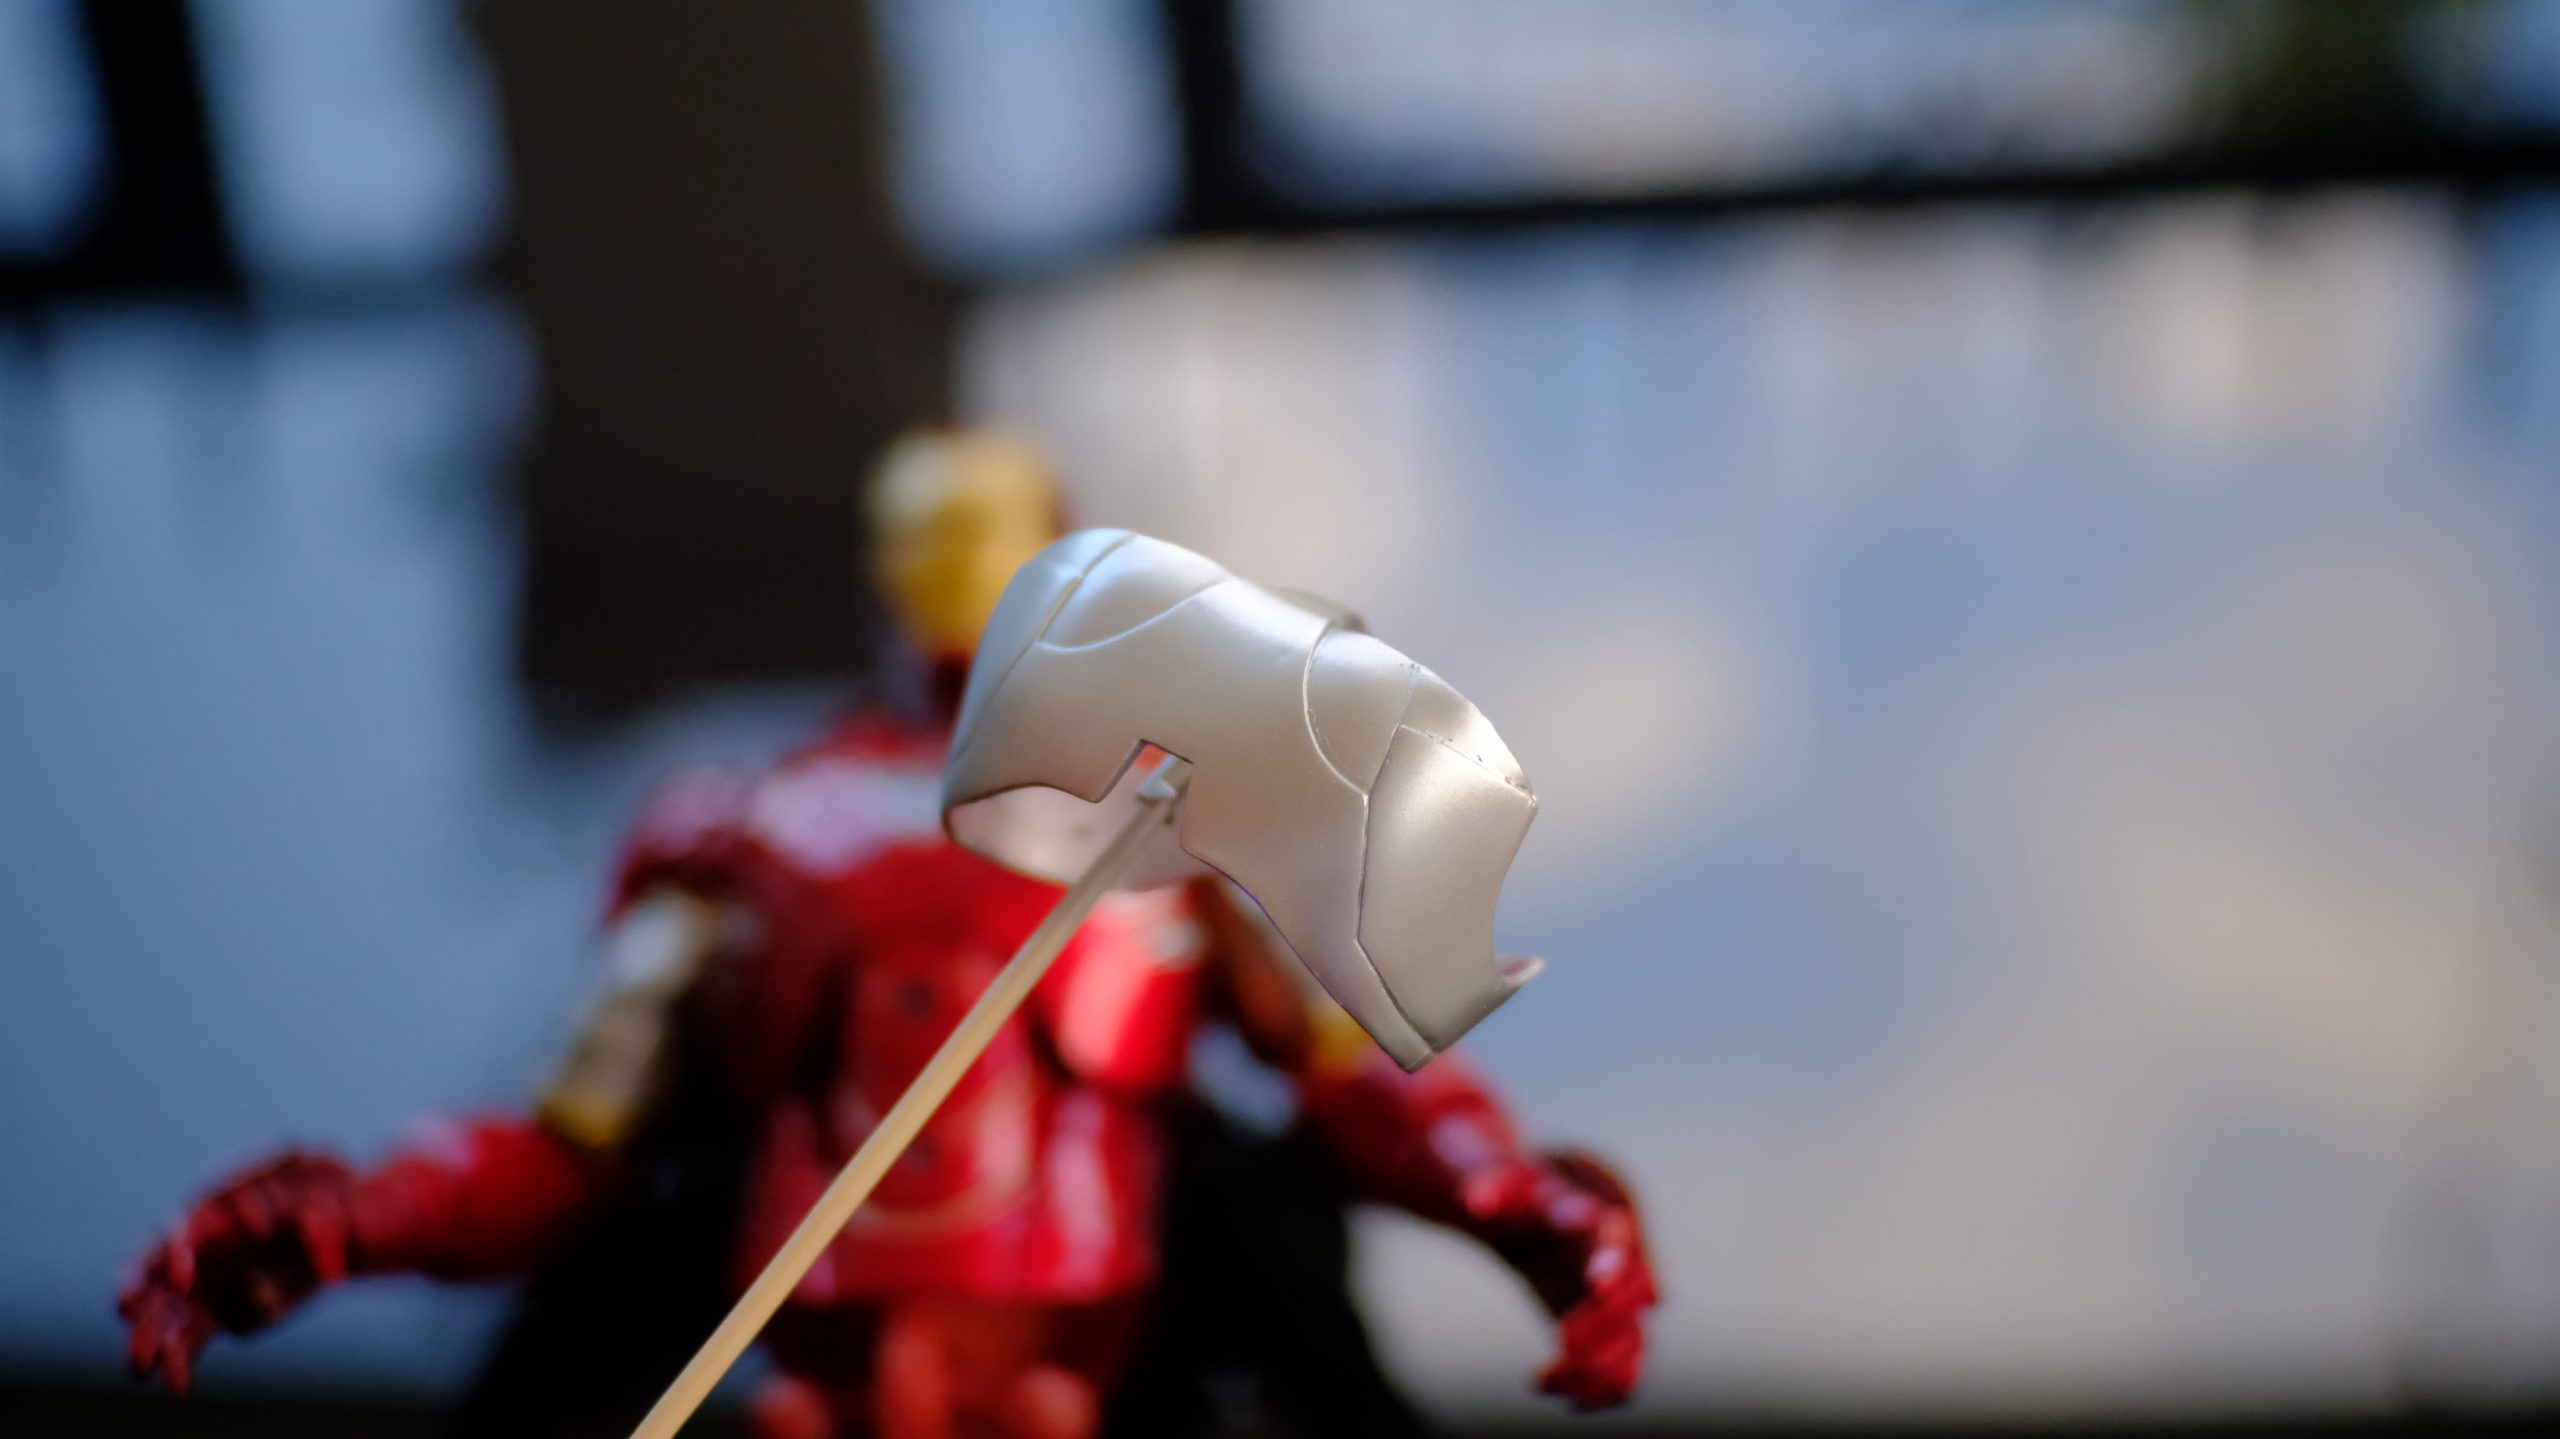
Let it dry.
Clear Red Mist Coat
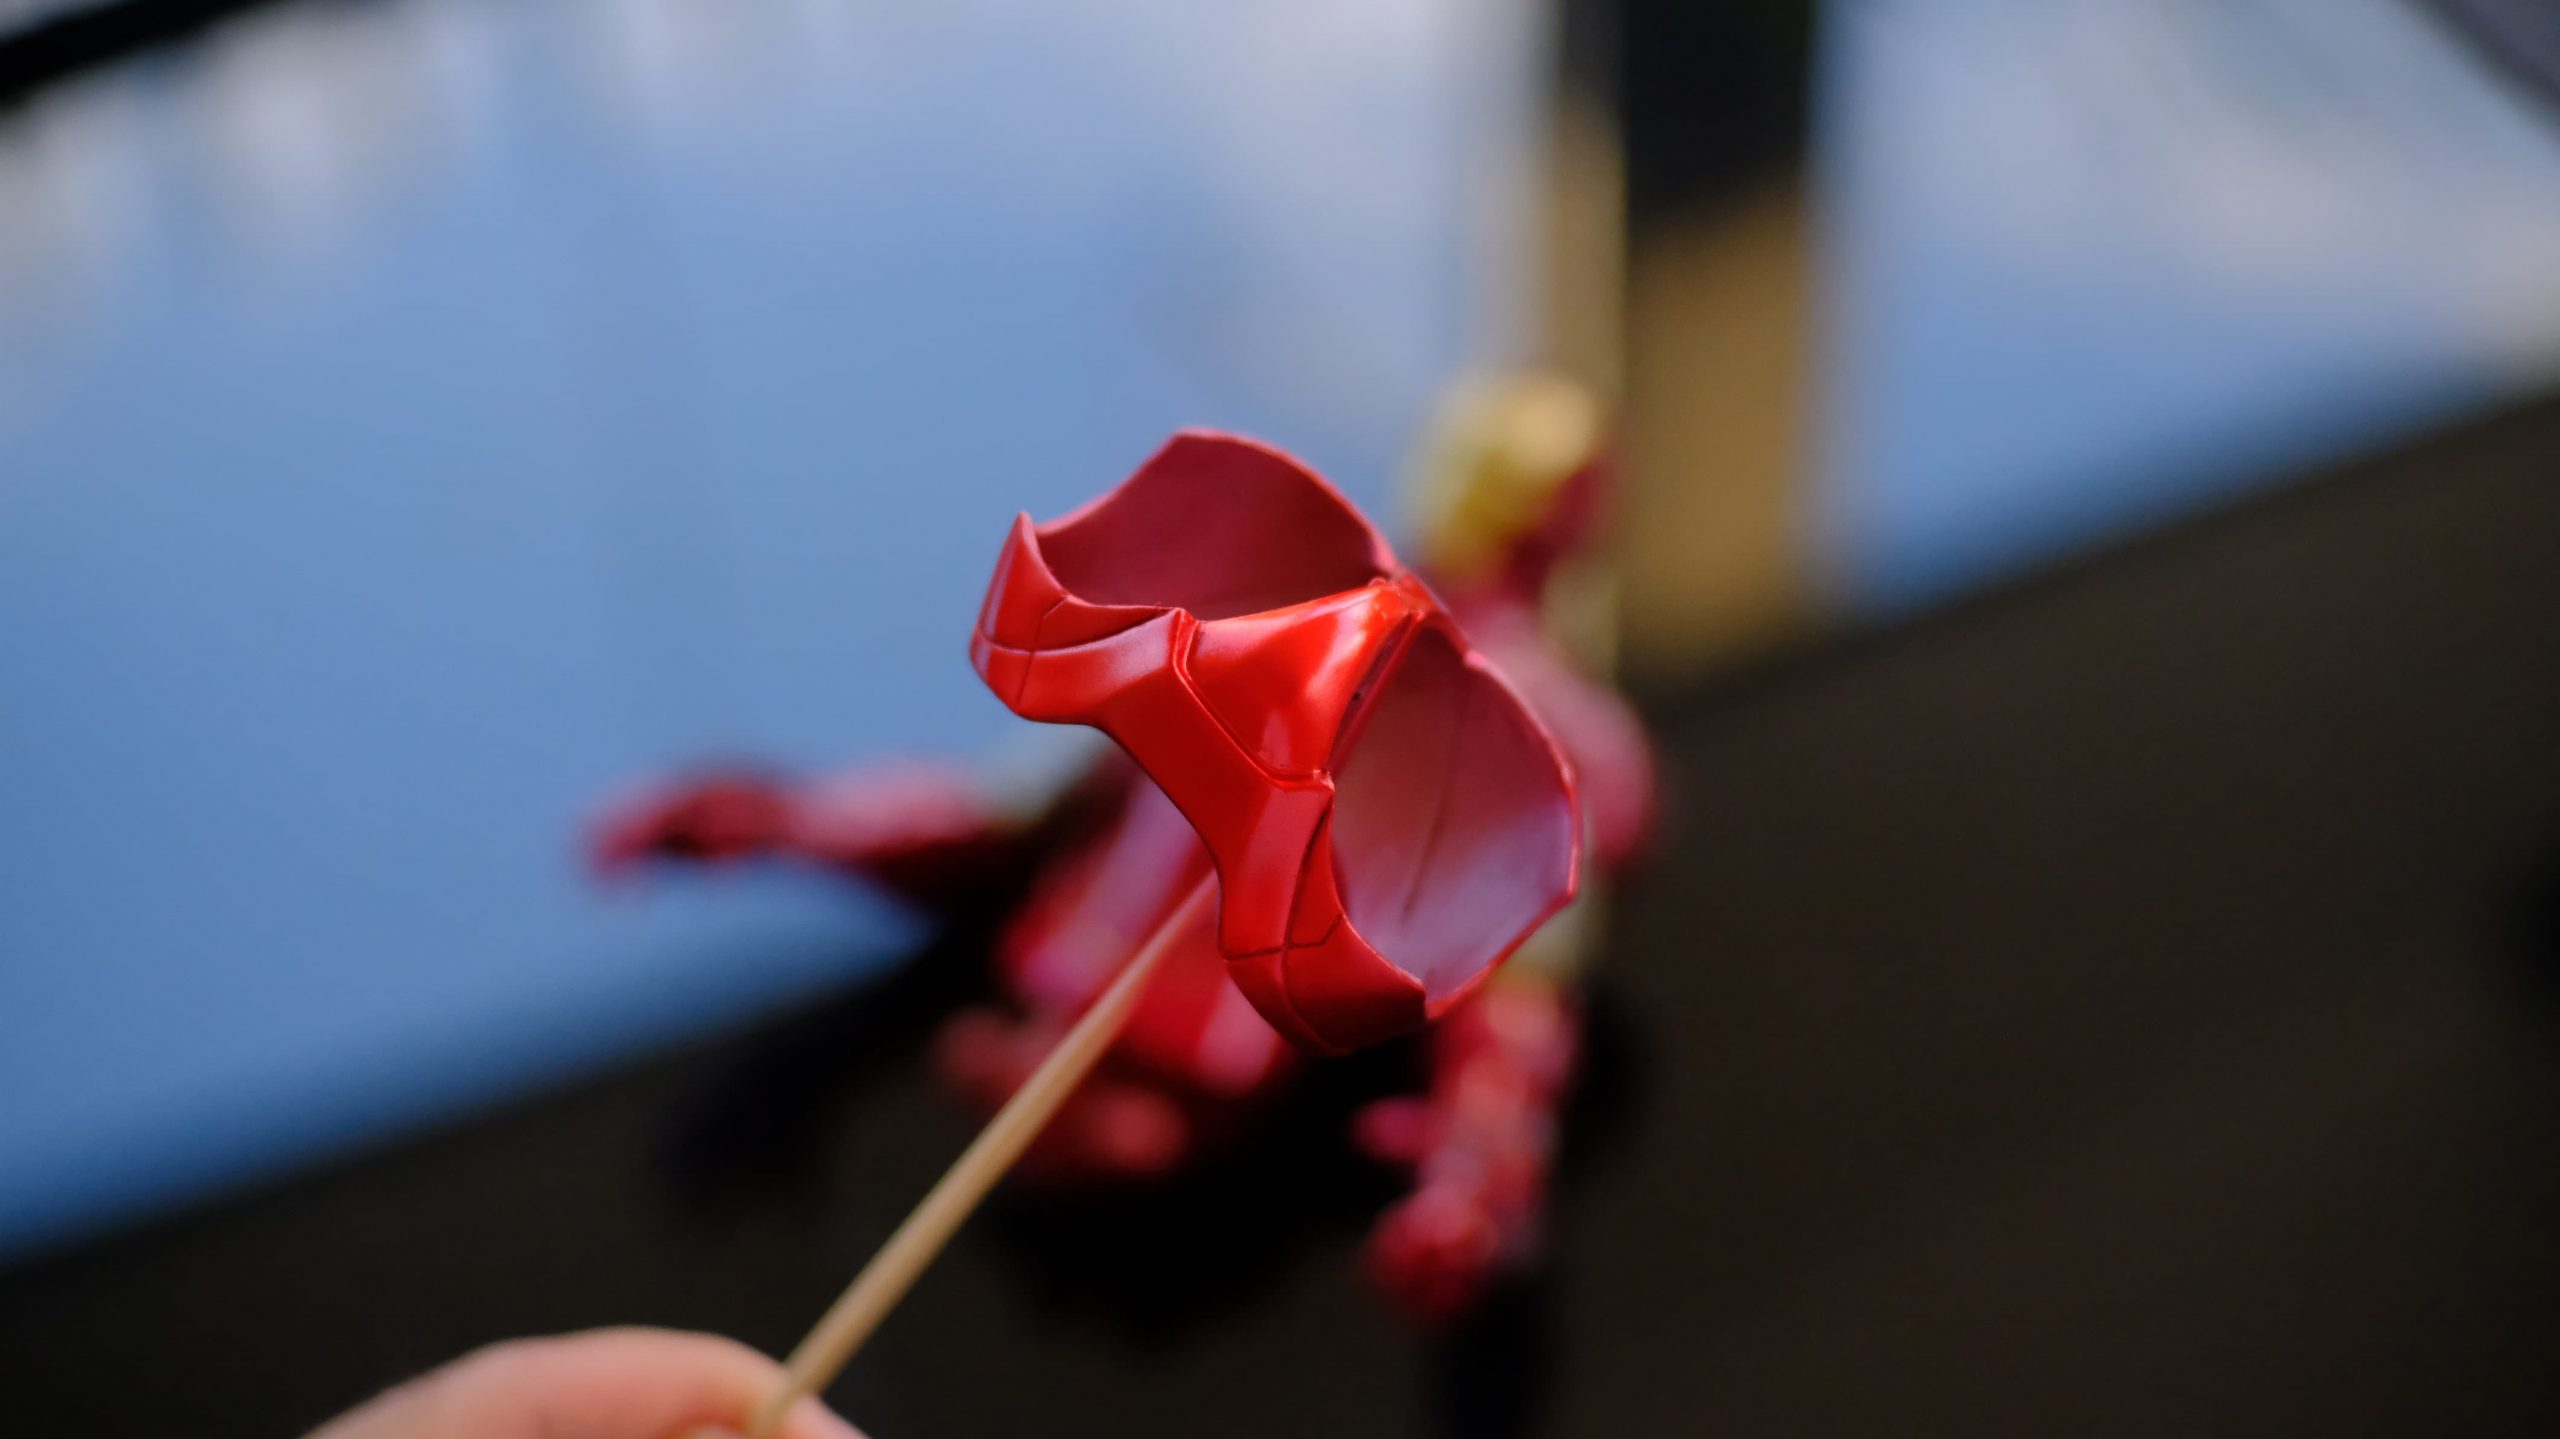
Once the Silver layer is dry to the touch, apply a Clear Red mist coat. Remember to constantly move your airbrush while painting and never focus it on one spot to avoid uneven coats of paint.
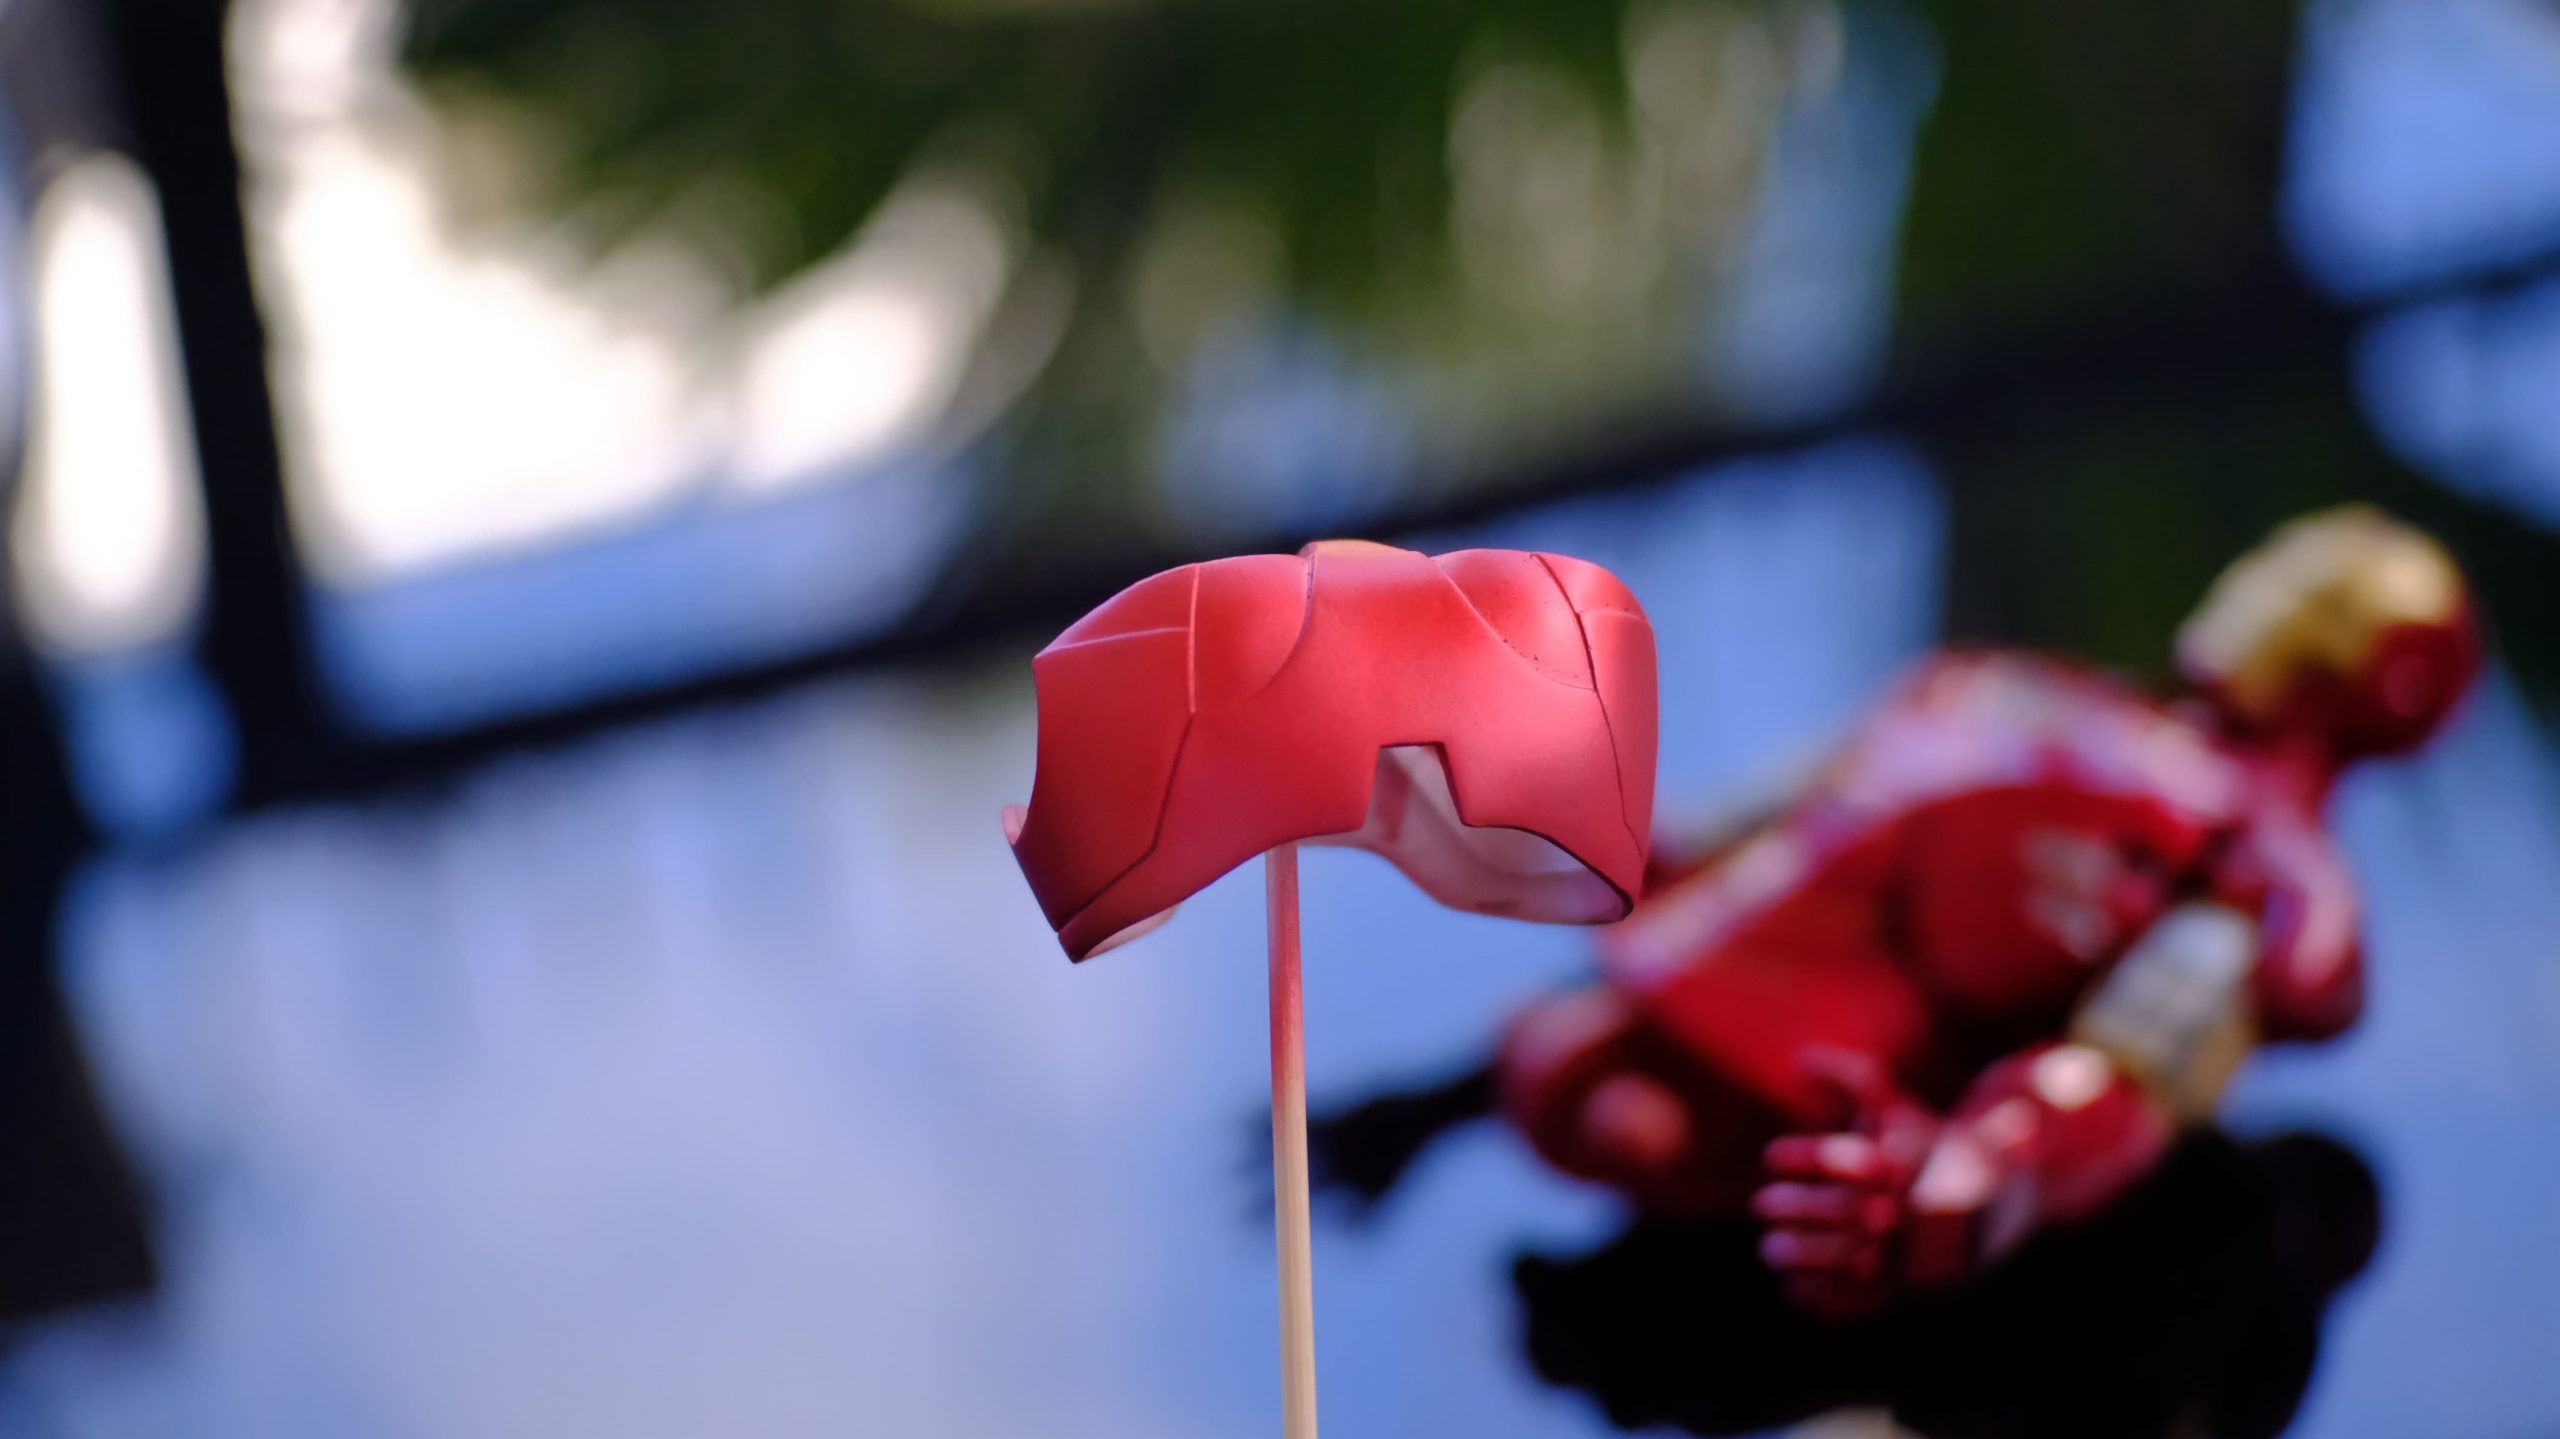
I think a single layer of Clear Red mist coat is enough, but in my case, I did a second pass (shown below). It’s up to you if you want to do this.
Again, let it dry before proceeding to the next step which is the fun part of the entire painting process – applying the wet coat.
Clear Red Wet Coat (Multiple Passes)
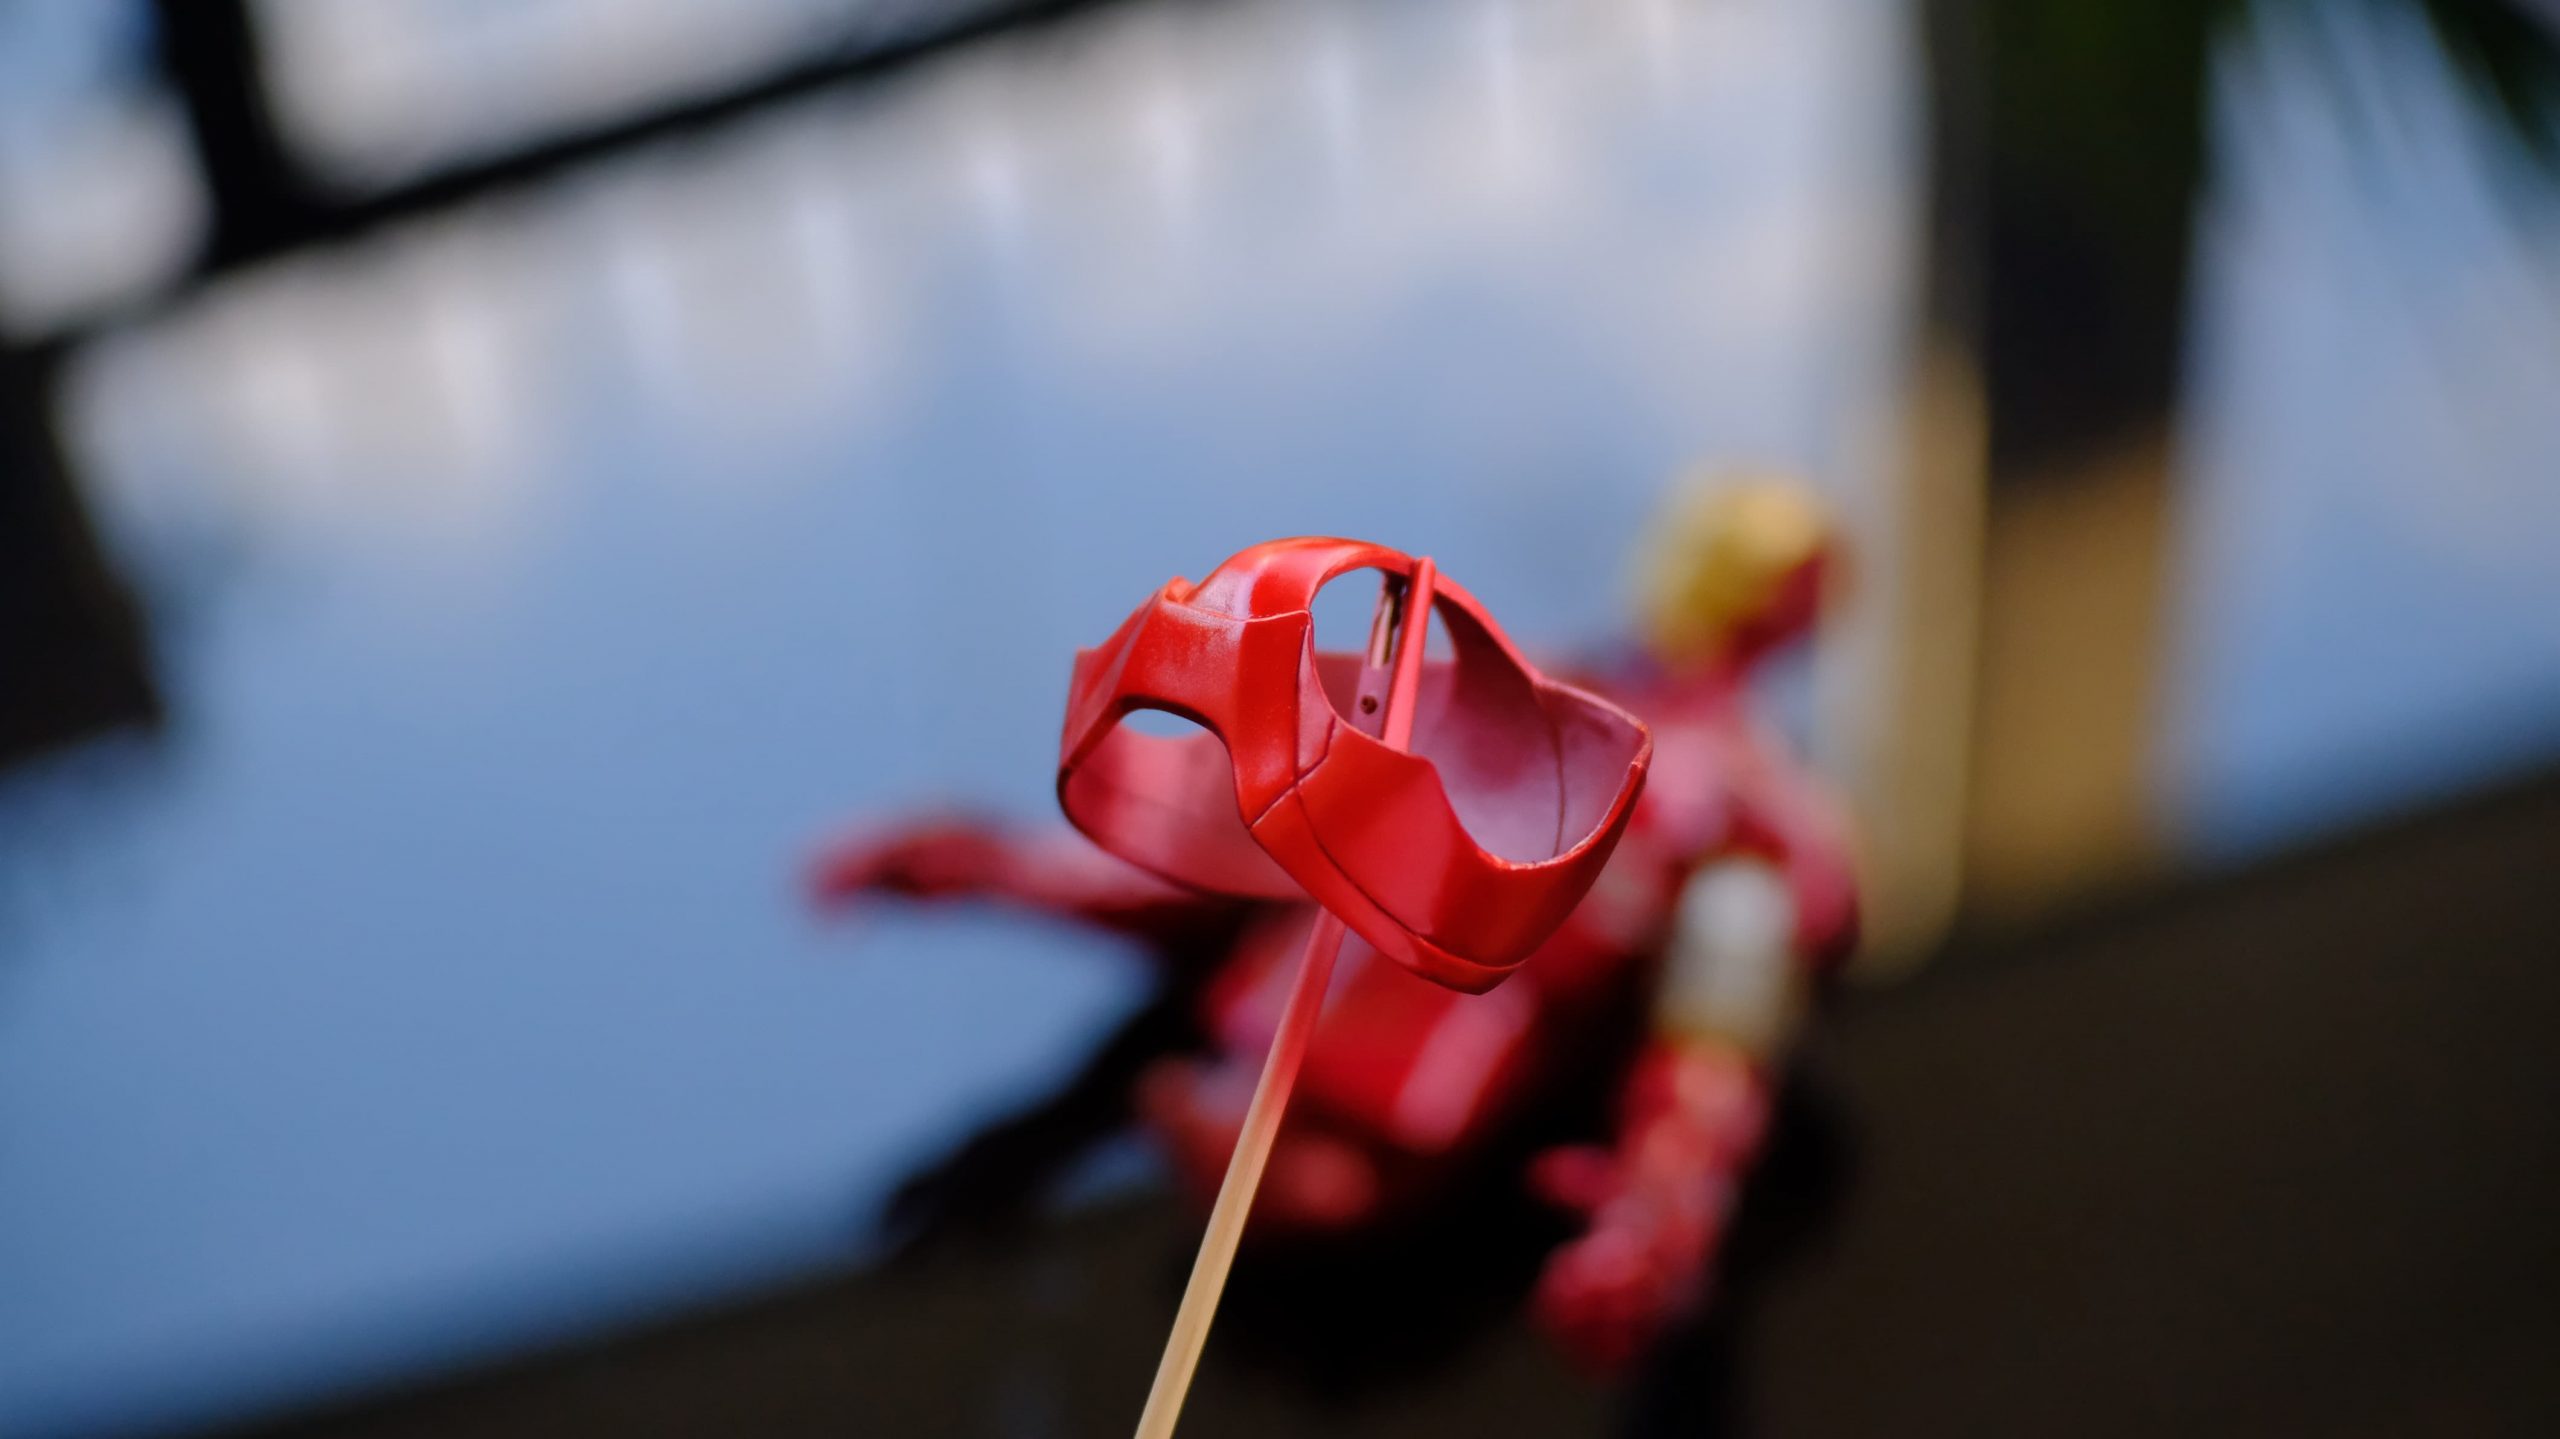
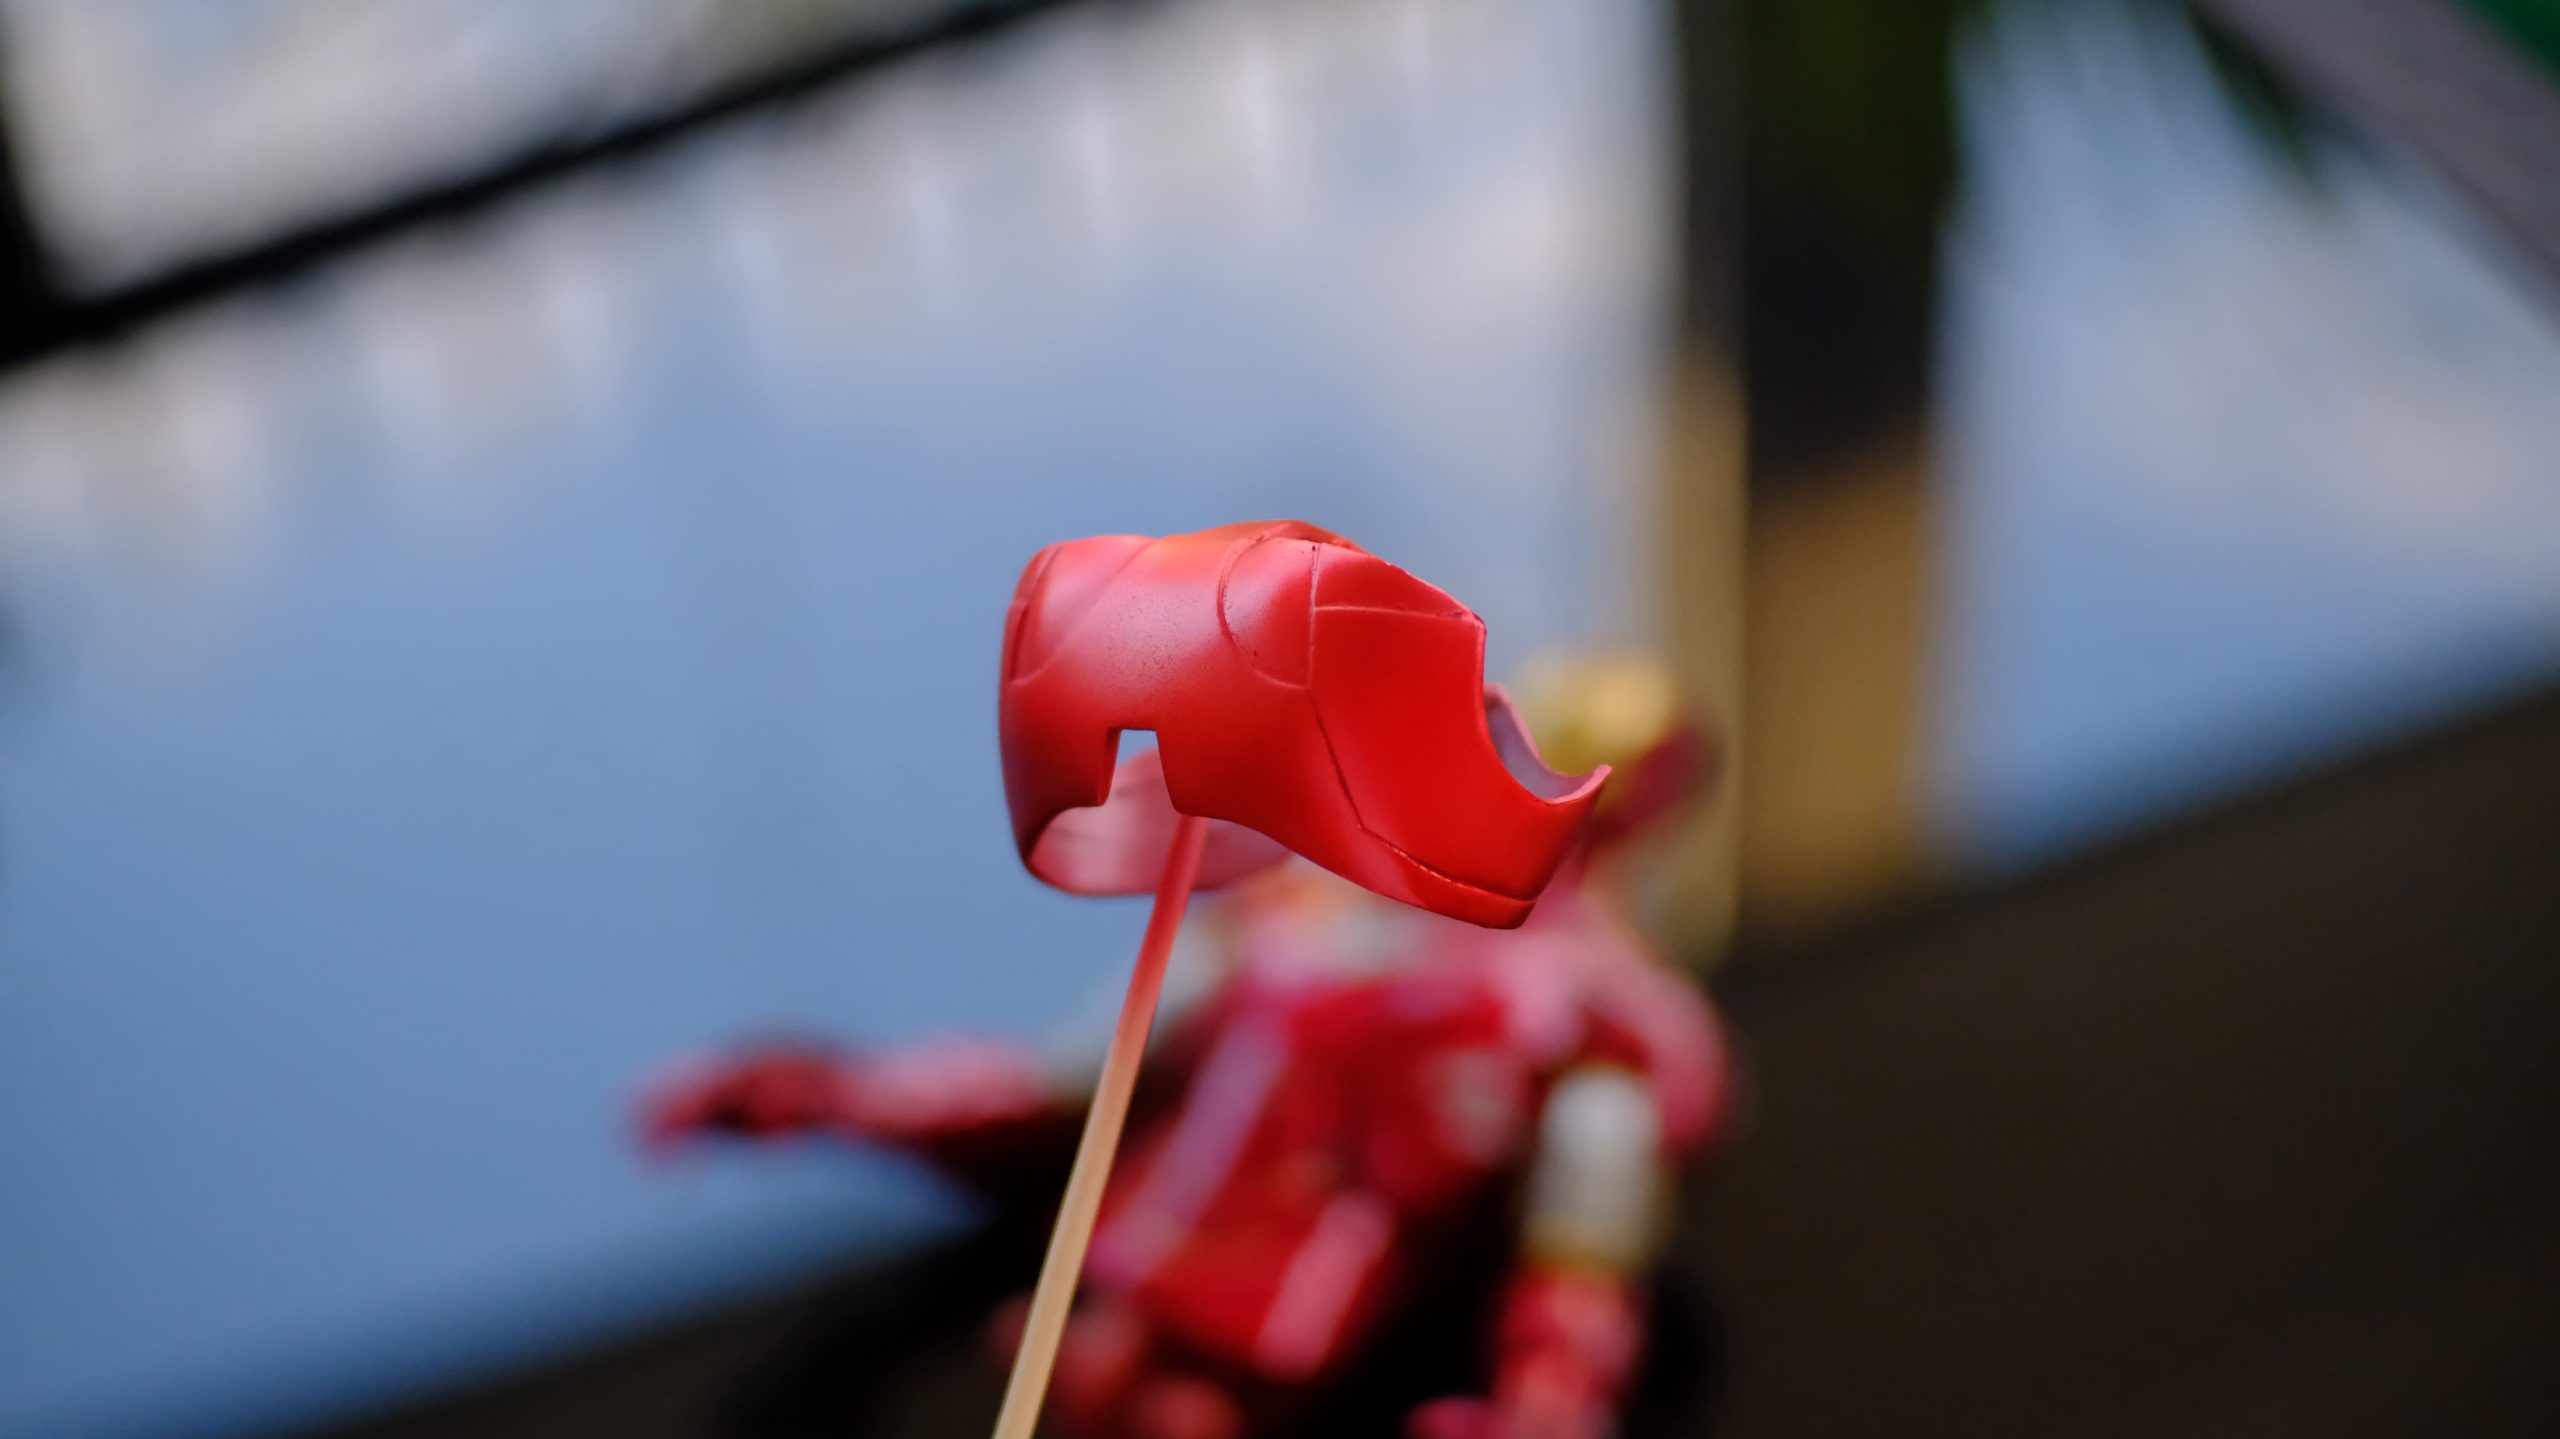
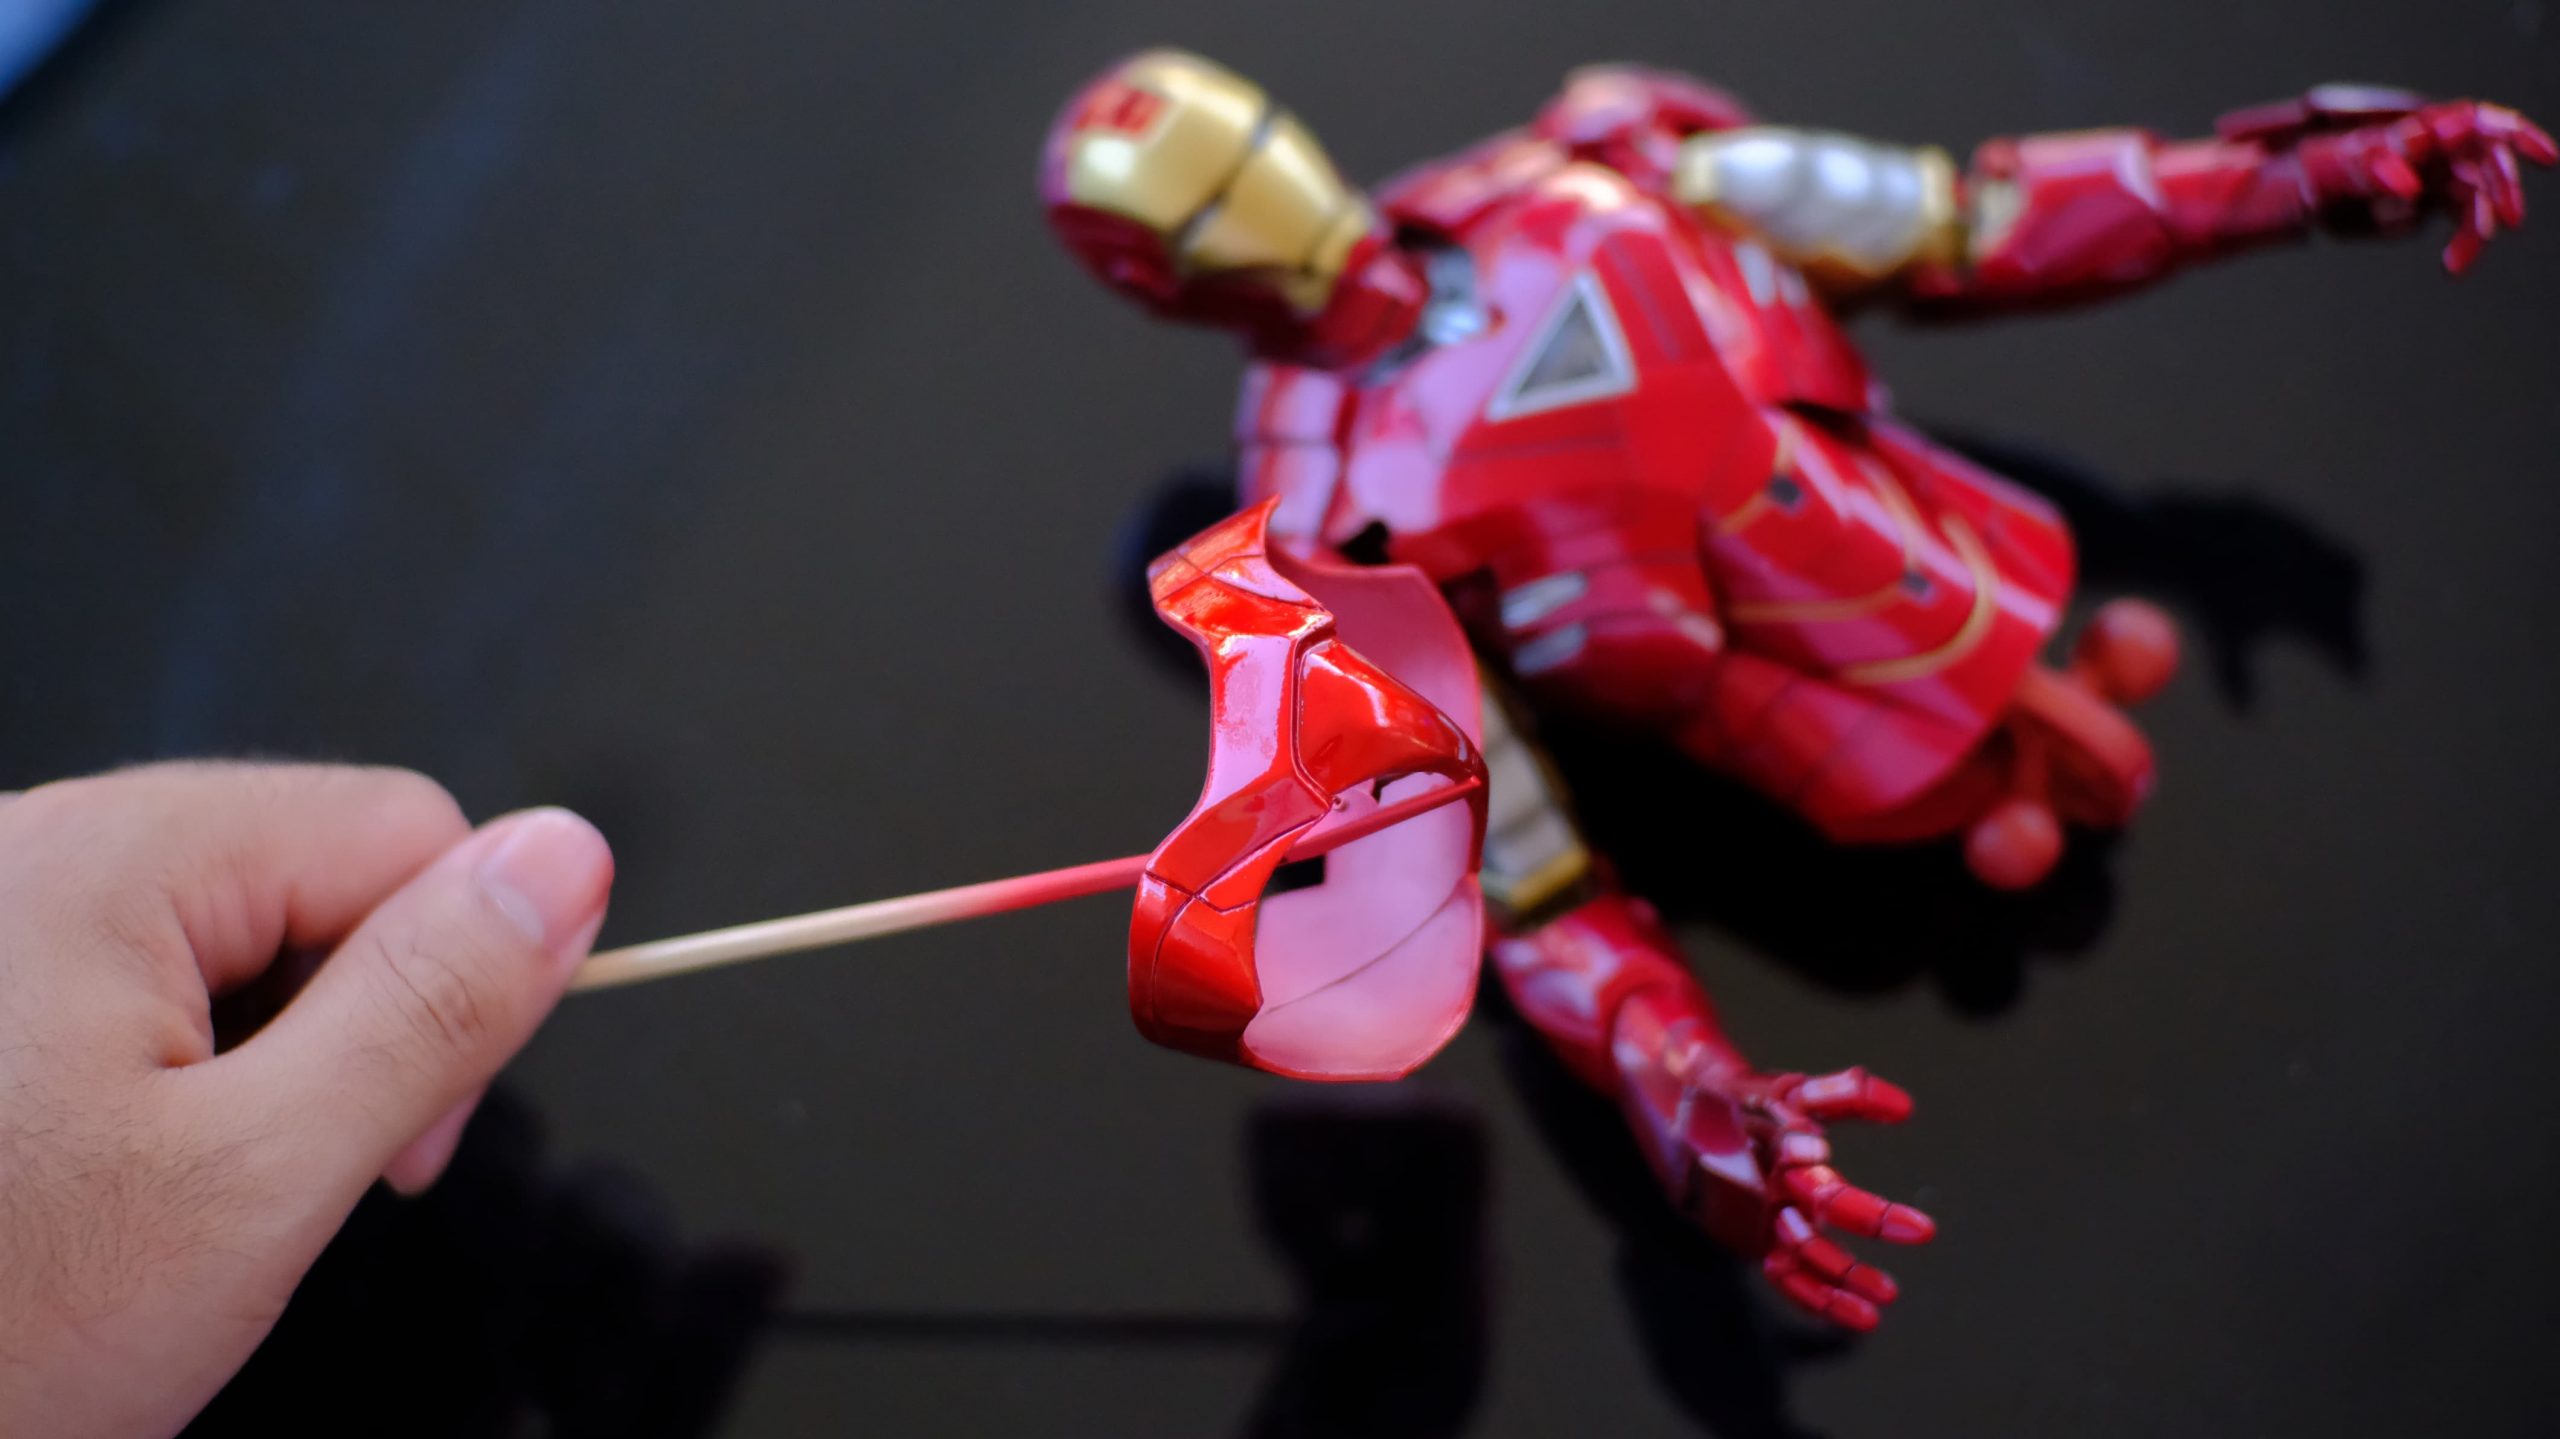
This is the part where we will apply the full volume of paint to get that shiny, metallic red look. This is also the part that can be tricky, as you’ll have to use your own judgment to decide when to stop applying paint, since your airbrush is now very close to the subject. We need to be careful to avoid overdoing the wet coat to the point that the paint drips on the part’s surface. We must ensure that we are applying the paint as evenly as possible.
It took me five coats of wet paint to get the result I wanted for the Mark VI, since its paint job is on the lighter side of red. For the Mark IV, it took me seven coats, since the paint job is a bit darker. It is necessary to have a drying period of around 25 to 30 minutes between coats, so plan your schedule ahead of time. I suggest doing it on a sunny afternoon.
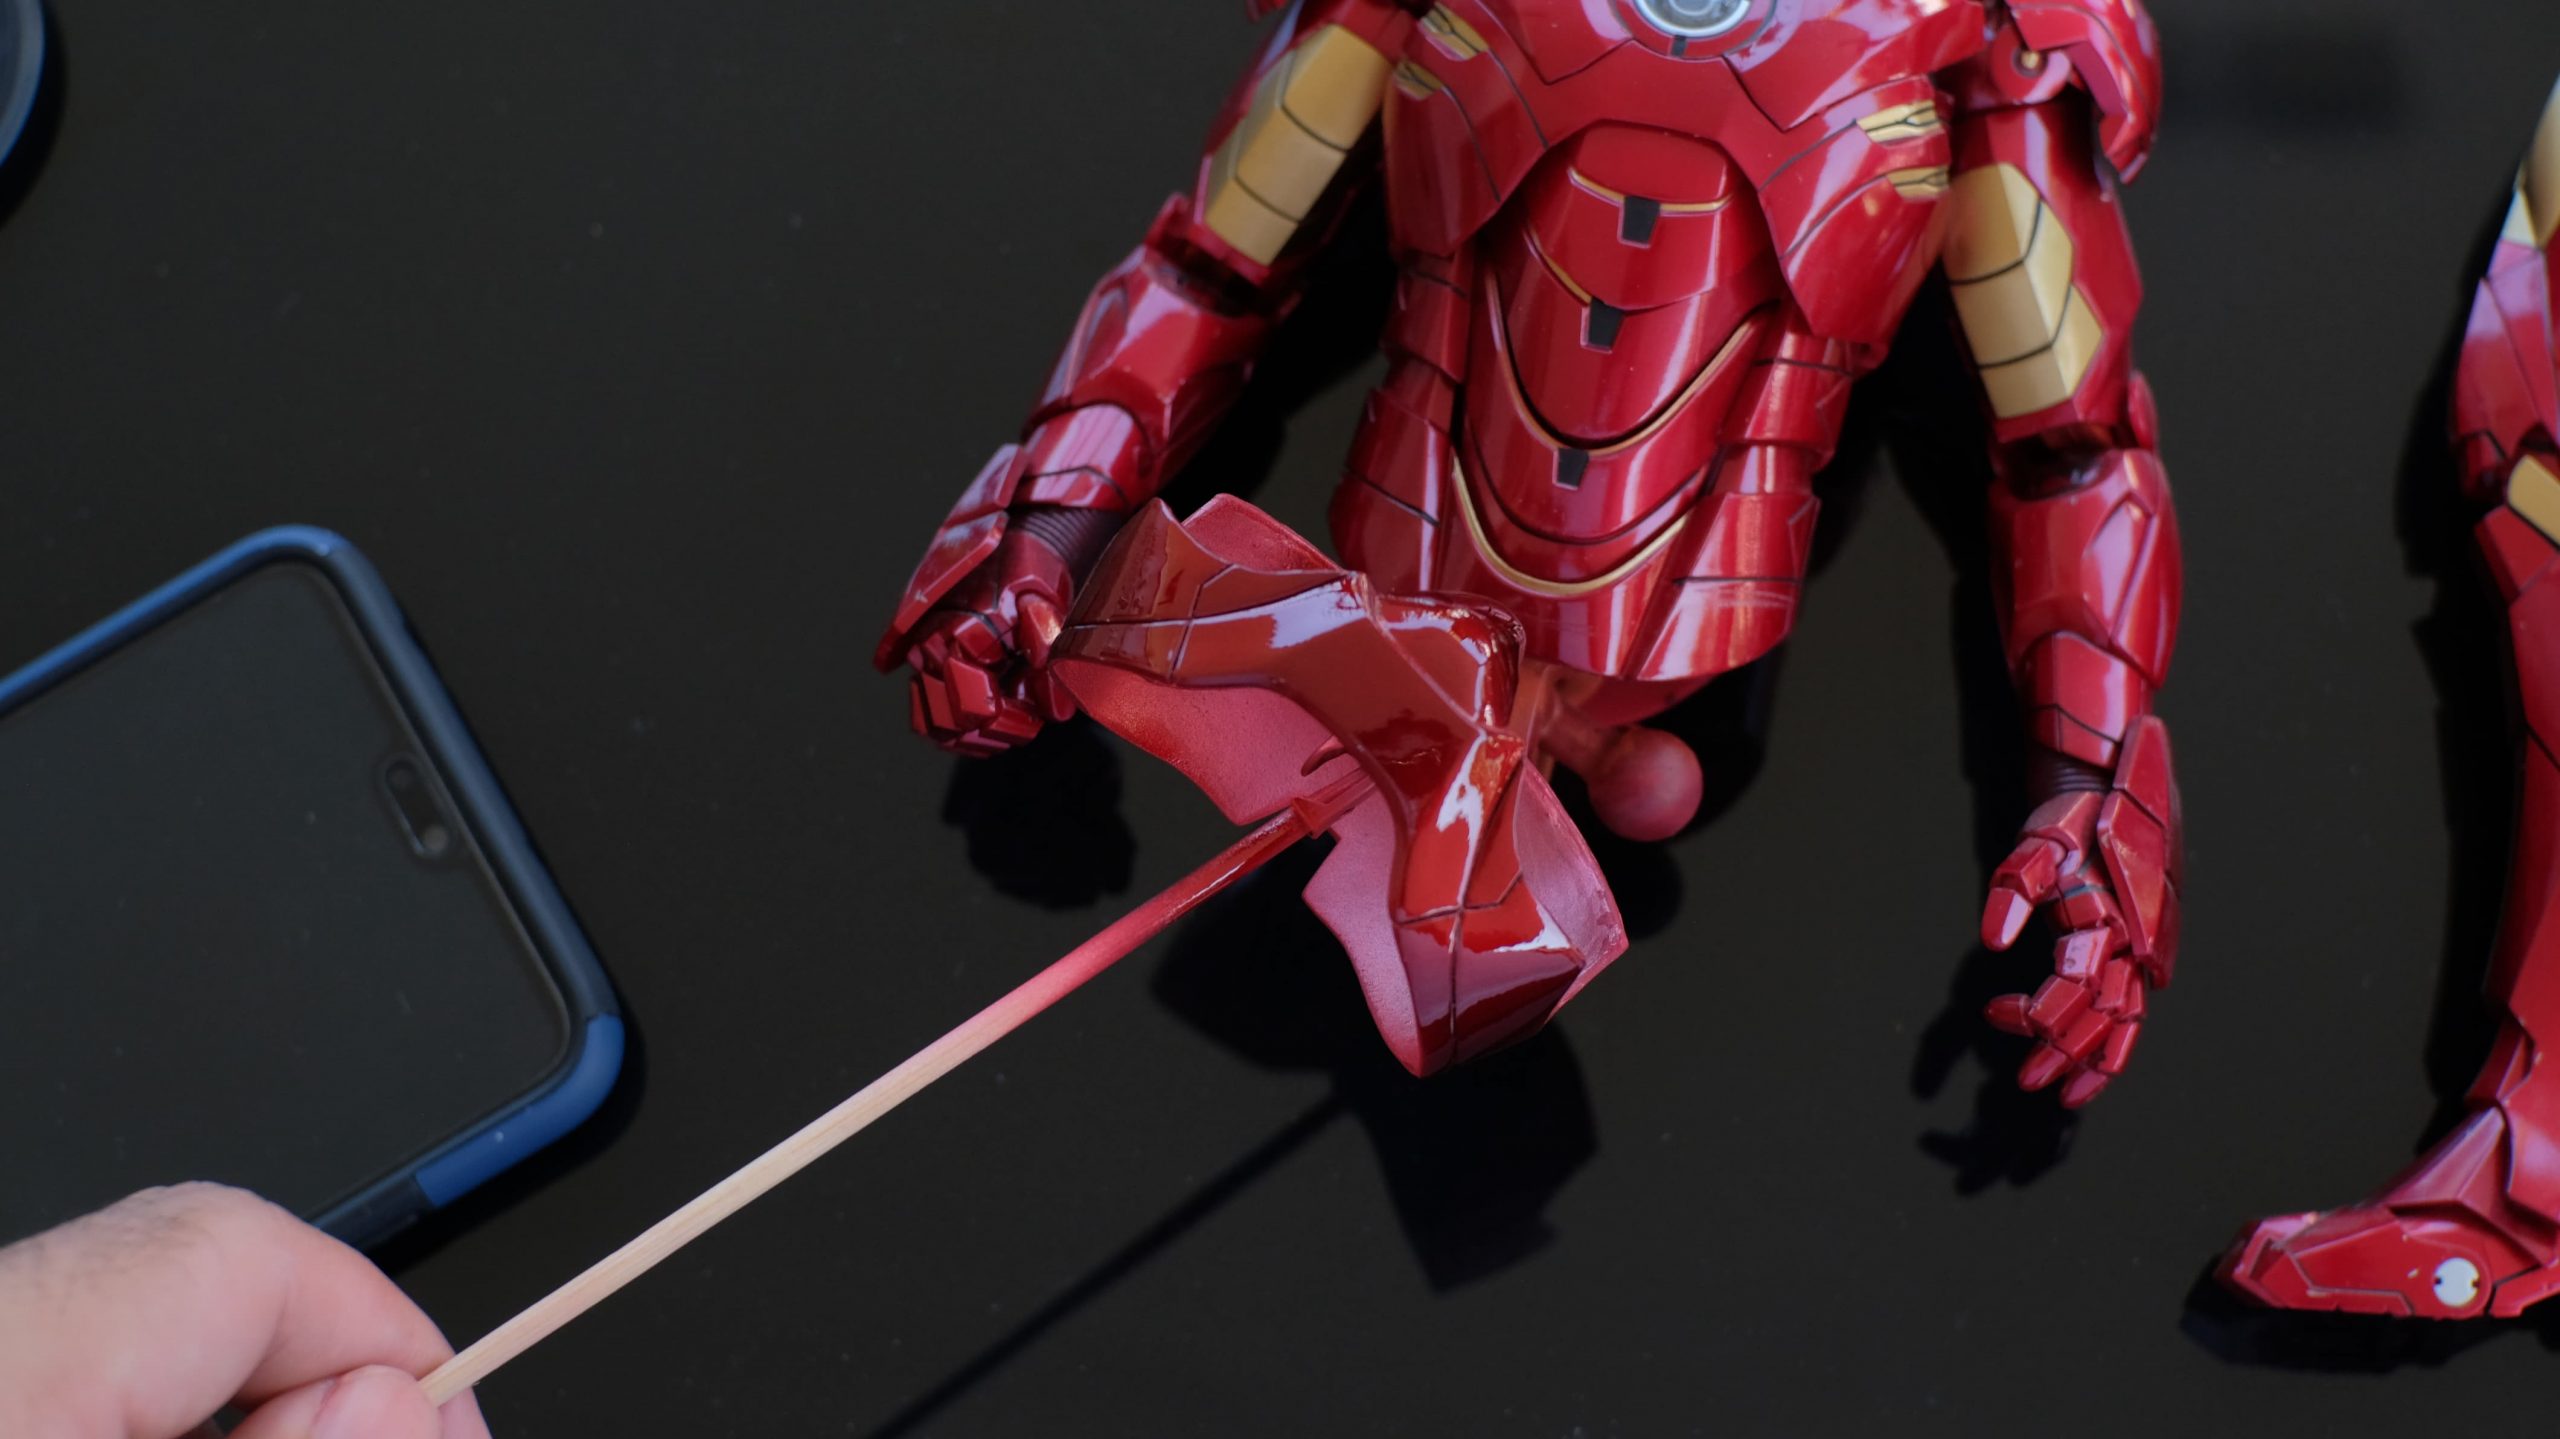
Results
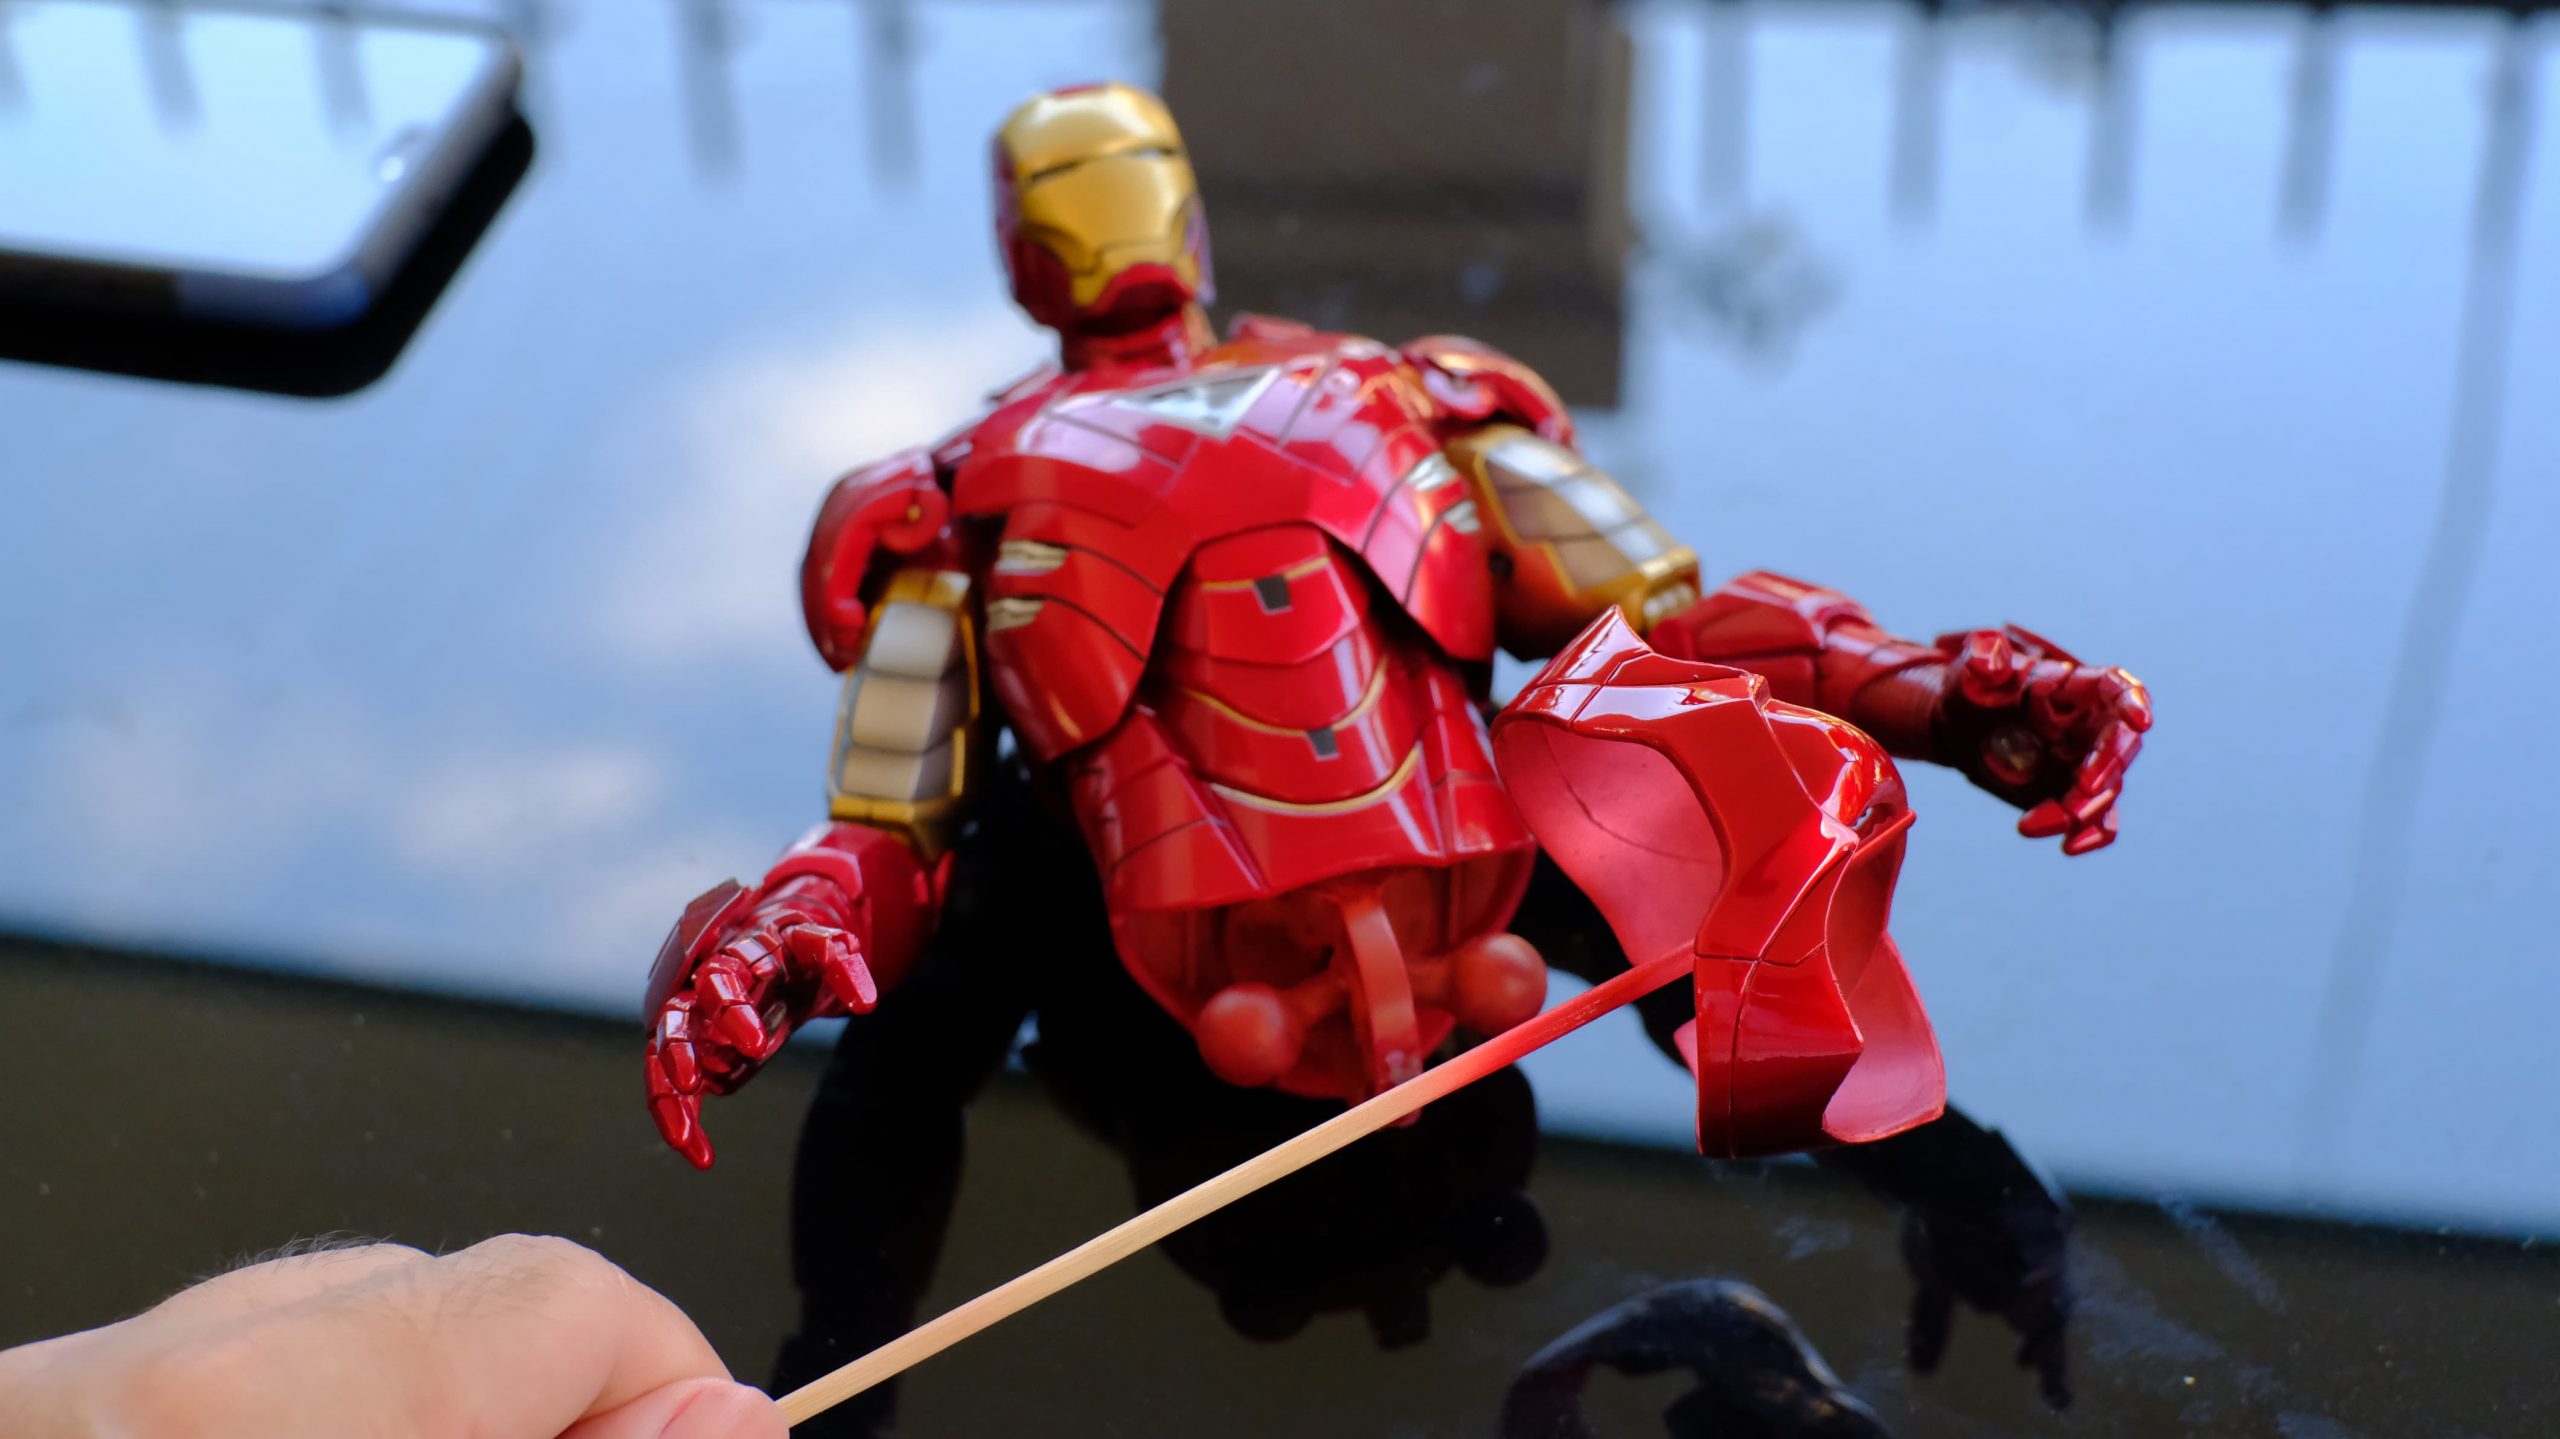
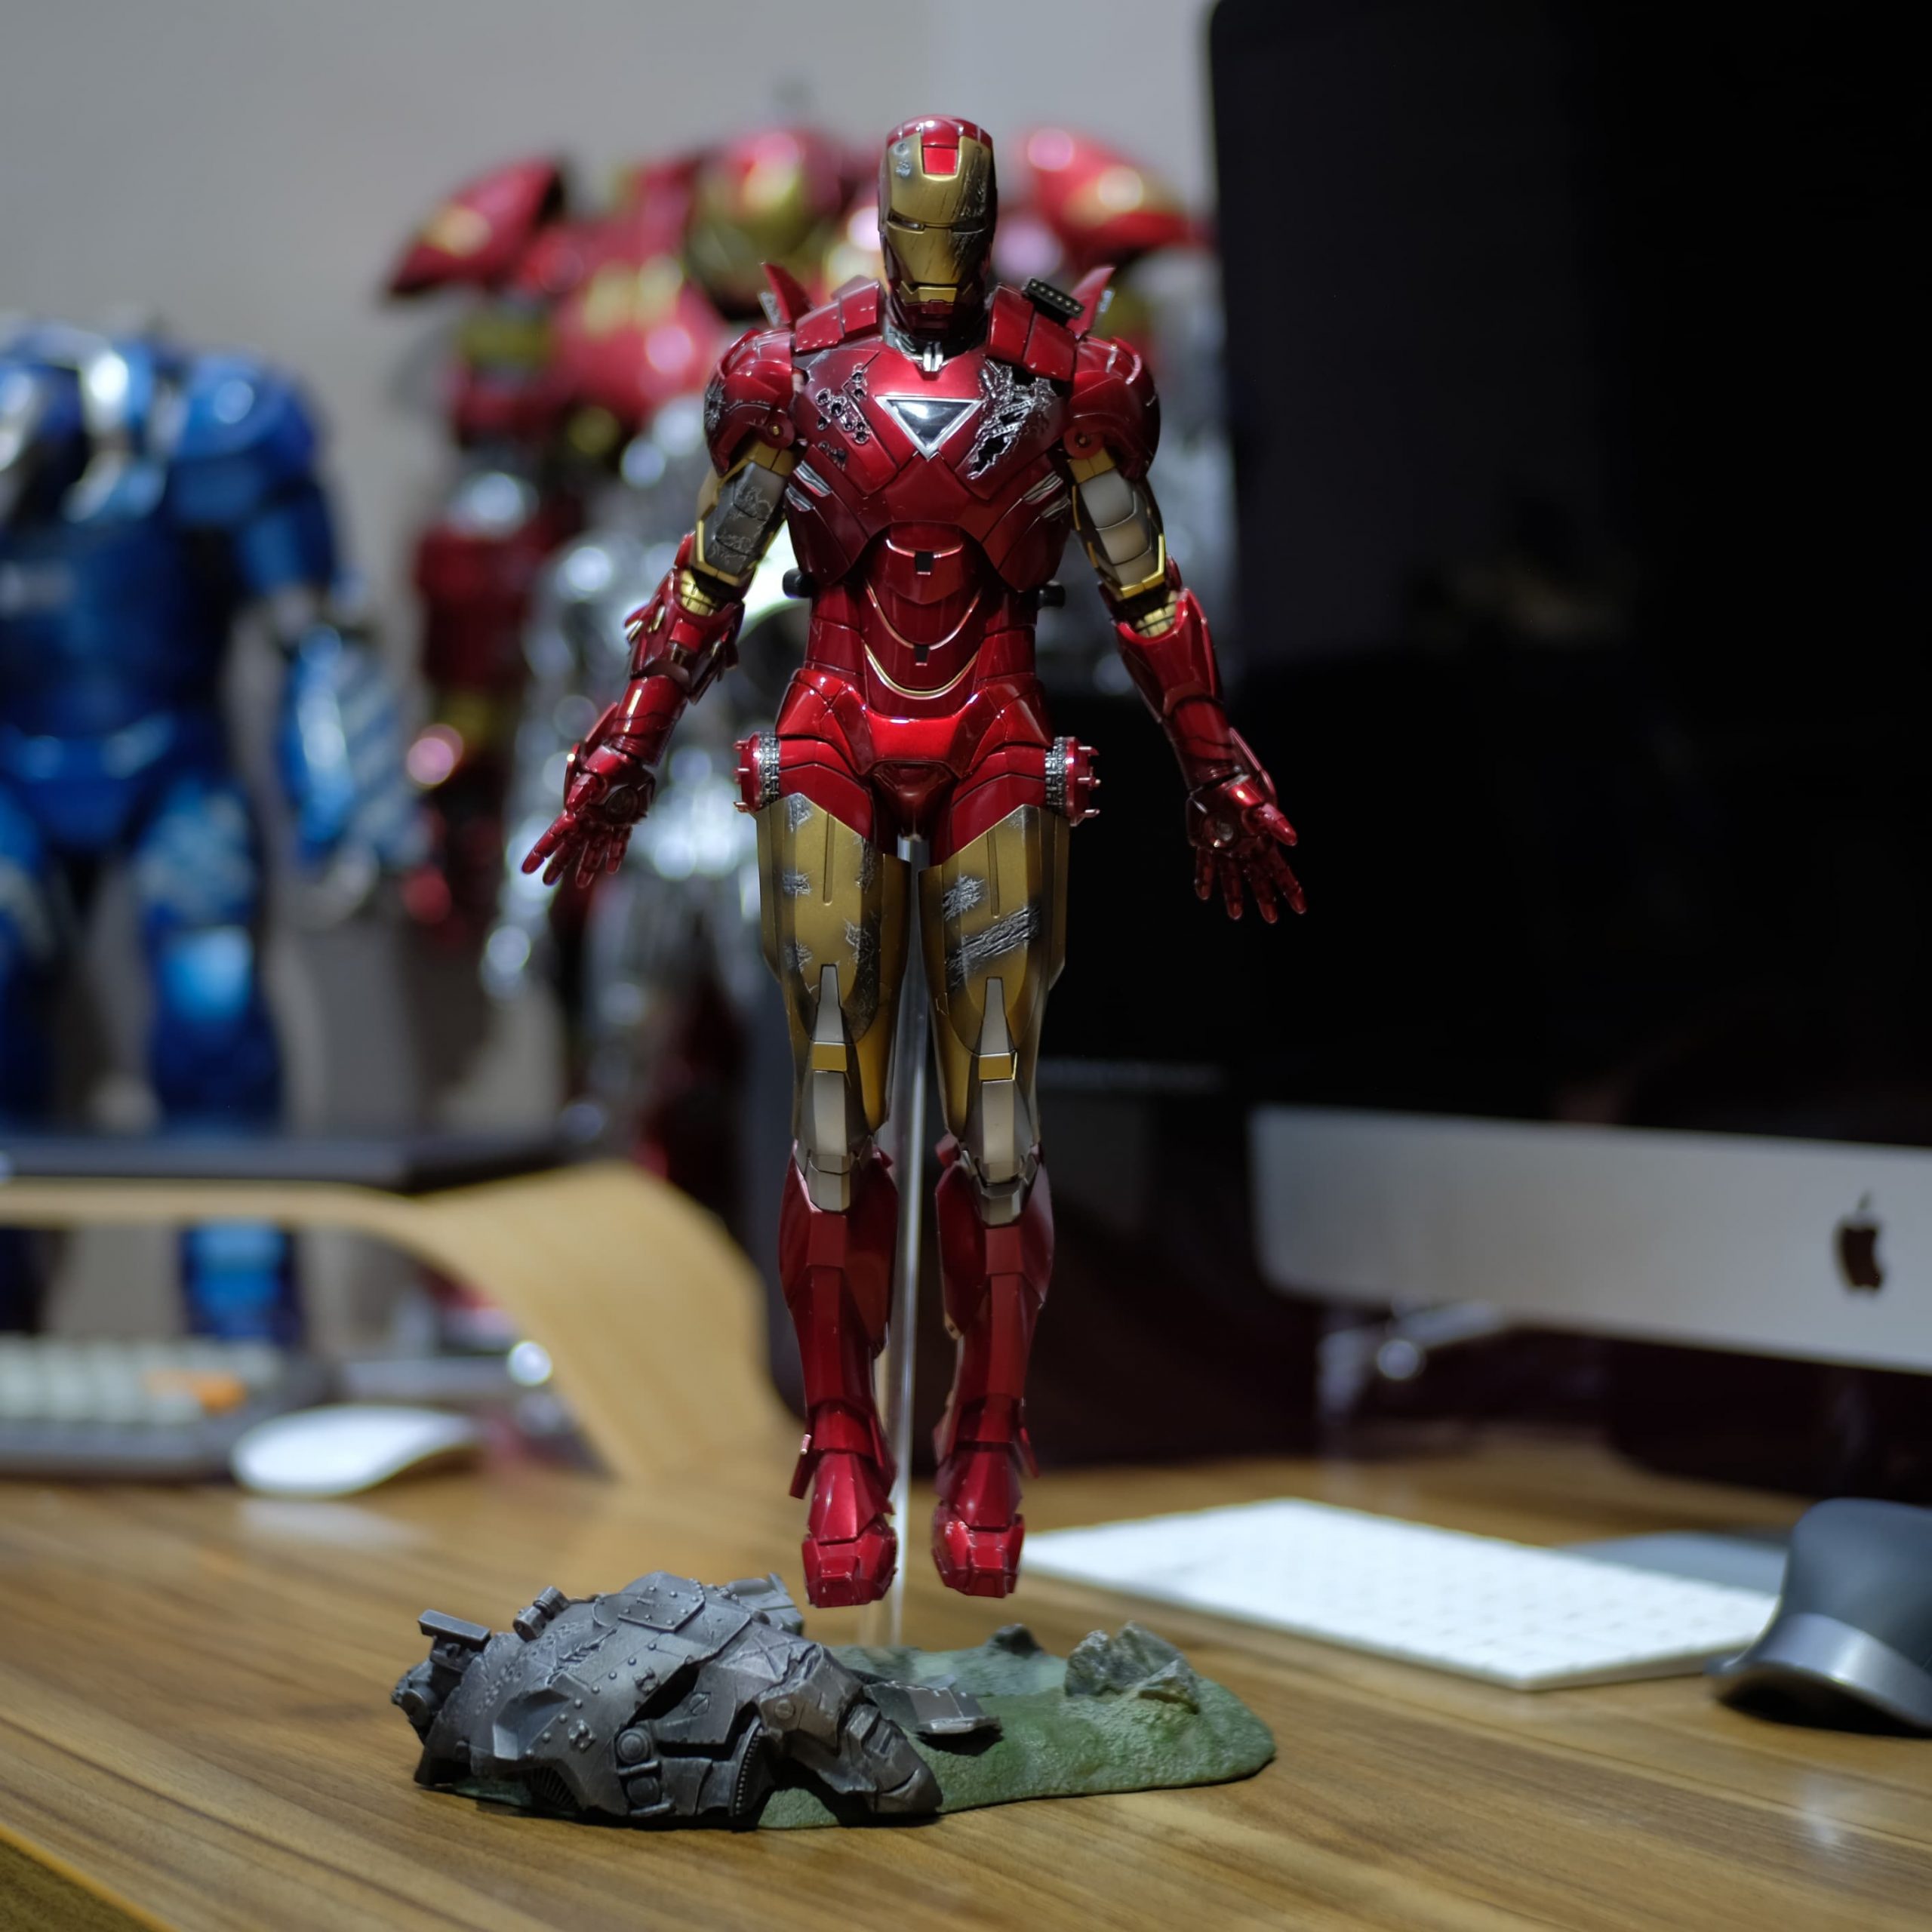
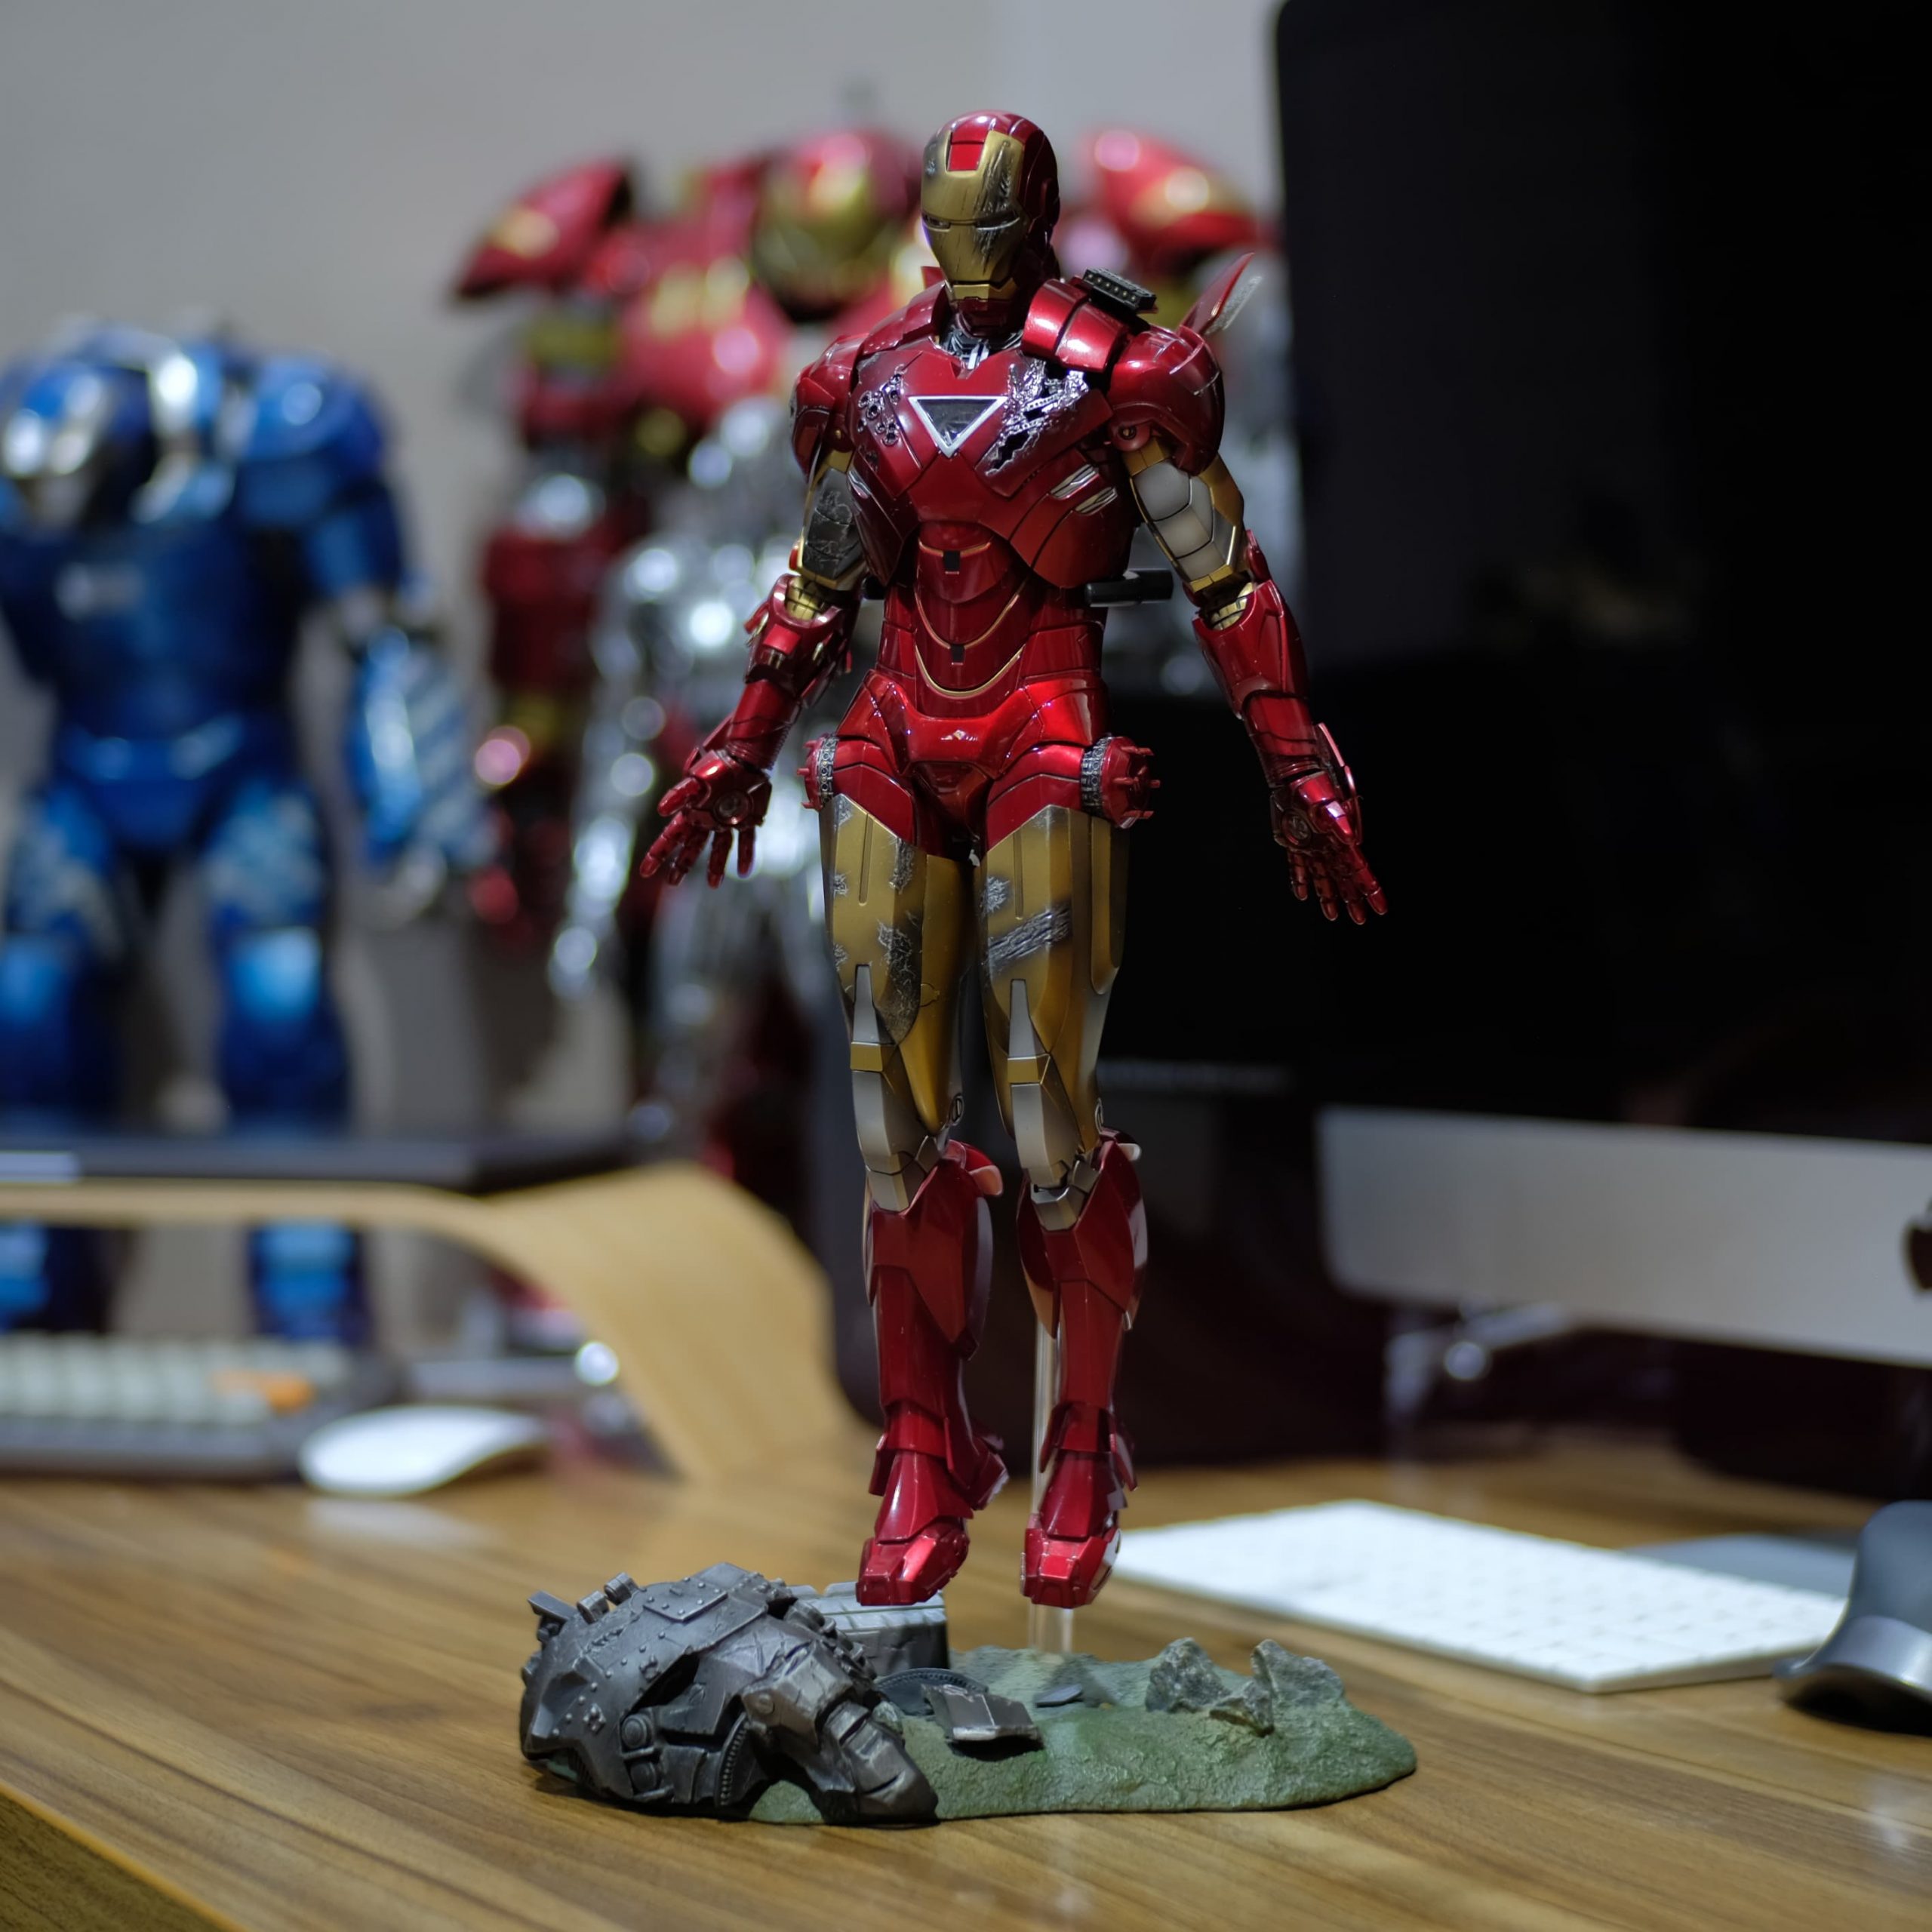
The whole process took me a couple of hours to complete, and I left the parts to dry outside for another 24-48 hours. I had to make sure that the paint was totally dry before assembling it back together. The only thing you need to avoid is stretching the painted part, as there is a tendency for the paint to crack; so, no more dynamic poses after this. It’s an OK trade-off, in my opinion, versus having to look at your $250+ figure with pink underwear. Here’s the restored Iron Man Mark VI.
I think I still need another pass of wet coat to darken it a bit, but it’s a lot better compared to before!
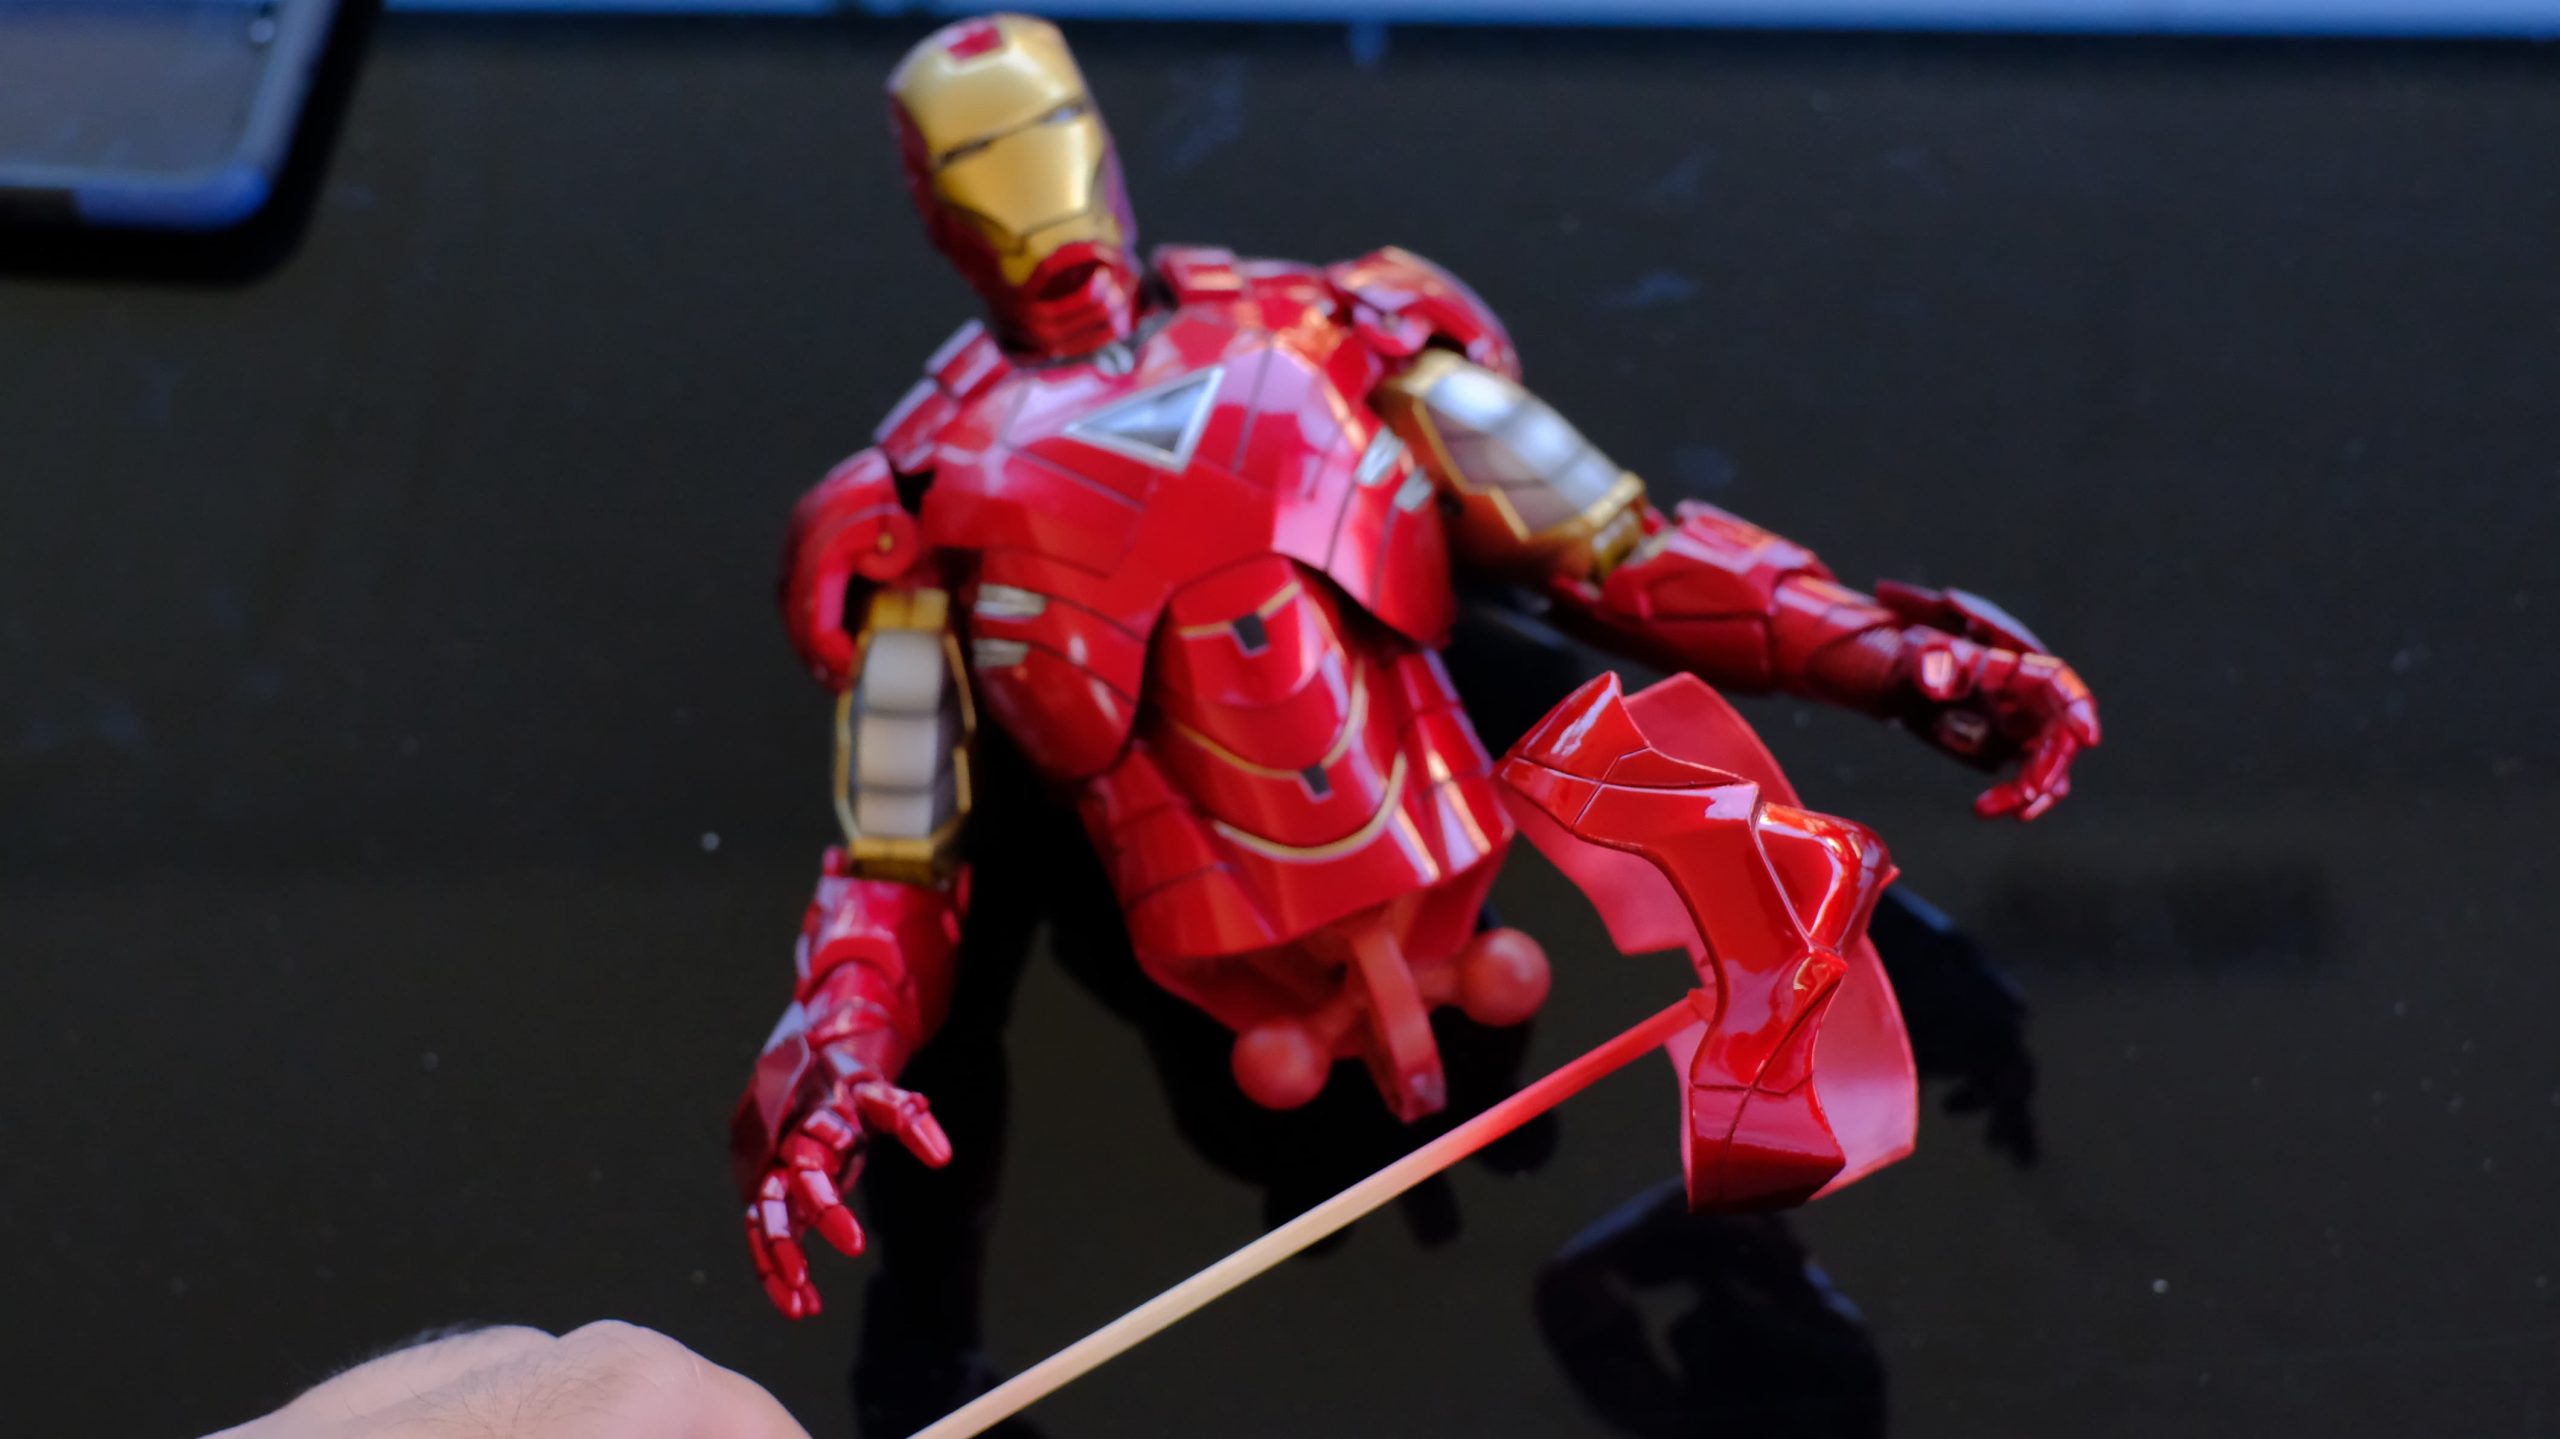
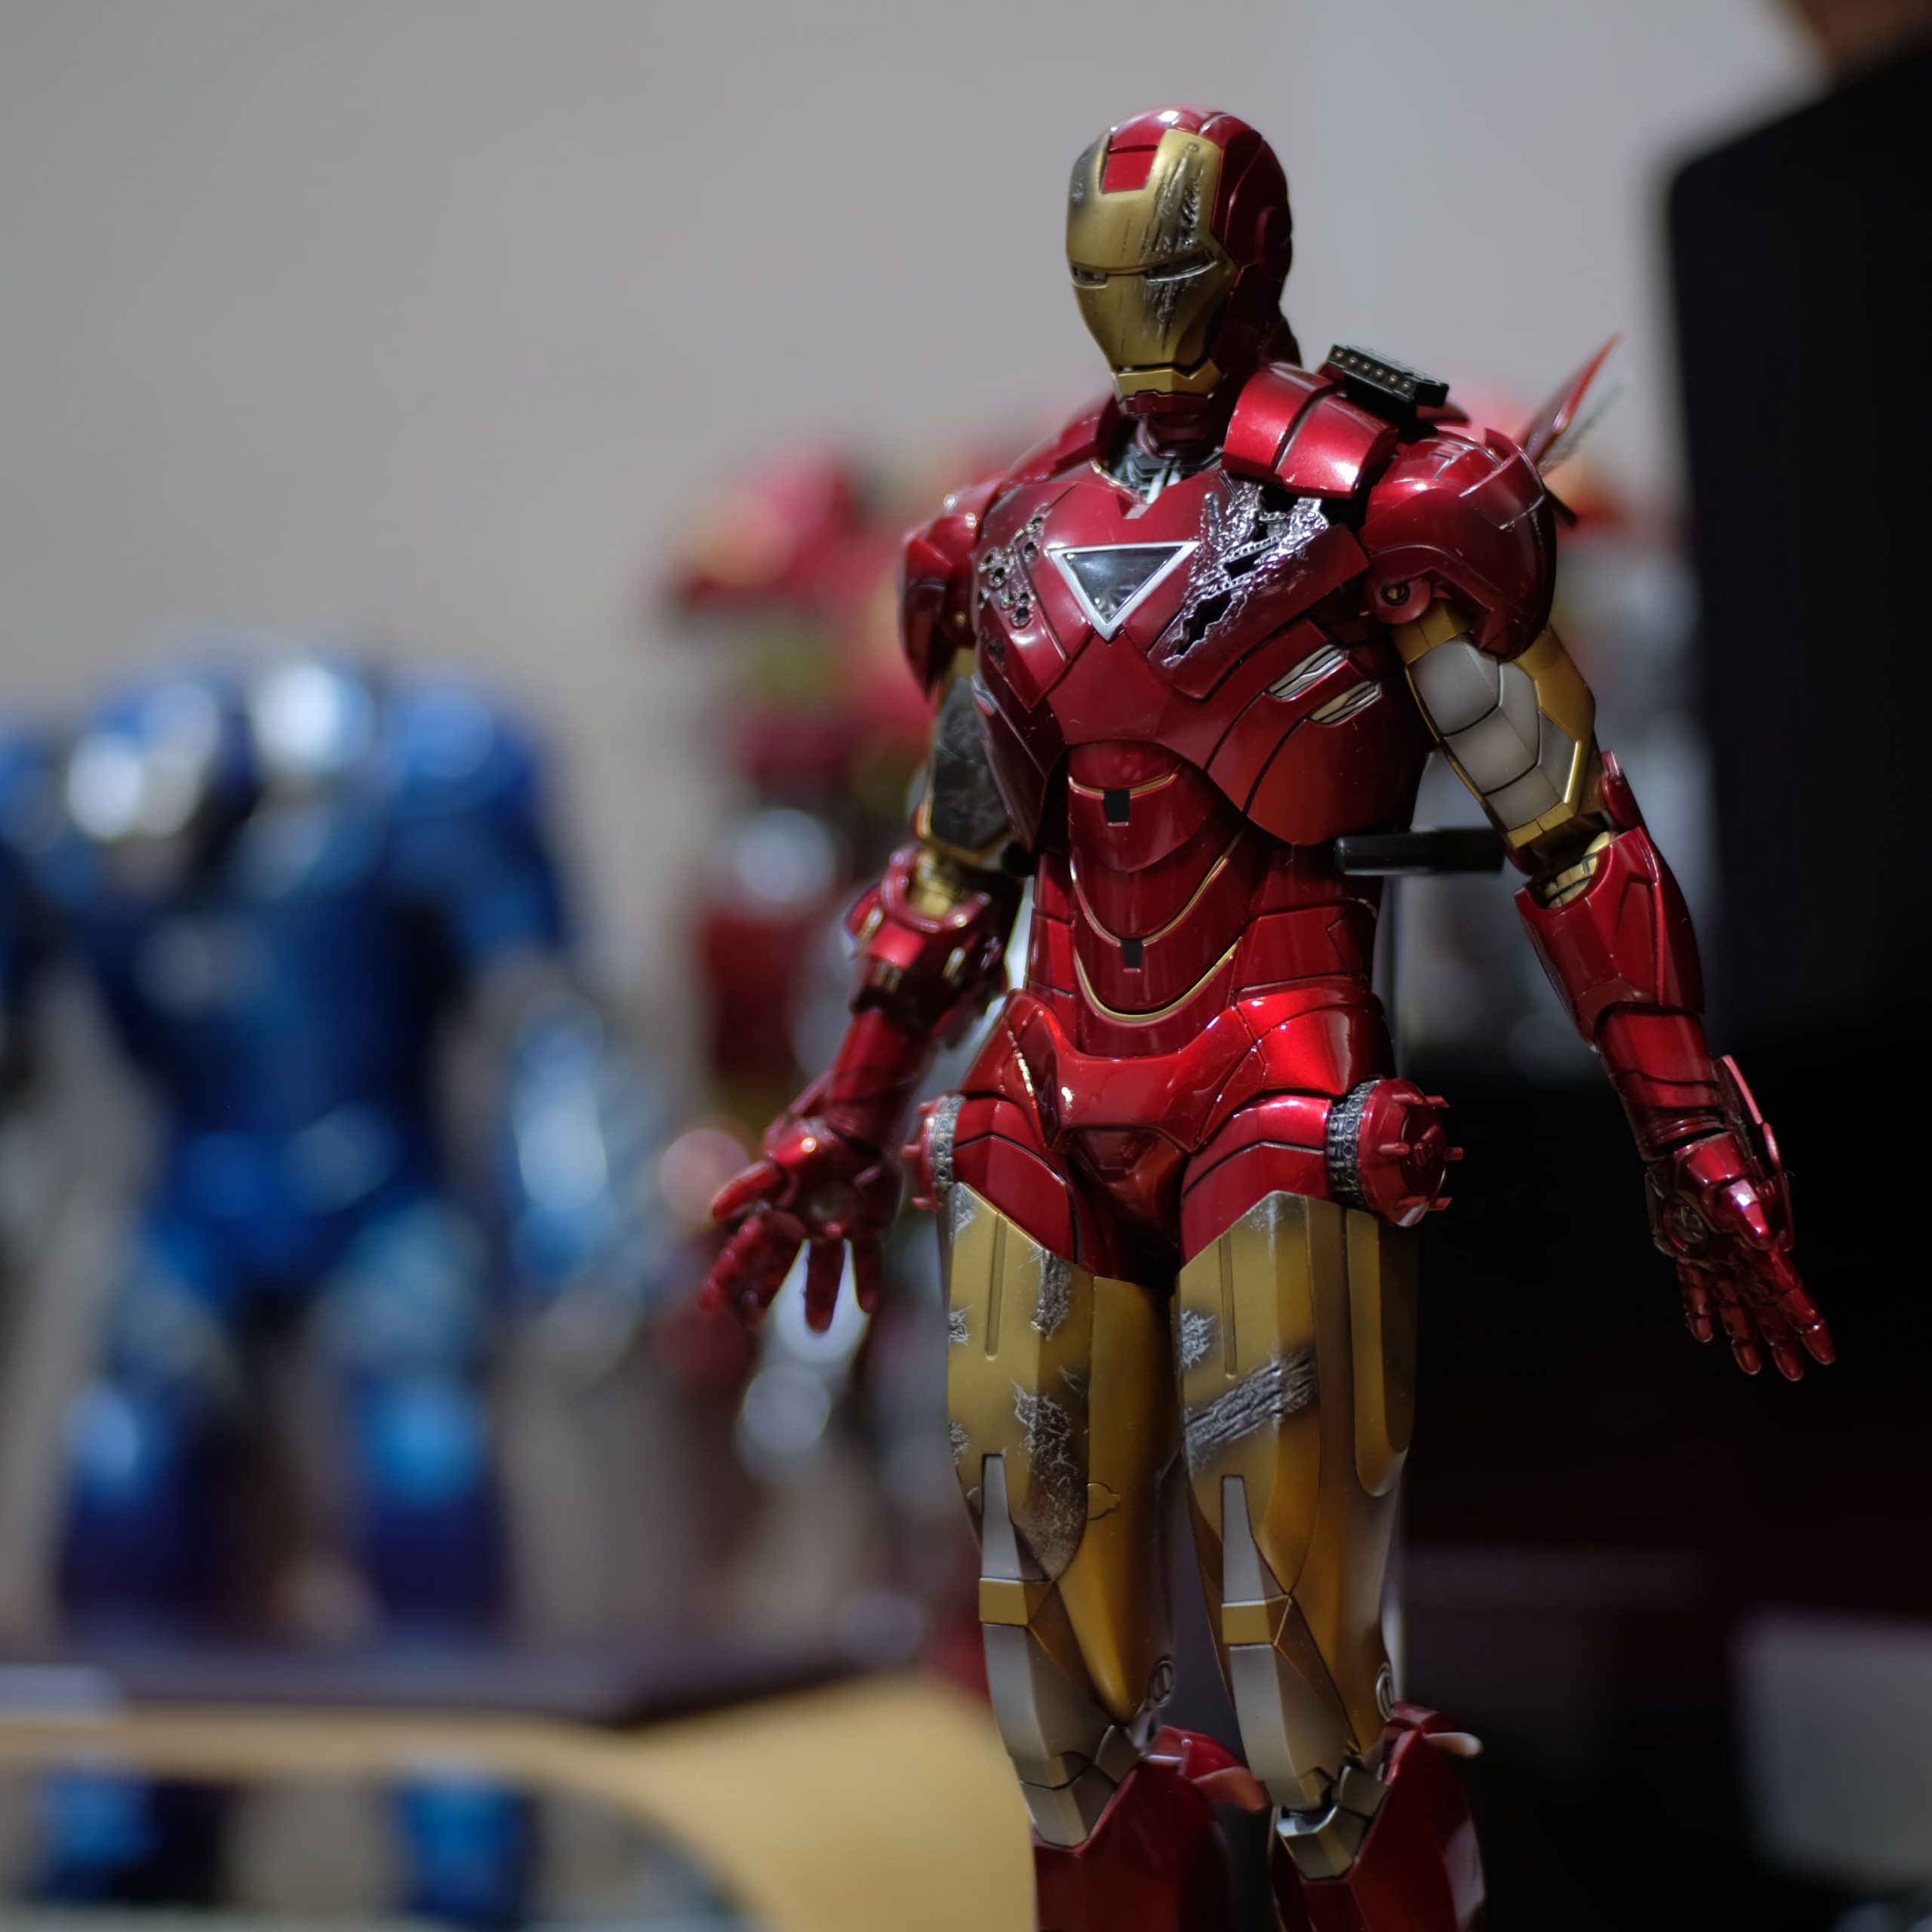
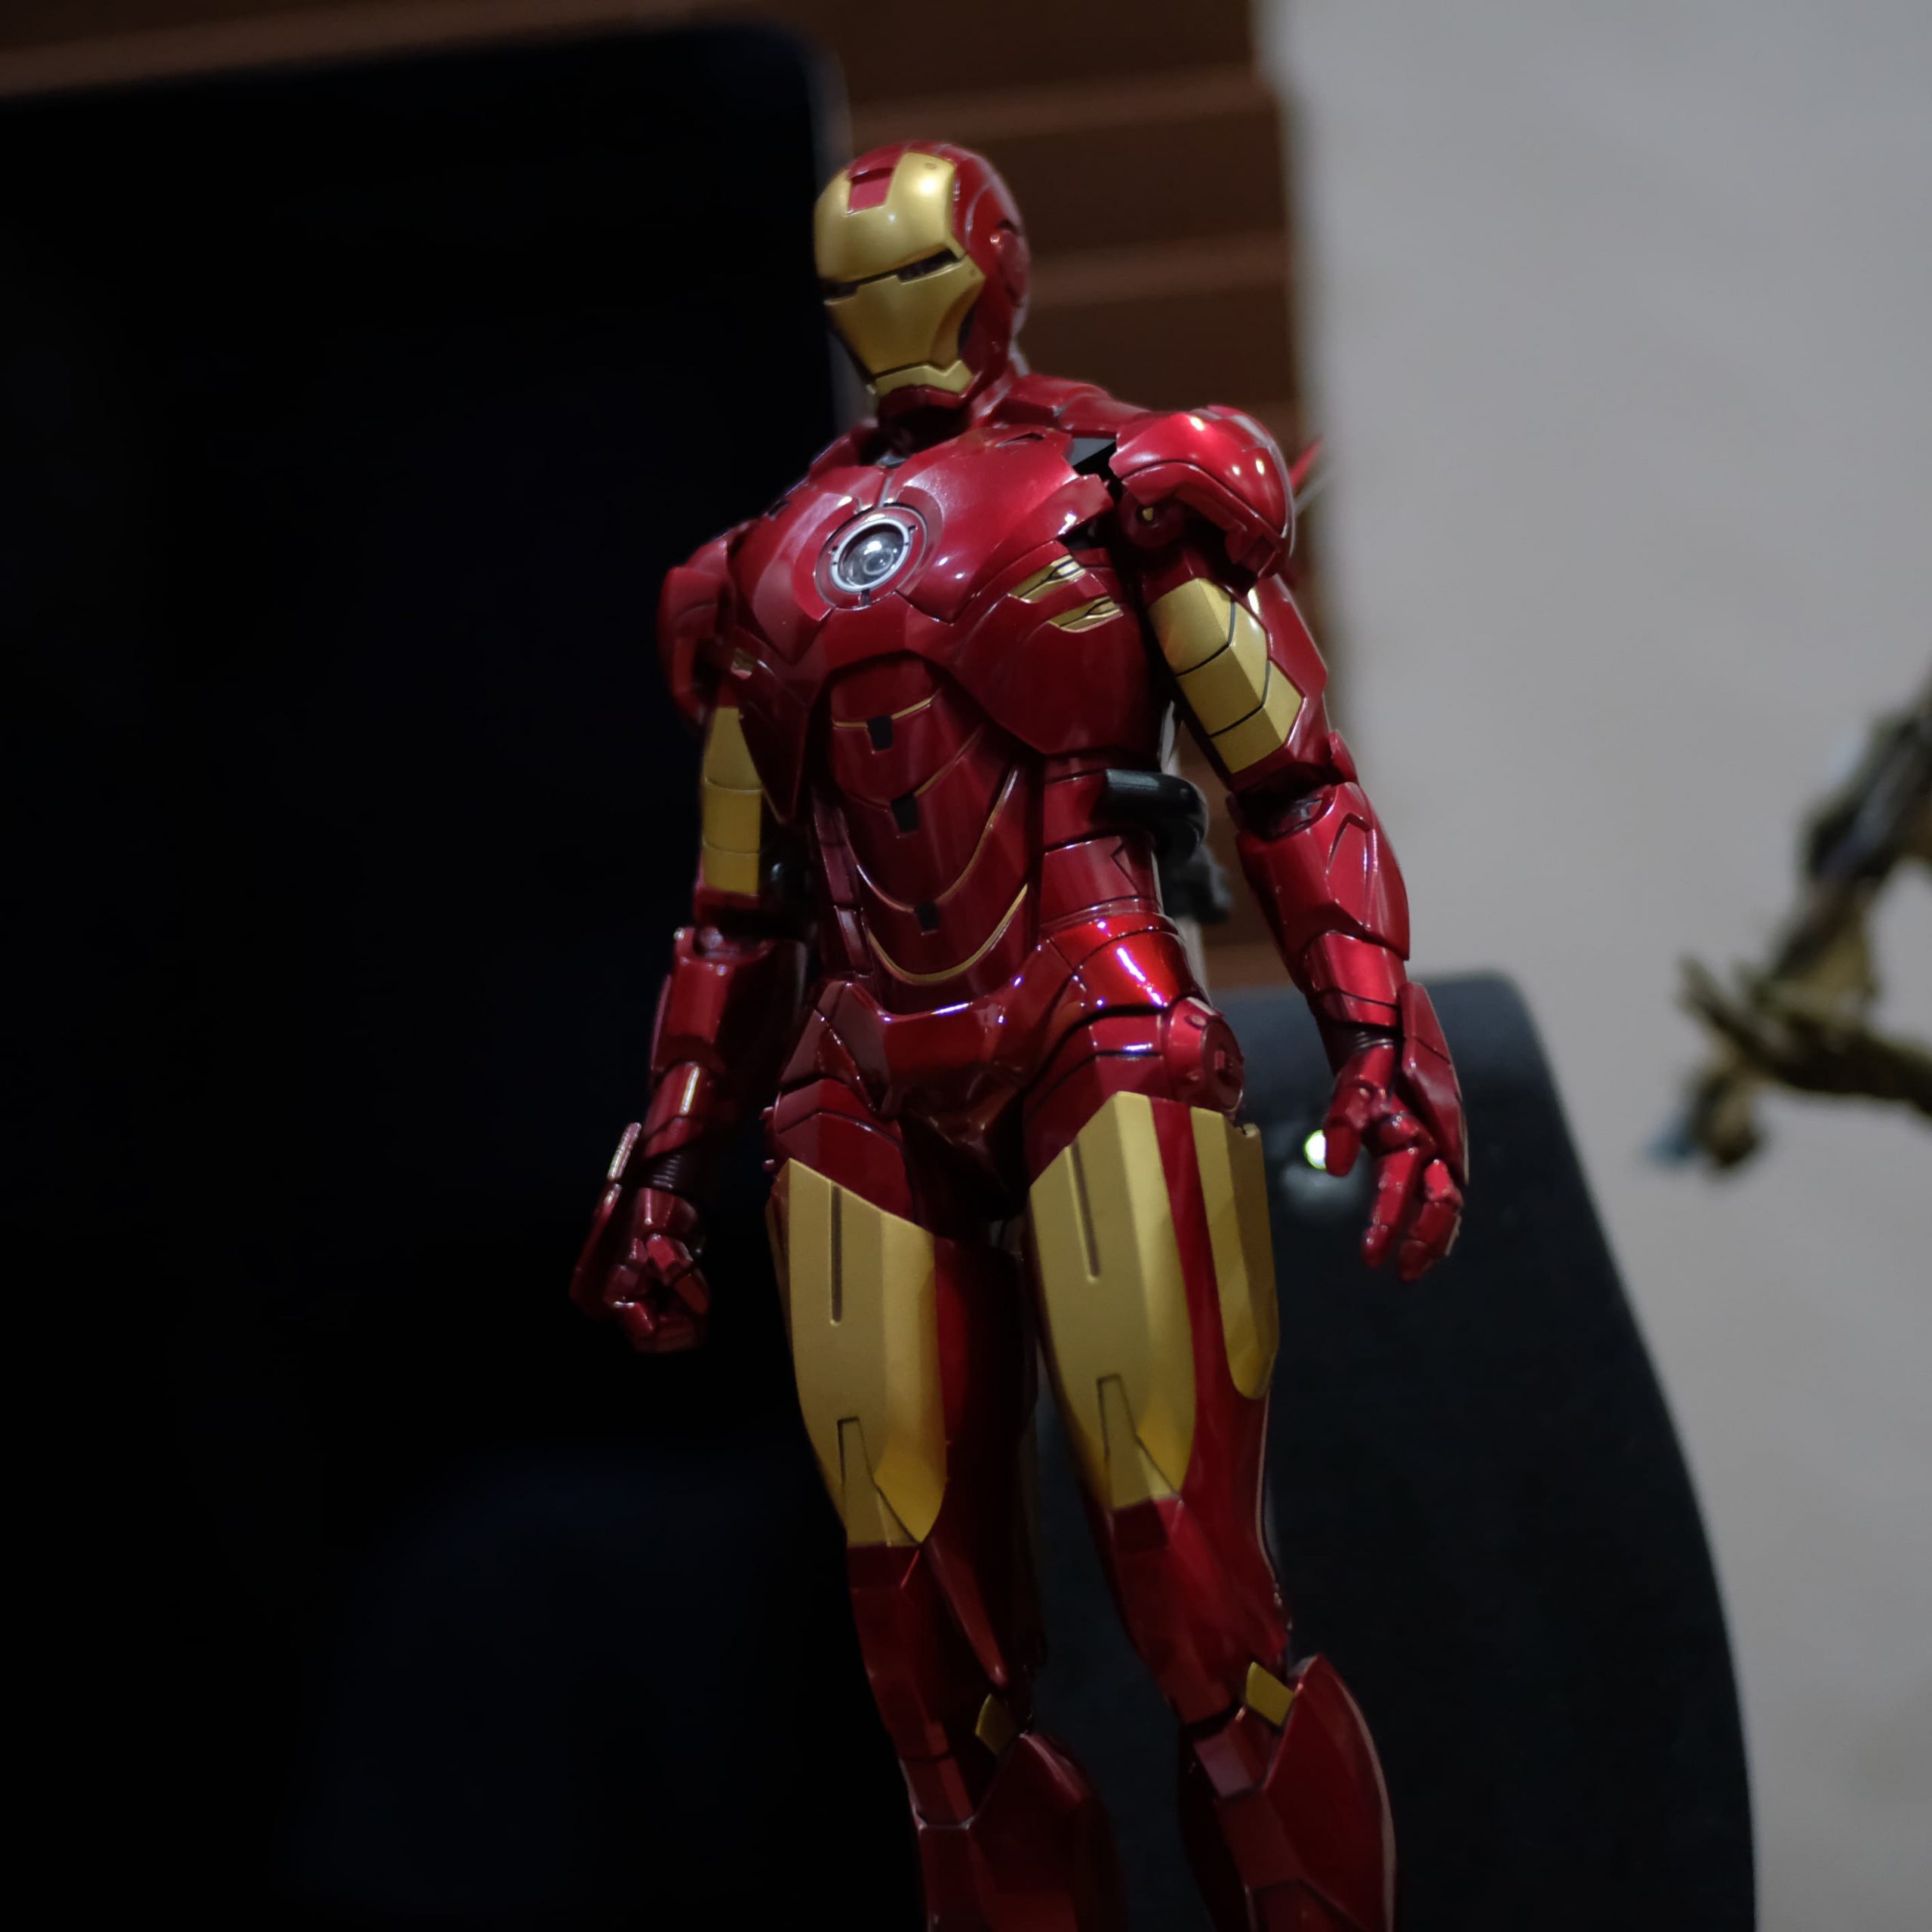
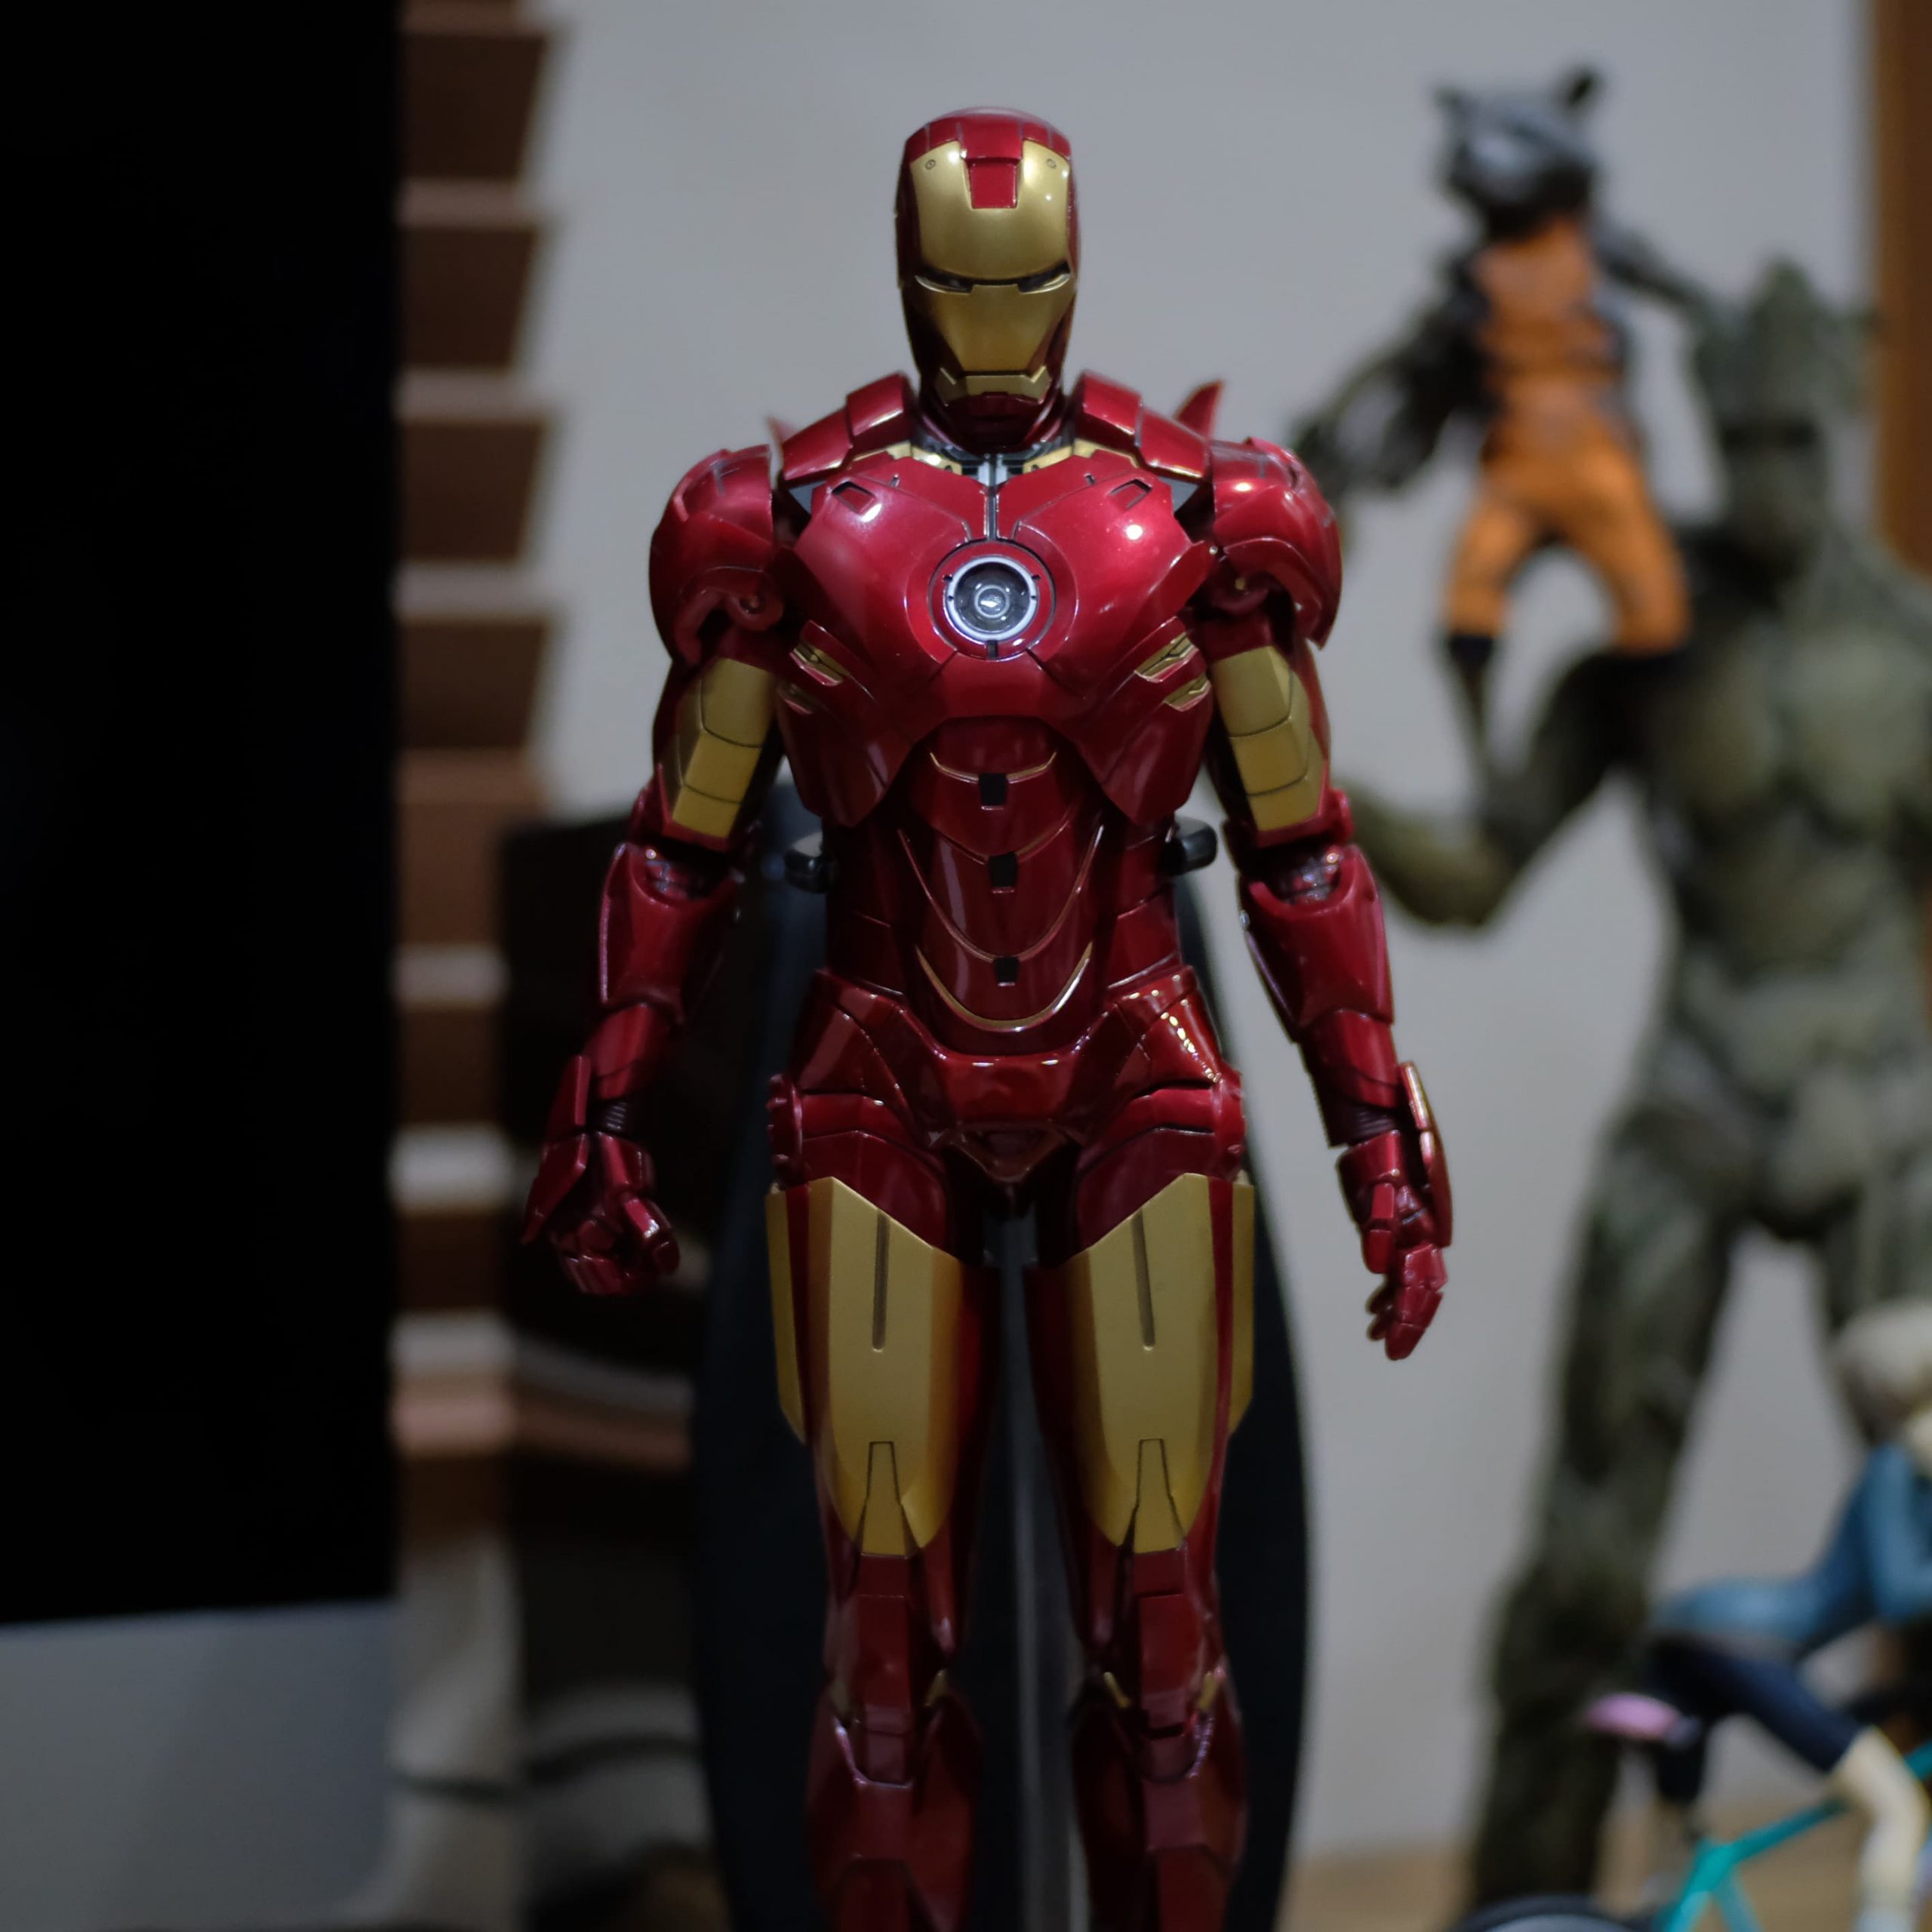
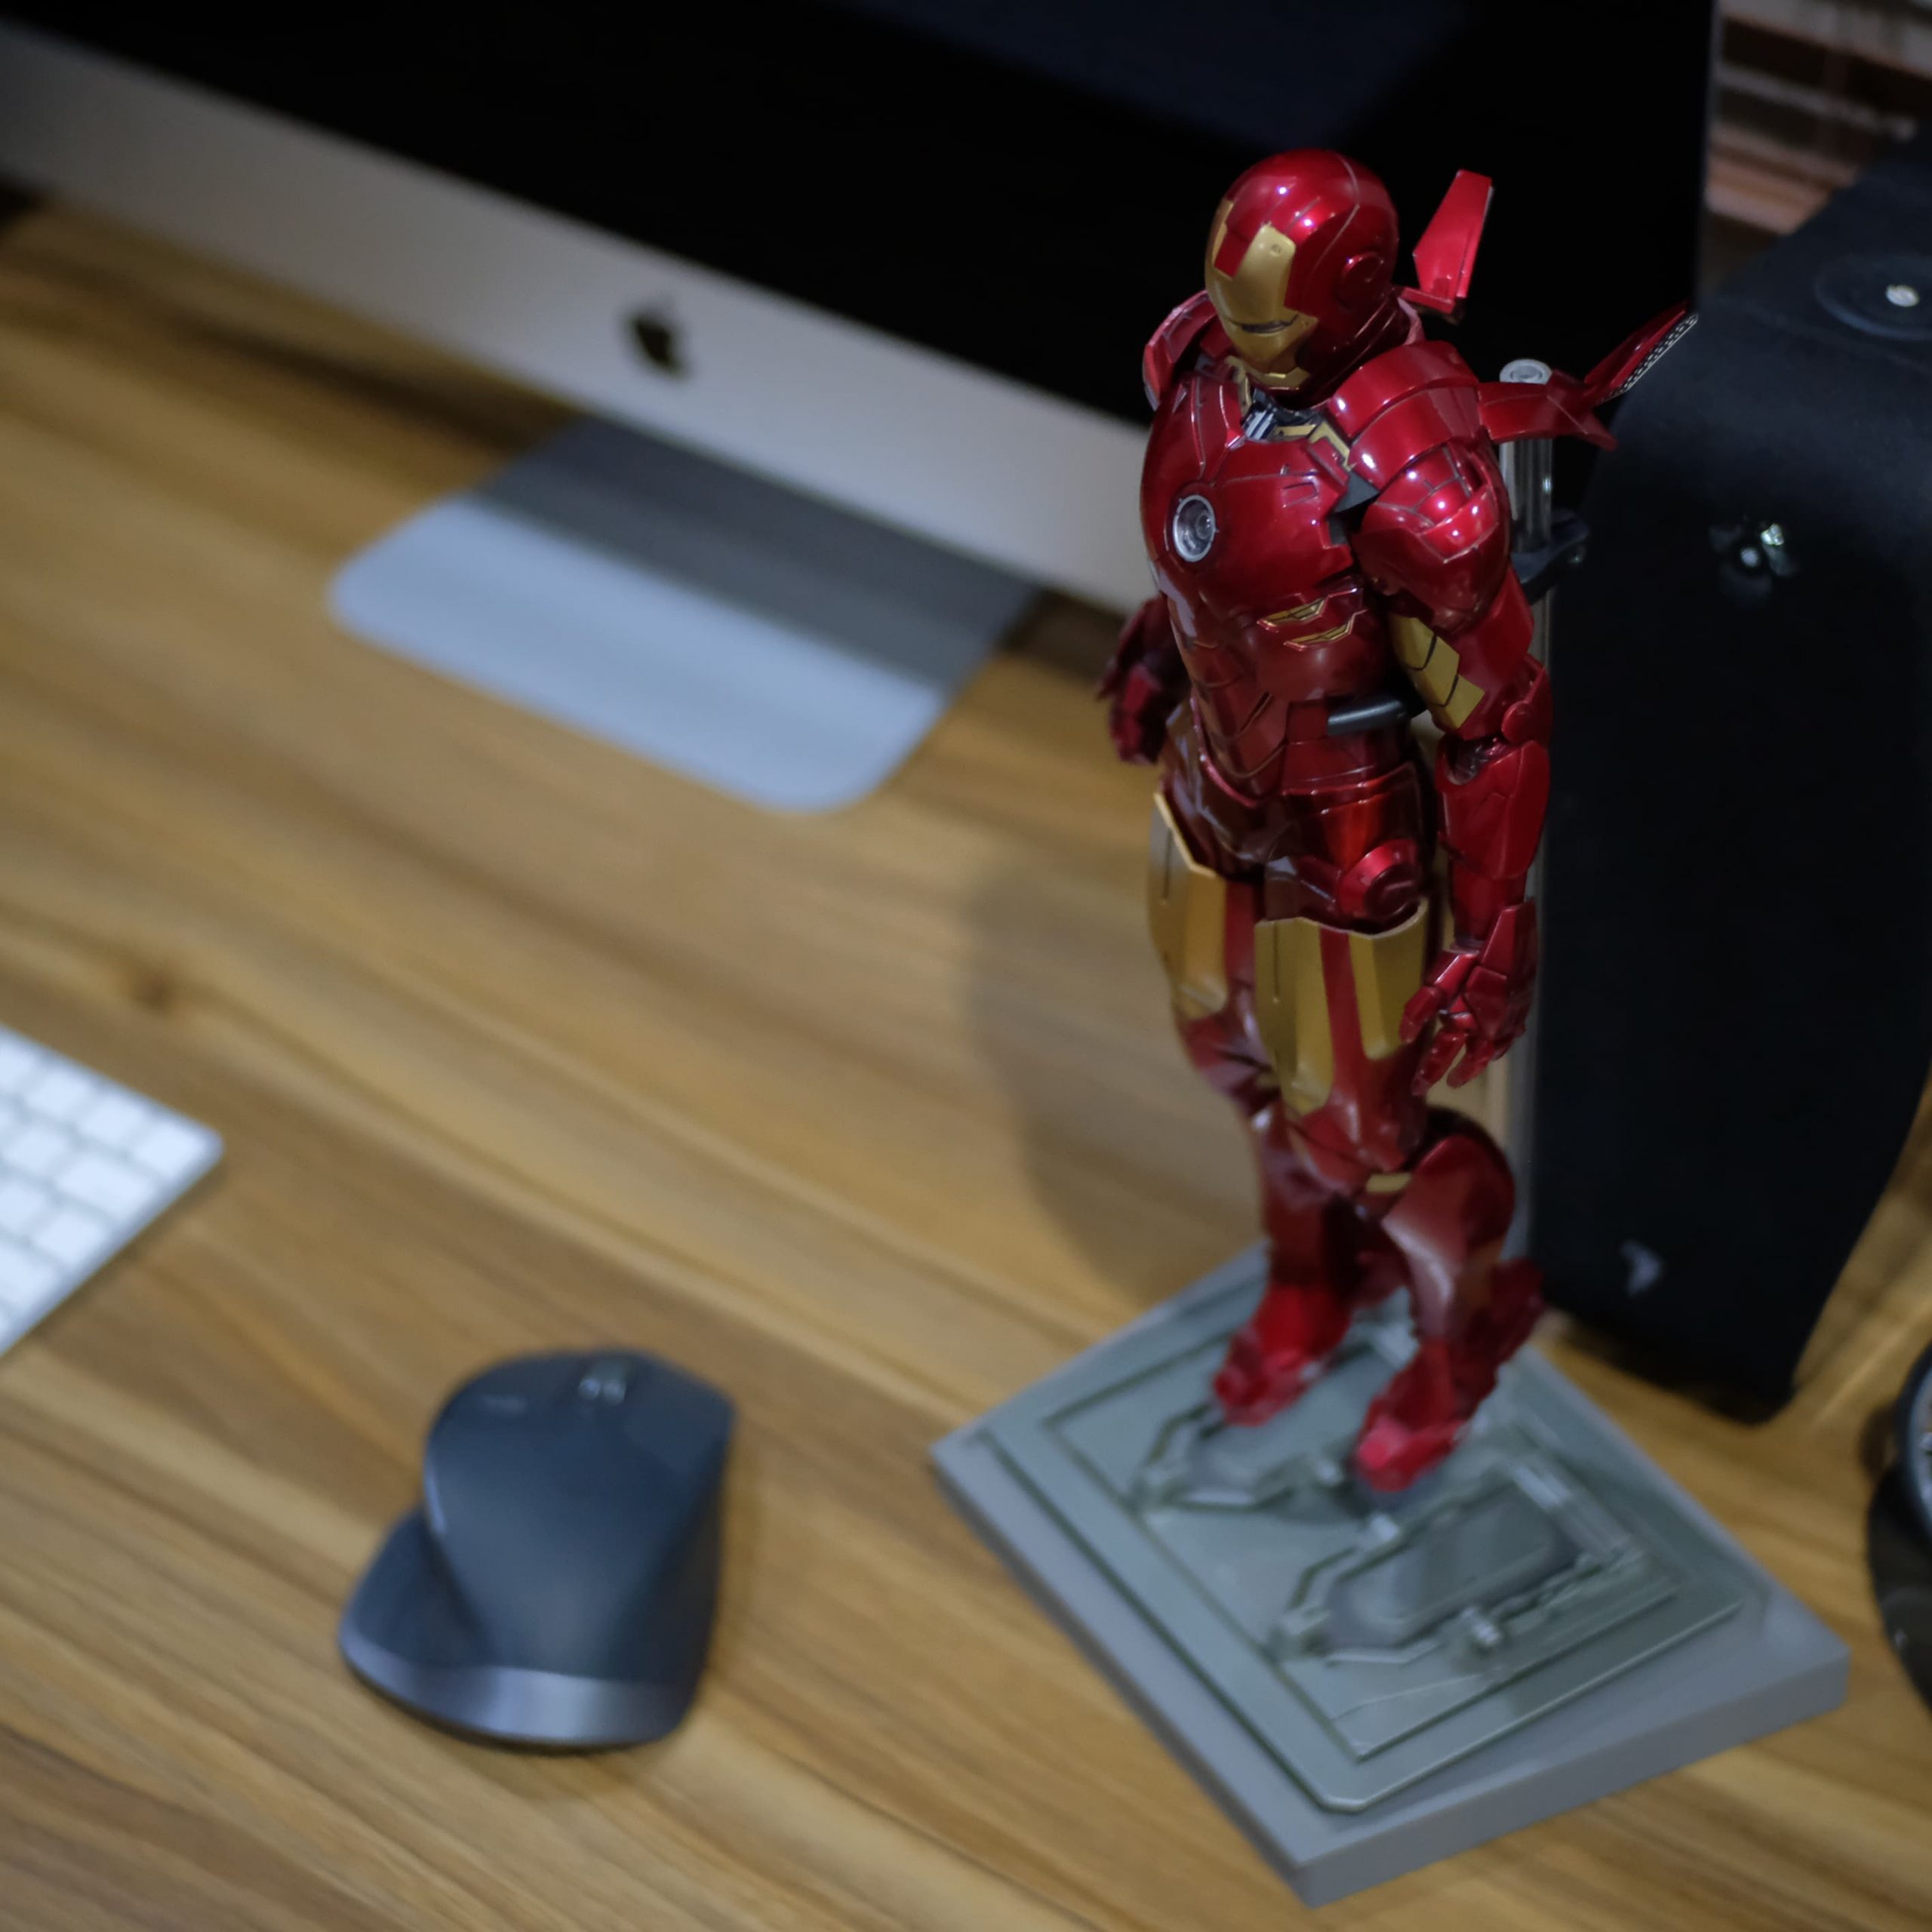
Here is the restored Iron Man Mark IV. I believe I have perfectly matched the color.
And lastly, here are some quick before and after images. I’m very happy with the results, and I also saved a lot of money because I don’t have to buy the diecast versions of these figures anymore! Haha! XD
I hope this post has helped some of you collectors out there. For any additional questions, let’s discuss them in the comments section below.

Thanks for the tips, u are a life saver bro!
Happy to help!
I was thinking how about the black lining in between the panty. Using what to redefine the line yet doesn’t affect the red paint ? Thanks in advance
this was interesting, thank for posting.
How did u do with the black line that suppose to be black after spraying the red paint over . Thanks in advance
@Zavier
Once the paint dries, use a Gundam marker for the line details ;)